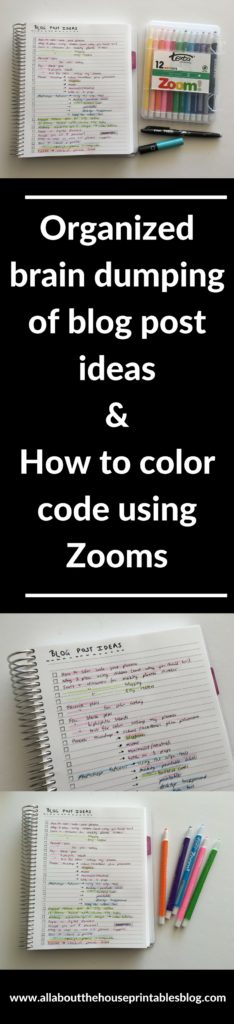
When I come up with ideas for blog posts I reach for the nearest thing – a notebook. To avoid it becoming a disorganized mess of brain dumped post ideas, I keep them organized using the simple but effective time-saving system I explain in the video below.
How to keep track of blog post ideas:
To enlarge the screen of the video, click the square icon in the bottom right hand corner of the video (it will say ‘full screen’ when you hover your mouse over the icon).
For more planner related videos, subscribe to my YouTube channel
You only need 3 things for this system:
-
Notebook
Any will do although I personally have a few criteria:
- Sturdy binding – I hate glue / book bound notebooks – they never want to lay flat unless you hold it open with 1 hand which is annoying when you’re trying to write with the other. I recommend coil binding or discbound notebooks
- Lined writing space – Me + unlined notebook = disorganized chaos full of messy illegible scrawls
- Compact size – for idea jotting I want to have this with me all the time so I can make note of things while I’m on the go. I recommend a compact size notebook. I alternate between one of my Plum Paper notebooks (7 x 9″) and the Arc discbound system in A5.
Related: How to choose a binding system for your planner (comparison and which one I like the most)

2. Ballpoint Pen
I recommend black pens. You could also use blue but any other color will clash when color coding.
I much prefer idea dumping using ballpoint pens – they’re quicker to ‘break in’ the ink (so you can write faster) and don’t smudge. Some of my favorite ballpoint pens are actually readily available pens you get from the cheap shop such as A+, Artline Smoove and PaperMate Kilometrico.
Related: Favorite black pens for planner addicts
If you’re prone to making mistakes and don’t want to use a ton of whiteout, I recommend the Frixion erasable pens

Related: My all time favorite planner pens: Pilot Frixion Erasable Pens Review
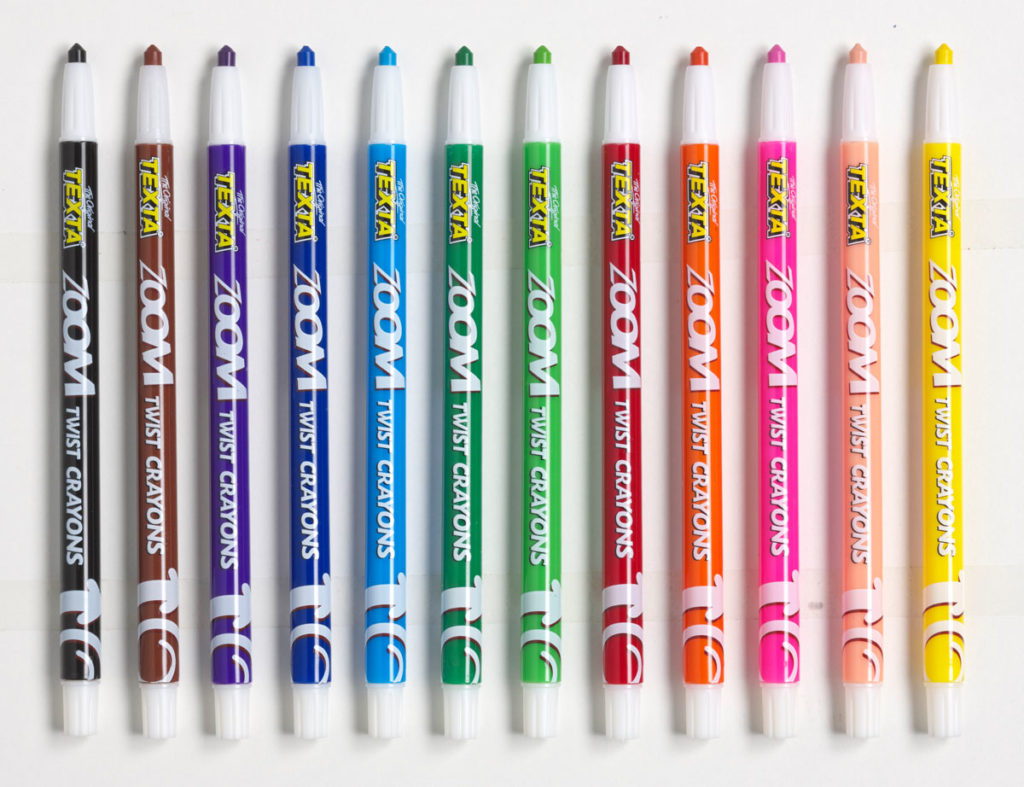
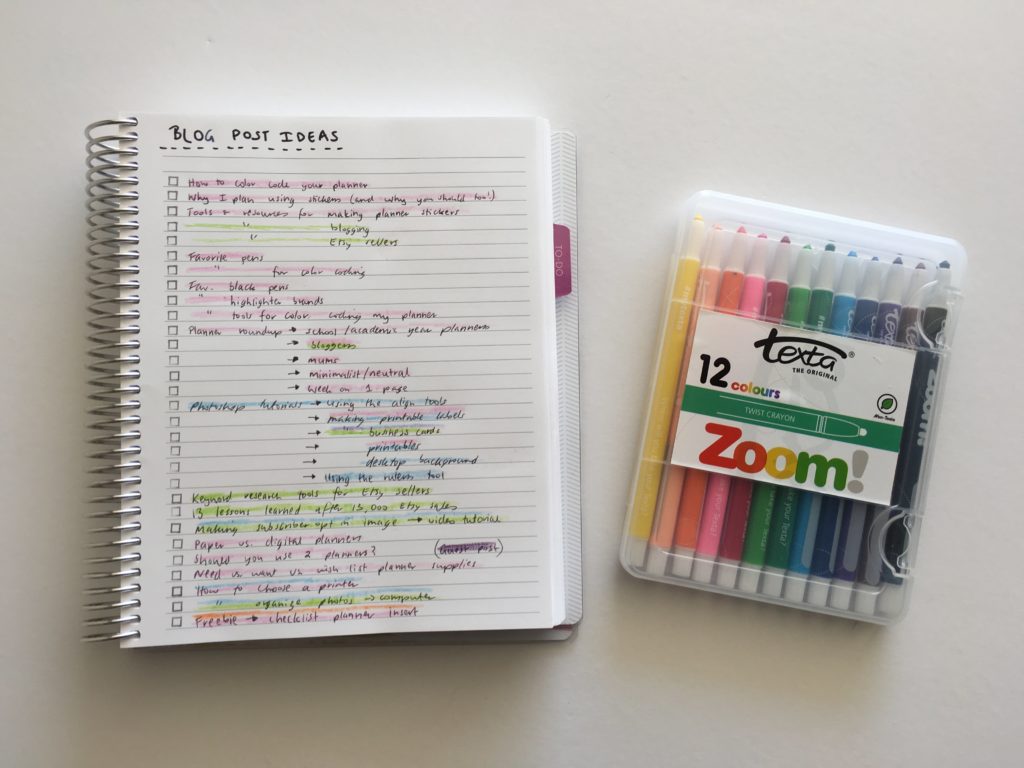
3. Zooms
Zooms are twistable crayons you can find in the kids craft/stationery section in Target. They’re great for color coding as:
- They come in lots more color options than highlighters (you can find them in 12 packs and 24 packs)
- They’re better than pencils as you don’t have to sharpen them
- They have a fat tip so it’s quick to color code
- Because of the fat tip, they don’t break like pencils do, and the end doesn’t get ‘blunt’ or ‘worn out’ like highlighters do
- There’s no mess – you don’t need to worry about highlighter getting all over you, on your page, or smudging
- If you rub with a bit of effort you can erase or at least fade the color
- They last a long time – you could leave them unused for years, come back later and they’re still fine to use (unlike highlighters which can dry out quite quickly)
I use Crayola Zooms for color coding and marking things off at my day job – that’s actually where I got the idea to color code blog post ideas using them instead of highlighters. I decided to try a different brand (I was feeling cheap) so when I went to Target I bought their cheap version – the Texta brand (they were $8).
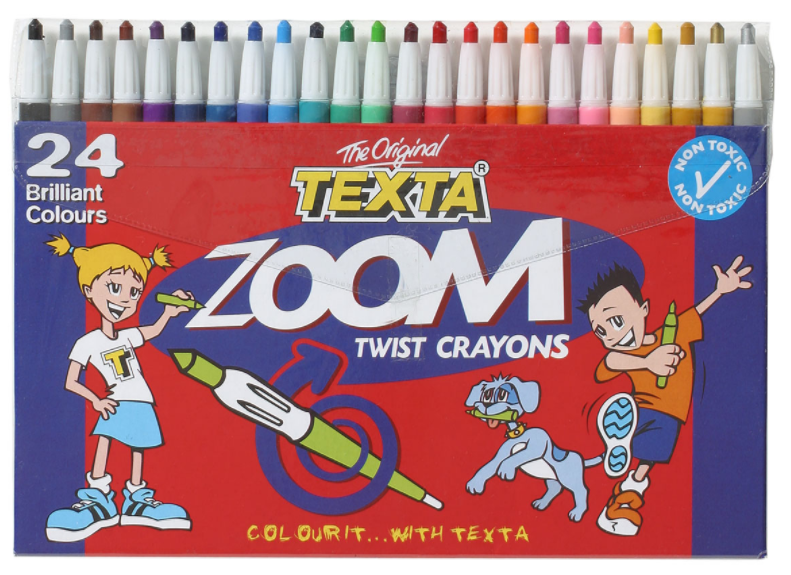
The colors of the Texta Zooms come out a bit lighter than Crayola (but still work fine). But if you want vibrant colors, I’d pay more and get the Crayola ones.
More tips for color coding in these posts:
- Planner Organization: How to color-code your planner (so you’ll actually use it effectively)
- Favorite color coding planner supplies for less than $5
- Ultimate list of the best planner pen brands and how to choose colors for color coding
- 50 Category Ideas for Color Coding Your Planner
- How to organize and color code your notes for school, college or university
- Color coded monthly meal planning using sticky notes
Optional
Mambi stamps to create a checkbox (my sister has the ones I use in her shop) or a ruler to create a column to tick off when the post has been written.
How the system works:
When I’m brainstorming post ideas, they tend to come all at once. I used to use a separate page of a notebook for each category that I blog about, but this can get annoying when you just want to get the post idea out of your head and onto the page before you forget.
Tabs help a lot if you want to use that method, and if you do, I recommend using a discbound system such as Arc, MAMBI or Levenger as that way you can re-position the tabs to keep where you’re up to with a blank page for that section.
Related: Why I use the Arc Planner instead of binders
By jotting down all your post ideas on the one page, then color coding, it’ll give you a pretty rainbow page 🙂
So if you want to use up all those notebooks you have lying around (I’m not the only one guilty of buying a notebook because of a cute cover right?!) then I find this method works best:
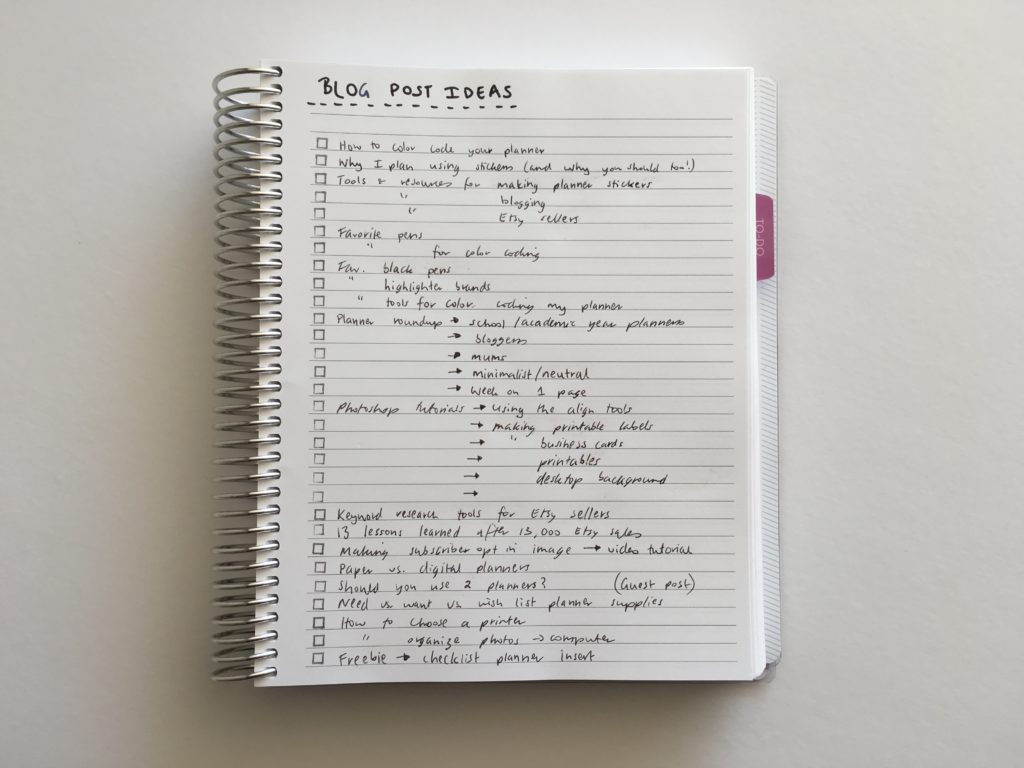
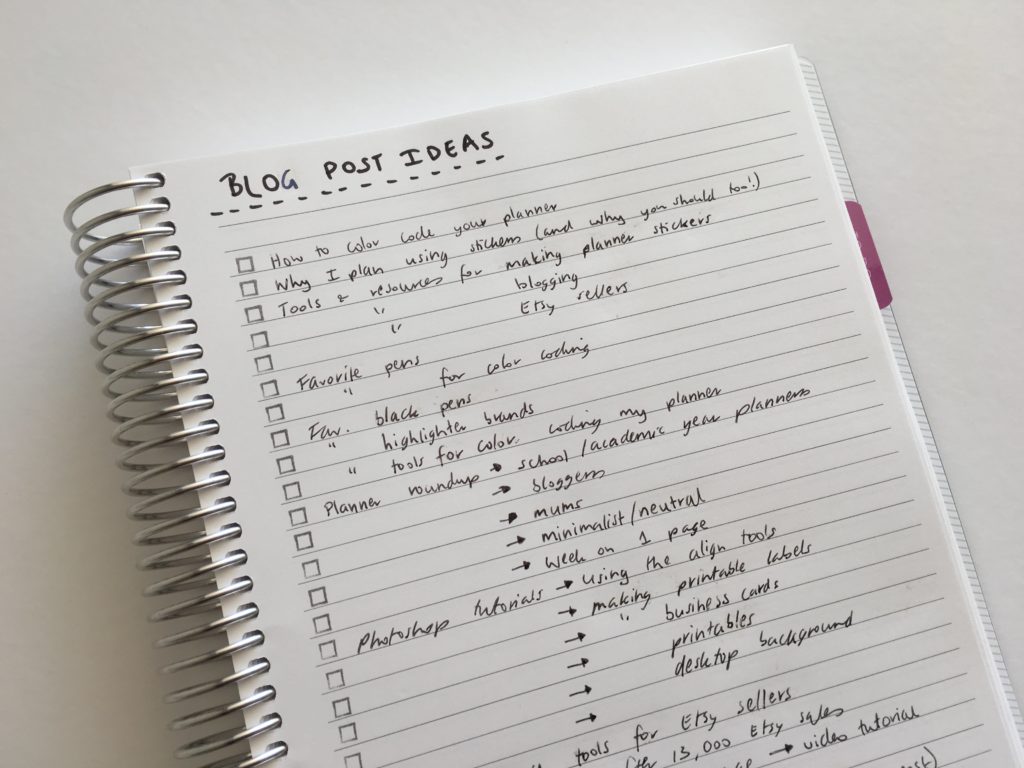
Step 1: Jot down all of your post ideas
Don’t stop to change colors, just keep writing them all down. Make sure you leave space on either the left or the right to draw a checkbox, or use a stamp such as this one I use which is by MAMBI – it’s self inking so there’s no mess! 🙂
You could also rule a line to create a column you can tick next to the post ideas.
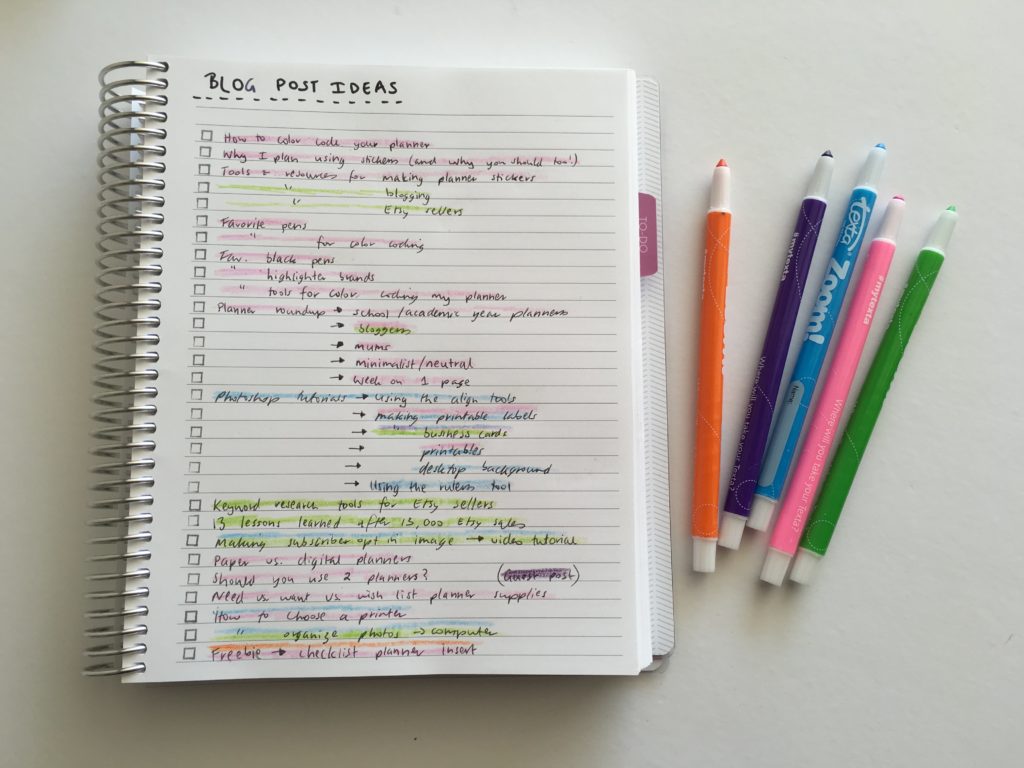
Step 2: Color code
After you’ve run out of post ideas, that’s when you start color coding. You don’t want to stop and color code as you go, as your brain will switch from ‘ideas’ mode to ‘editing’ mode. Much like I draft a post until I run out of things to add to it, before I go back and edit it, fix up spelling errors etc.
I also double color code. So if the post is a free printable, I’ll color half the line with that post idea in pink (my color for planners) and the other half of that line with the post idea in orange (my color for free and paid products).
![]()
Another reason I recommend zooms rather than highlighters, is because it’s easier to double color code. With highlighters the chisel tip tends to be quite fat (unless you buy the mini ones) so it’s harder to double code. Plus, if the colors overlap it’ll create a new color, and then you’ll end up confusing yourself.
If you can’t find zooms in your country, an alternative is pencils. Or another option is to color code the checkbox to the left of the post idea in one color, and the blog post title / idea in another color (or just stop highlighting halfway through the post title / idea and switch to the other color).
By color coding (and double color coding), it’s helps you see what content you should focus on. Most of my blog post ideas are for planning related posts as that is the main topic I blog about. By jotting down post ideas this way, it helped me realise that I should focus on that. If you’re just starting a blog and aren’t sure what topics to focus on, this method is a good indicator of which direction you should go in.
Coming up with post ideas
I tend to get on a roll and have flow of ideas that relate to one another. For example, ‘favorite things’ for planners (the main topic I blog about), could be:
- Favorite planner supplies
- Favorite pens
- Favorite highlighters
- Favorite sticky notes for planning
- Favorite planners for bloggers
- Favorite academic year planners
- Favorite A5 size planners
- Favorite minimalist style planners
- Etc.
Start with a broad idea and then narrow down your focus.
Then get a bit more creative and choose a second topic. For example, a dollar limit, or something people always ask you about. Here are some examples:
- Favorite pens for planning (which I expanded into this post: Planner pen testing in the Erin Condren Life Planner, Plum Paper, Happy Planner by MAMBI and Limelife Planner)
- Favorite pens under $5 (a variation of this idea was my post: Favorite color coding planner supplies for less than $5)
- Favorite pens for color coding (which I turned into this post: Ultimate list of the best planner pen brands and how to choose colors for color coding)
- Favorite pens for writing on washi (which turned into this post: Best pens for writing on washi tape)
- Favorite pens for writing headings in my planner (that post idea actually just came to me as I wrote this)
I use my 200 blog post title prompts ebook to help get the ideas flowing. I also compiled a list of 1,200 blog post ideas if you need even more post ideas!
Another method is to recycle content from other posts. So if I start by first writing a post with my favorite planner supplies, I can recycle that into a post about my favorite pens by extracting that info from the first post and expanding on it to create the second blog post.
To save time:
- Rather than re-writing, use the ” symbol which means ‘same as above’
- Use arrows
- Write in shorthand using abbreviations e.g. instead of ‘color’ I’ll sometimes just write ‘col.’
So in summary:
- Open up your notebook to whatever page you’re up to
- Record the post ideas
- Keep recording post ideas until you run out of ideas
- Color code
- Double color code
- Tick off when the post is published (or if you prefer, when the blog post is ready to publish so you can schedule it on your content calendar)
You may choose to turn the page into a workflow with additional columns. Another method I’ve used is jotting the post on the left page and then using the right page to add columns to tick off when you’ve completed blogging workflow tasks such as:
- Outline
- Photos for body of the post
- Pinterest optomised images created (usually a collage – I shared a tutorial on how I make them in this post)
- Featured image
- Final draft
- Edited
- Scheduled
- Published (I write the date rather than a tick so if you are short on time you can go back to an old post from a year or more ago and re-post it)
Need a printable blog planner to keep track of it all? I shared mine in this post.
Related posts:
- Color coded monthly meal planning using sticky notes
- Ultimate list of the best planner pen brands and how to choose colors for color coding
- My favorite places to buy planner supplies & stationery
- Week 4: Minimalist planning: how to plan your week using a blank notes page and stickers
Found this post helpful? Pin it!
Leave a Reply