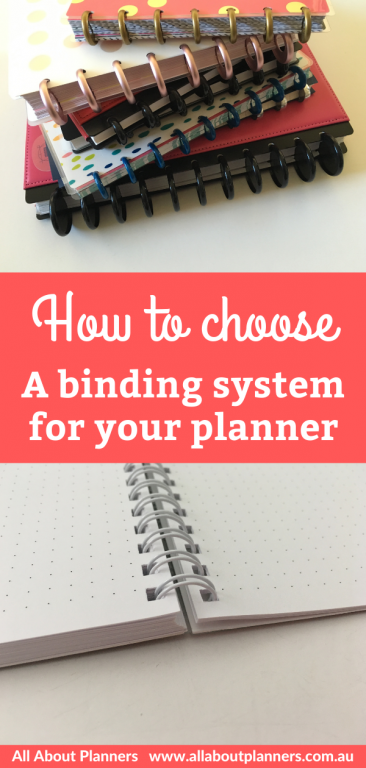
When choosing a planner, one of the most important things to consider (after the daily/weekly spread layout and the pretty cover of course!) is the type of binding.
There are a quite a few binding systems available for planners these days including:
- Discbound
- Spiral
- Ring bind
- Wire
- Coil
If you’re trying to choose the best planner system for you, let’s take a closer look at the the pros and cons of each:
1. Discbound Planners
These types of systems have the ability to remove, add and rearrange pages as needed and are my favorite type of planning system. My personal favorite is the Arc discbound system.
Related: Arcing my Plum Paper Planner – everything you need to know if you’d like to try it yourself!
To enlarge the screen of the video, click the square icon in the bottom right hand corner of the video (it will say ‘full screen’ when you hover your mouse over the icon).
Subscribe to my YouTube channel for more planner related videos & graphic design tutorials!
Pros of discbound planners
• Can rearrange pages and make a planner that suits you –you can also easily move pages between notebooks. So if you get halfway through the year and decide you need a second planner, or you start a blog or Etsy shop and want to keep everything in separate notebooks, you can easily do so
• You can purchase various disc sizes including 0.75″ and 1″
• You could just purchase the discs, make a DIY cover and add your own inserts – this type of planning system allows the most customisation
• Discs come in different colors if you want to color code your notebooks (both MAMBI and the Levenger even have gold discs – love!)
• The notebook can be folded back on itself and lay completely flat
• You can customise everything – you can even add and remove covers which is not always an option with planners (given that you’re going to be looking at the cover everyday you’ll probably want to change it up at some point during the year so it’s nice to have the option to easily be able to do so!)

• Most discbound planners (such as the Arc which is my favorite) have leather covers that come with a pen loop and business card pocket built-in – very handy
• The leather covers are super sturdy. You can get poly covers (they’re much cheaper), but they’re also really flimsy and I wouldn’t recommend them
• When I bought my first discbound notebook I was skeptical as to how sturdy the discs would be and whether pages would fall out. I’ve been pleasantly surprised – the pages stay secure in notebooks and only come out when I’m ready to pull them out
• Can re-position the pages numerous times and they will still be secure
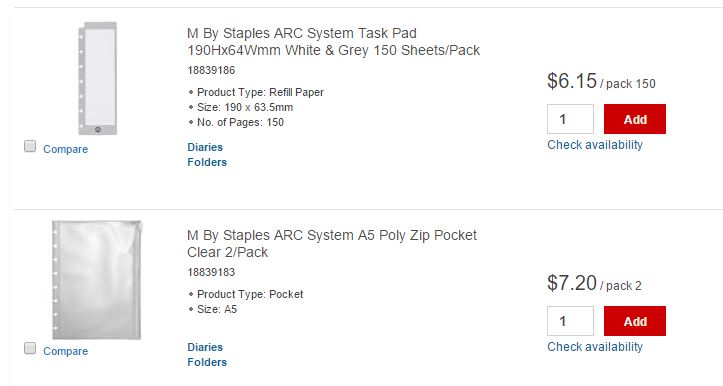
• There are plenty of accessories including pre-punched inserts (I love Arc’s list making ones), pockets (which are great for storing pens, sticky notes and planner stickers), plastic sheet protectors and sticky note dashboards
• Can bind pages portrait ways (like a sketchbook) or landscape (like a normal planner with the binding down the longest side of the page)
• You can bind any page size you want including full page right down to a mini shopping list size
• The Arc notebook comes with ruled/lined note paper included – this paper is thick and sooo nice to write on (you can pull these out if you don’t need them and order more of their lined paper inserts if you do end up using them)
• The disc can be reused again and again and again an unlimited number of times. Unlike all of the other binding options (discussed later in this post)
• Less bulky than a binder

Related: Why I use the Arc Planner instead of binders
• If you’re a student you can put all of your notes for the day’s classes into one notebook rather than having to carry around multiple notebooks, or just note take and at the end of the day or week, pull the pages out for each subject and place them in their respective notebooks
• If you want to make a recipe book, you can purchase clear plastic sheet protectors, pull the page with the recipe sheet out of the notebook and bake and then wipe the plastic clean of spills afterwards and place it back in your notebook – just like you would with a binder but the discbound notebooks are much more compact
• You can put as many pages in as you like so you could do a 90 day planner or 6 months rather than carrying around pages for a 12 month planner that you don’t need to use for months
• You can DIY your own covers and dividers by printing a binder cover onto paper or cardstock, laminating then punching and adding to your planner
• Most of the punches for the various brands that offer discbound systems can punch common page sizes. I use the Arc and you can punch A4, A5, US Letter size and half letter size’
• You can make notebooks at any size you like – you chose how many discs to make an A4, A5, 7 x 9″ (same size as most planner such as Erin Condren and Plum Paper), half letter size etc.

Cons of Discbound Planners:
- You need a special punch (which can be heavy and expensive to purchase & ship to you)
- You won’t be able to add pages using the same method I previously shared for adding pages to a spiral bound planner (although adding pages to a discbound notebook is much quicker and easier anyway!)
- Difficult to find in stores – I live in Australia and the only places I’ve been able to find them is online via Staples & Amazon
- The coil size that comes standard when you buy a discbound planner is usually not quite big enough – I’ve upgraded to expander rings (1″ wide) for all my Arc notebooks (these of course, must be purchased separately)
- If you get the largest coil size and the leather covers then fill the notebook with paper it can make it heavy – if you’re after something light and portable I wouldn’t recommend full page size (letter size 8.5 x 11” or A4 page sizes).
- The leather covers are expensive. Like, really expensive ($73 for the Arc covers for A4 size if you live in Australia like I do) – that may seem a ridiculous amount of money to spent on a front and back cover of a planner but I’ve been using mine for 4 years and it still looks brand new – they are super strong and can withstand a lot of wear and tear
- There are limited colors if you want to use the covers they have instead of DIYing your own cover.
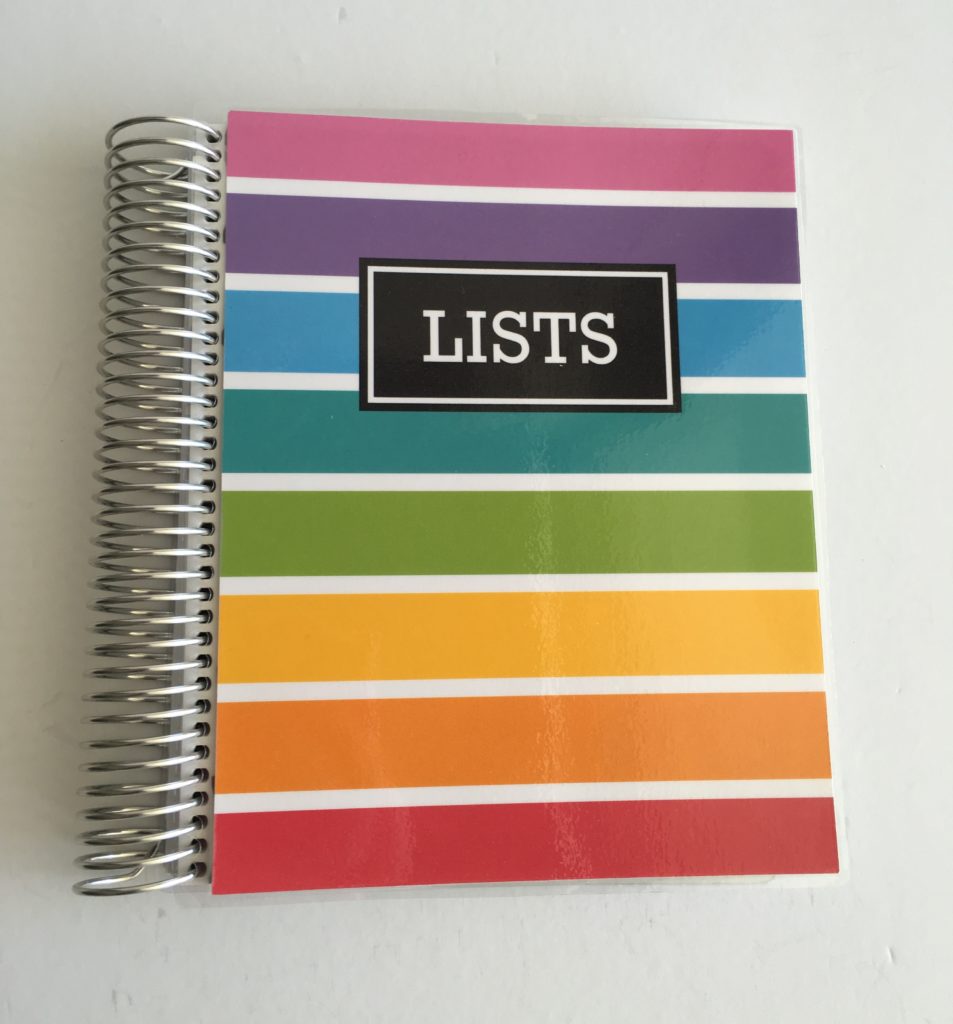
Related: Free printable planner insert (for to do lists, grocery lists, weekly routine tasks etc.)
Discbound systems:
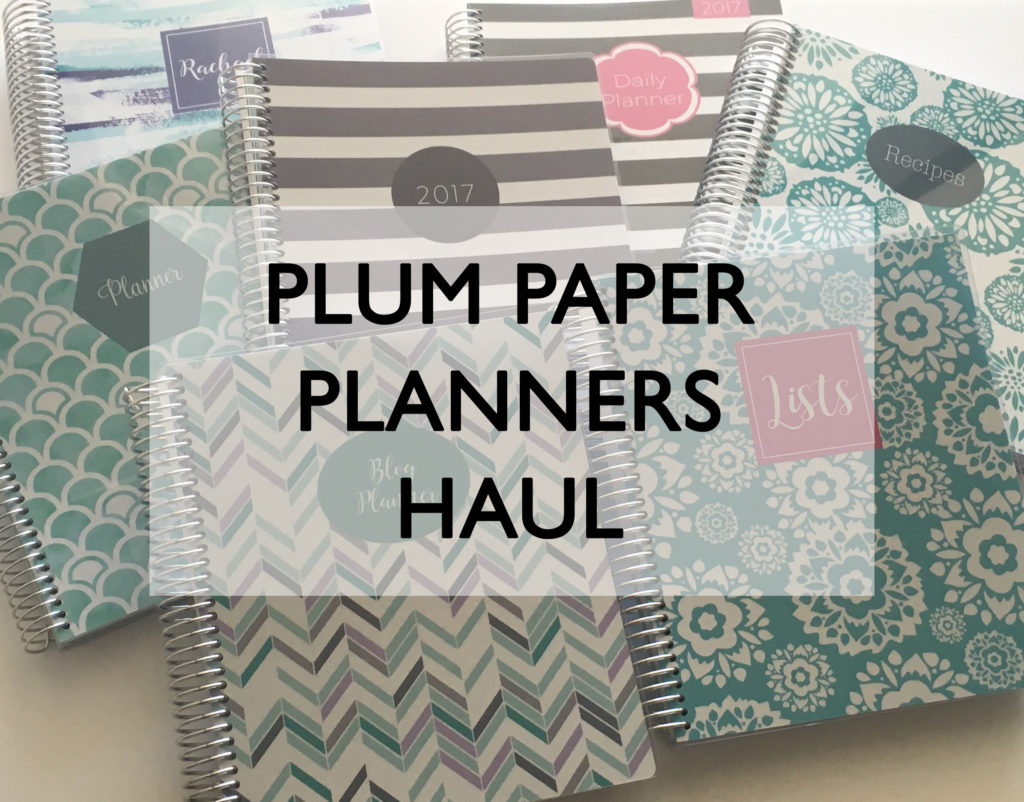
I use the Arc Discbound system. I really love the Plum Paper Planners and after seeing people posting planners they’d Arc’d on Instagram, I went and placed another order for their other planner layouts to try as part of the 52 planners in 52 weeks challenge. I can’t wait to Arc those planners – the parcel should be arriving any day now – excited! 🙂
2. SPIRAL BOUND
Usually a clear, silver or white binding that allows you to fit a lot of pages and fold pages back on themselves to lay flat and not take up as much room. It can be difficult to write in spiral bound planners, especially if you’re left handed.
Pros of spiral bound planners
- Some of the most popular planner companies such as Plum Paper, Erin Condren and Limelife now offer interchangeable covers so you can easily mix and match.
- You can DIY your own cover (I shared a tutorial (and free printable) in this post
- Sturdy – paper doesn’t fall out easily
- Can sometimes choose how long you want the planner to run for – some planner companies do 18 month versions
Cons of spiral bound planners
- Some of the spirals are large and make it hard to write, especially if you’re left handed
- If you want to add stickers and are prone to storing a lot in planner pockets, sometimes the coils don’t give much wigglee room and can come apart
- If you want to DIY a cover, it takes longer to make it for a spiral bound planner than it is to punch it when using a discbound system
Related: How to make a DIY Erin Condren Planner Cover for less than $2 (plus free printable cover)
Spiral Bound planners:
- Plum Paper (my personal favorite)
- Erin Condren
- Limelife
- Too many to list! Most planners are spiral bound
If you want to create a DIY planner using printables, most office supply stores can spiral bind the pages into a notebook for you.
3. RING BOUND/BINDERS
I hate ring bound planners and I never use them.
It’s so annoying having to hole punch pages, try and line up if there are multiple holes as some binders come with 2 rings, 3 rings, 4 rings, 6 rings etc. With binders I always have to take the pages out to write on them because my hand touches the rings making it difficult to write. Plus, it’s so hard to find off the shelf inserts that fit them.
Pros of ring bound planners:
- Come in a range of sizes from full page size (8.5 a 11” or A4 page size) all the way down to personal planner size
- Can add and remove pages as you please
- Can easily find accessories such as pocket folders, document wallets and pencil cases with holes pre-punched and designed to be added to ring bound planners
- Some binders (such as Avery and J Burrows brands) come in the clear view binder style (the ones where you can slip a cover into the front pocket to personalise and make it your own). I like that you can change out the cover as many times as you like!
- You can get decorative binders with patterns already printed onto them (Officeworks is my favorite place to find these)
- If you use A5 size there are numerous inserts that are pre-punched and ready to use. If you’ve found a printable planner page that you like, you can print it at A5 size (or half letter, personal size etc.) by following this printing tips tutorial
Cons of ring bound planners:
- Trying to write in a ring bound planner is really annoying, especially if it has small pages such as A5 size
- Make sure you open the binder and check how many holes there are before purchasing – I have been caught out before accidentally buying 3 ring binders when I only wanted a 2 ring
- If you use the 2 ring binders it’s easier to hole punch but the pages are more likely to slide out than if you use a 3 ring binder
- If you purchase a system that requires 6 holes it can be annoying to punch and expensive to find a punch that will work with 6 holes
- Can be quite expensive – especially if you get a leather onr
If you use binders I recommend placing the pages in plastic sleeves as that way you don’t even need a hole punch. You can even get color coded plastic sleeves from Officeworks – which of course I have heaps of! 🙂
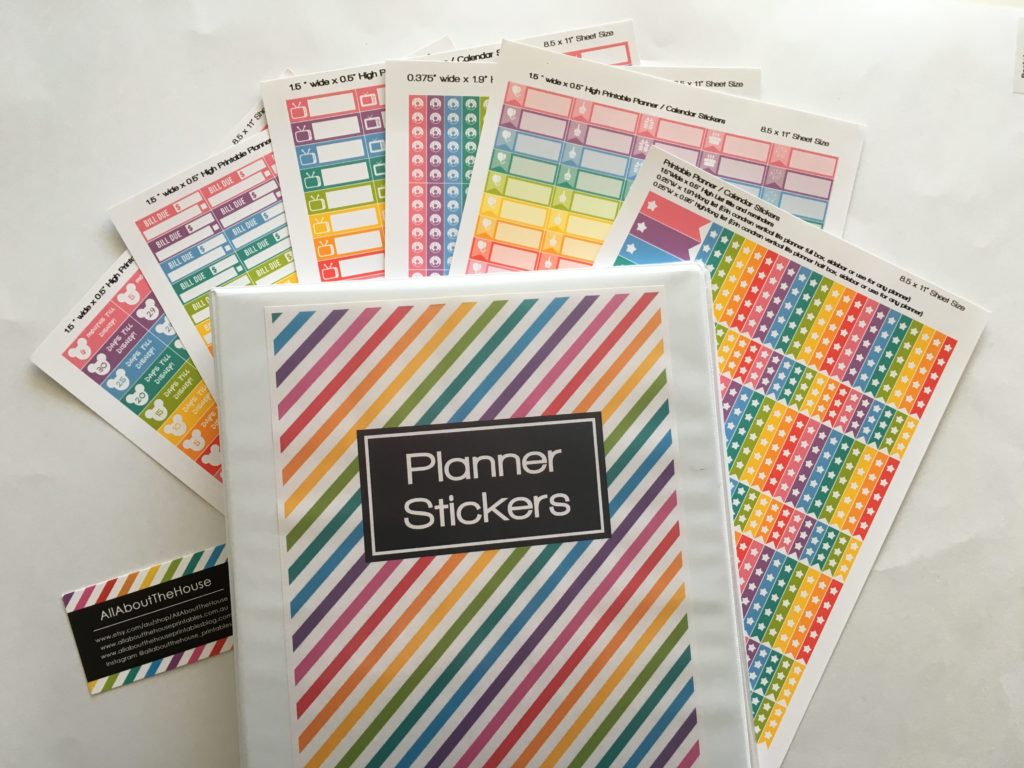
I use binders for more ‘permanent’ things I don’t refer to as often such as my household binder and printed sticker sheets that are ready for me to cut.
Ring bound systems:
- Filofax
- Franklin Covey
- Webster’s Pages – Color crush
- Doki Book
- Inkwell press inserts
- Day Designer inserts
- Day runner
- Gillio
- Webster Pages
- Kikki-k
- Day-Timer
- Louis Vuitton
- Van Der Spek
- Mulberry
- Kate Spade

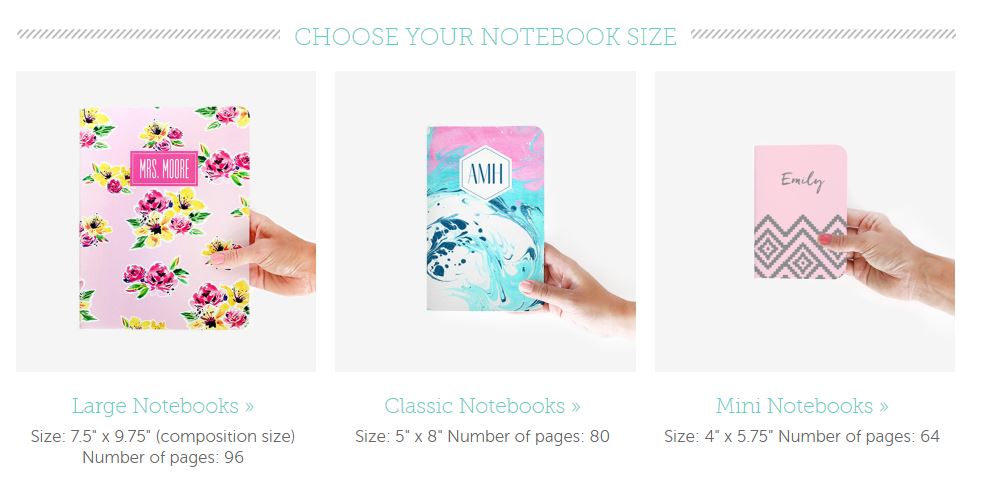
4. BOOK BINDING
This style is where the pages are blue bound to a spine, similar to a textbook.
Pros of book bound planners
- Compact size – you can almost always get this size in smaller than standard page size so they’re an ideal planner for keeping in your handbag
- Easier to write in because there’s no coil
- Affordable
- Readily available
Cons of book bound planners
- The pages usually don’t lay flat unless it is the middle page of the notebook, so you’ll have to hold the page open and write with your other hand. This personally drives me nuts so no matter how cute and functional a planner or notebook is, if it has glue binding, I won’t use it
- Can’t take pages out
- Can’t add new pages
Book bound systems
- Passion Planner
- Midori
- Ban.do
- Moleskine
- Quo Vadis
- May Designs
- Erin Condren have just bought ought some book bound journals
Book bound systems are my second least favorite binding style – I don’t recommend them.

5. Wire Binding
If you want to do your own DIY ring binding at home, try the Cinch machine by We R Memory Keepers or the Zutter Bind it All Machine.
Pros of wire binding
- Wire binding is sturdy – those pages aren’t coming out anytime soon!
- Planners with wire binding are lay flat – you don’t need to hold them open when writing in your planner
Cons of wire binding
- Can’t add and replace pages, once you’ve compressed the wire binding together you can’t uncompress the wire binding to add more pages
- Once a page has been ripped out you can’t put it back in again
- Machines for wire binding usually aren’t designed for full page size and are more for smaller one off crafting such as scrapbooking, journalling or albums
- Wire binding, like ring bound systems is usually quite bulky
Wire Binding Systems:

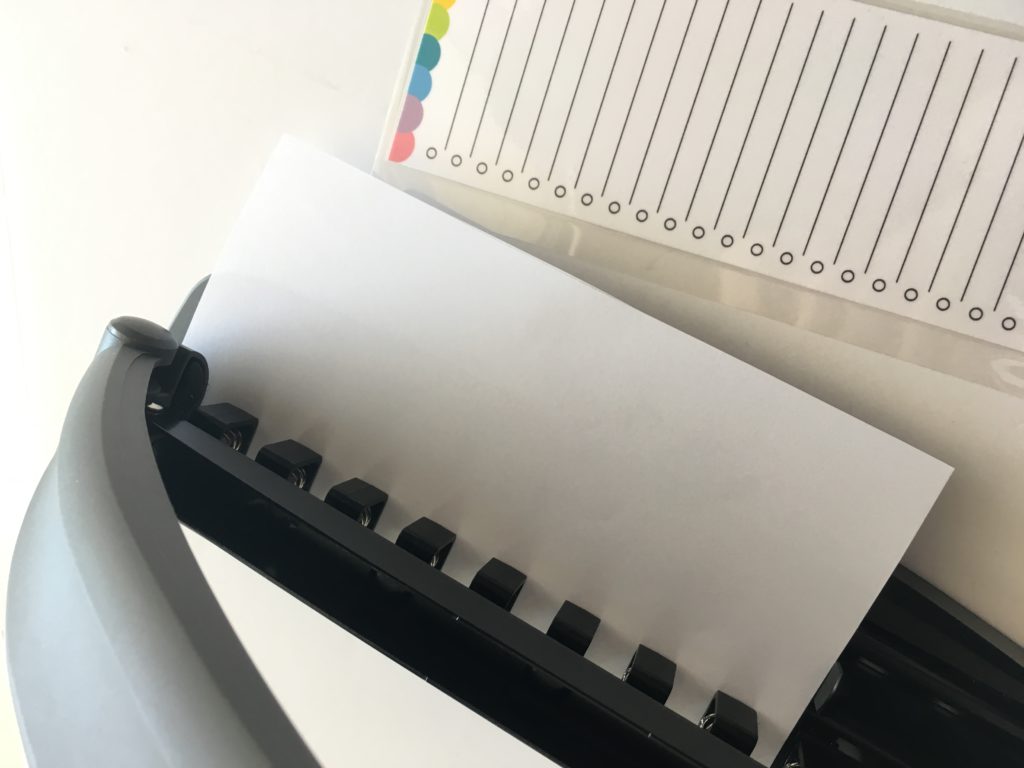
Coil Binding
This is the most affordable option if you want to DIY your own notebooks, planners, recipe books, blog planners etc.
Coil binding machines are the cheapest type of binding machines (they start at around $50). They’re an ideal DIY/ home office solution if you want to make a lot of notebooks as gifts without having to go to an office supply store. Note that you will also need to purchase the spiral coils which are around $10 for a pack of 25 (you can get these I in a range of colors including black – my personal favorite – white,blue and red). If you live in Australia like I do, hit up your local Officeworks.
I used coil binding to make my blog planner (this photo is from a couple of years ago – I’ve since switched to the Arc notebook)
![]()
Pros of coil binding:
- Coils come in a range of colors (typically black, white, blue and red)
- Cheap
- Great DIY option
- Lay flat binding
- If you have a binding machine, you can add and take out pages as you please
Cons of coil binding:
- It can look a little ‘cheap’ and not as ‘professional’ as spiral binding
- If you’re only making one or 2 planners or notebooks, buying a coil binding machines will be expensive – you’d be better off going to your local office supply store and having them bind it for you
Which binding type do I recommend?
My personal favorite (as you could probably tell by how many pros I had listed out!) are discbound planner systems. They’re so much more flexible and customisable due to the ability to rearrange pages and use any page size you like. While they’re the most expensive and require a special punch, I do think it’s worth it – because when I can completely customise a planner it’s more likely to make me want to use it!
My next pick would be spiral binding. It’s sturdy, holds the pages secure even if you’re quite rough with your planner and the spiral binding gives a planner a more professional look.
I would never buy a ring bound planner as they’re too hard to write on with the rings being so large and getting in the way. You could always take the pages out but then it gets time consuming putting everything back in order. I don’t like small page size planners – there’s not enough room to write. But if the ability to add and remove pages as you please is important to you and you don’t want to spurge on a discbound planner (although you could just buy the rings and DIY your own cover), then definitely go with a ringbound planner.
I would also never buy a glue bound planner as the pages don’t lay flat – you have to hold the planner open with one hand while you write with the other which drives me nuts!
So that’s my somewhat opinionated take on planner binding types – I hope this post was helpful if you’re trying to choose what planner to try next!
Related posts:
- Ways to organize using binder covers (plus a free printable monogram binder cover)
- How to organize and color code your notes for school, college or university
- Minimalist planning: simple decorating & divider ideas for your planner using pens
- The Process Behind Making a Printable Planner
- How to make use of blank pages in your planner
- 60 Facebook groups for planner addicts
Liked this post? Pin it!
Nice roundup! I usually prefer spiral bound but as you say, sometimes they can be too large and make it difficult to write up to the edge but if it’s a good one then it works nicely.