For week 23 of the 52 planners in 52 weeks challenge, I wanted to try one of the Limelife Planner layouts. Given that the planners are rather expensive to begin with, plus shipping to Australia where I live (which is never cheap), I was pleased to find they have free downloads on their website!
Related: Planner companies that will let you download, print and try their planner layout for free
Limelife Planners
I chose layout C in the 8.5 x 11″ size. I’ve been on the hunt for a planner that provide space to break things down into lots of categories for each day as I think this will make it easier and quicker to plan.
I printed, punched the pages and added them to my Arc notebook.
Related: Planner Organization: Why I use the Arc Planner instead of binders
I kept the planner at full page size but you could print it smaller at A5 (or any size you like!) Click here for a tutorial on resizing printables using your home printer.
Before the pen
A very clean layout that could be used for anything:
- School subjects
- Projects you’re working on (I’m thinking about using this as a blog post ideas tracker)
- You, family members and your children
- Task focused e.g. top 3, other must do, should do, if I have time, little things etc. if you have trouble prioritizing
- Etc.!
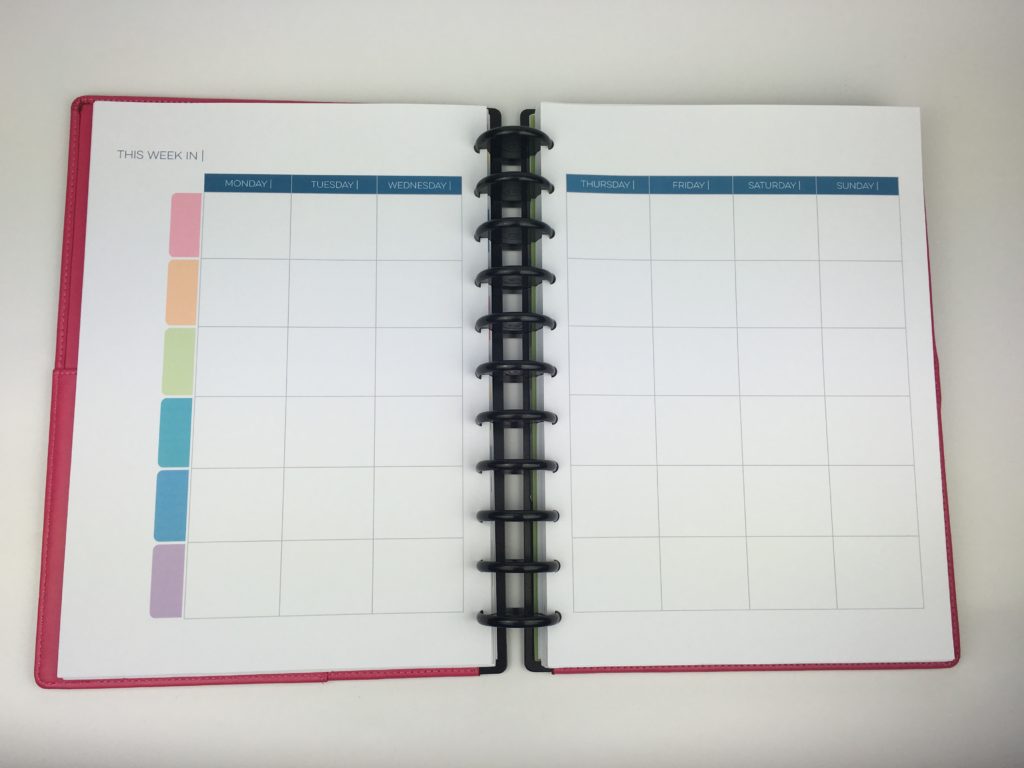
This week’s spread
The reason I chose this template in the 8.5 x 11″ size (as opposed to the 7 x 9″ size) is because the larger page size format has a blank sidebar you can use for anything. The 7 x 9″ version has a lined writing space.
I knew I wanted to use this space for stickers since I’d be using the weekly planning space for tasks and didn’t need another. More on how I used the sidebar in a minute.
The 6 categories I chose were:
- Blog posts
- Social media
- Top 3
- Little things
- If I have time
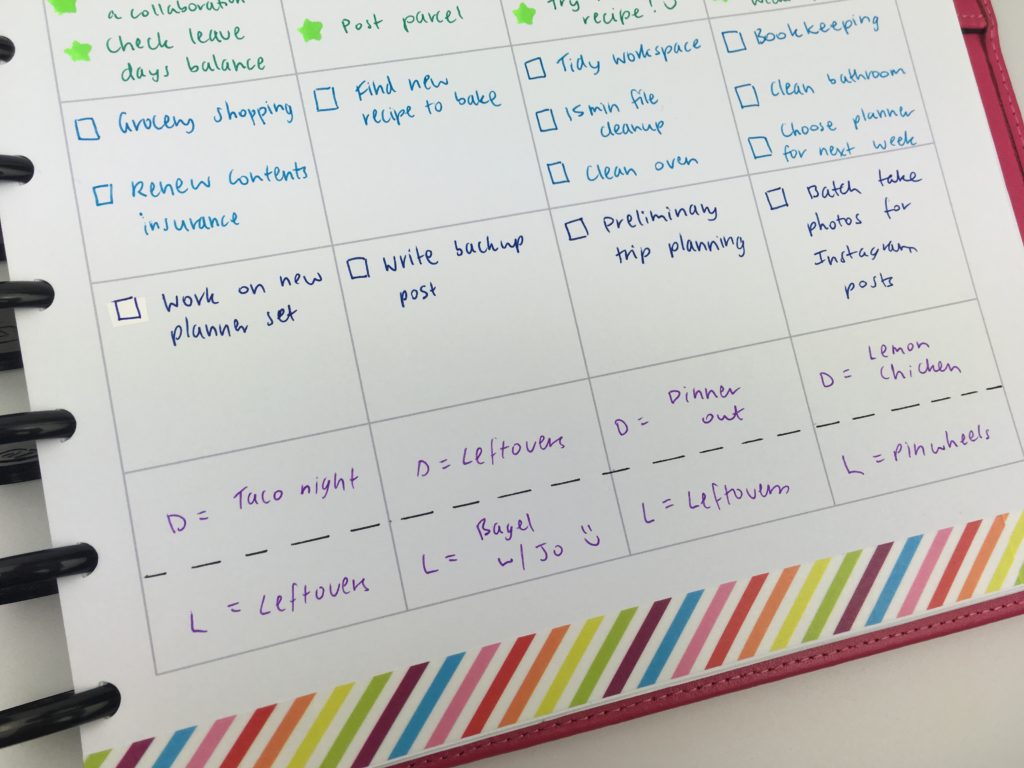
- Meal plans
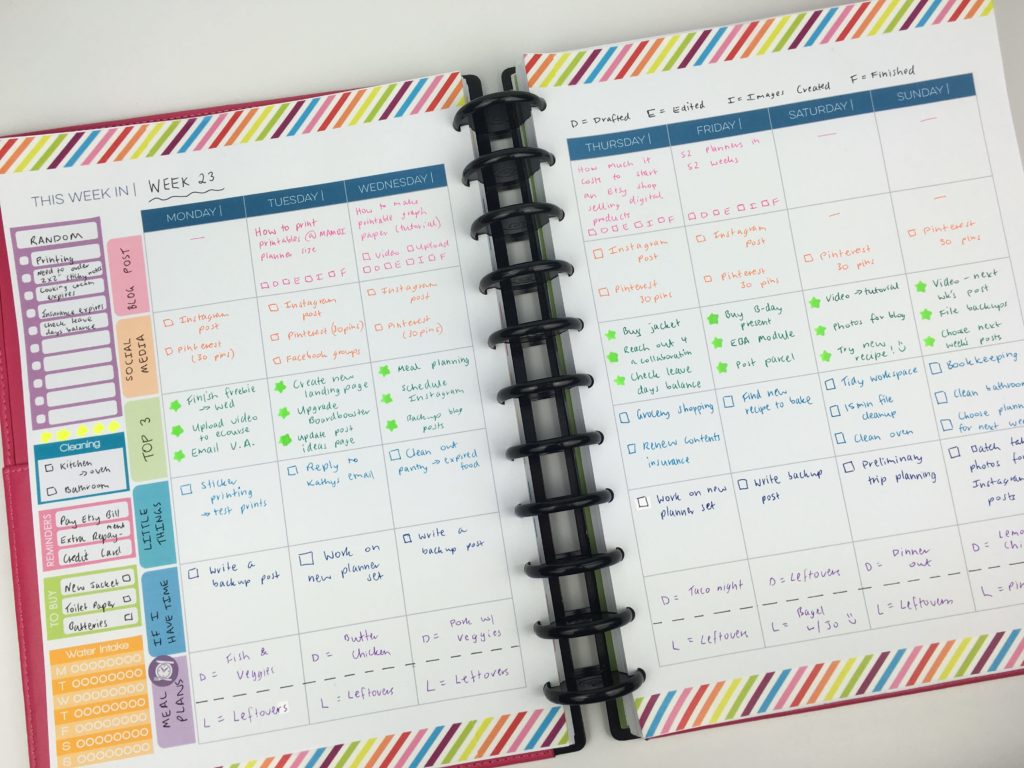
I placed the categories I’d be referring to the most often at the top i.e. most important at the top to least important at the bottom.
I put meal planning at the very bottom which I always tend to do. It’s become a planning habit and I like that I always know exactly where to look to find meal plans. I’m finding I much prefer planners that allow for a separate section for meal planning, rather than when I just add the meal to an open-ended planning space.
I opted to draw a dashed line in the middle of he meal planning box to create space to plan lunch and dinner – it ended up being just the right amount of space!
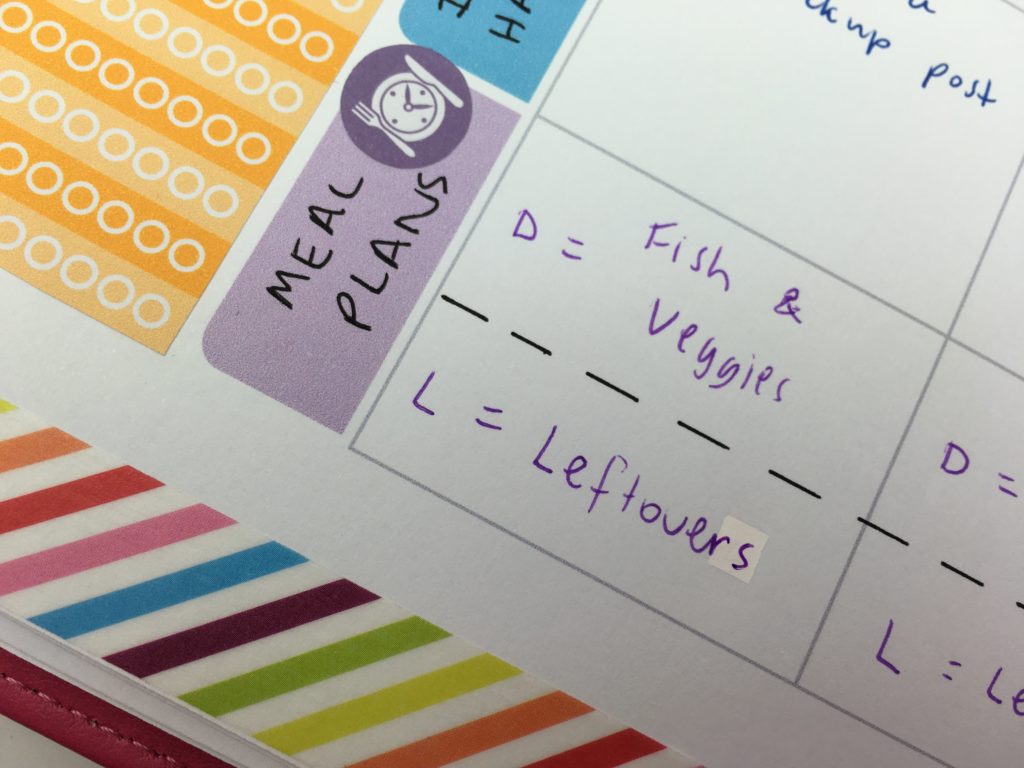
I considered using icon stickers in the days of the week planning space as well, but opted to keep it ‘clean’ and simple by using only colored pens (apart from the 1 sticker I couldn’t resist using for meal planning!)
Related: How to use functional icon planner stickers
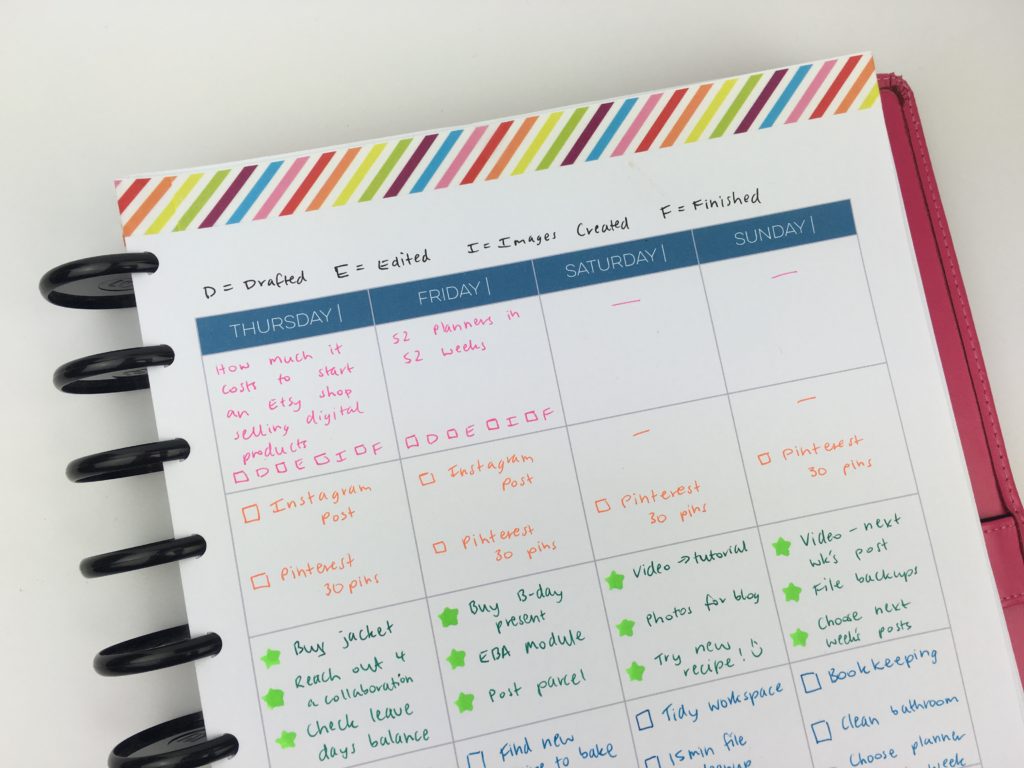
Rather than writing out ‘write draft’ and ‘create pinnable images’ to keep track of my blogging workflow, I just use letters beside a checkbox. I added my key to the top of the page.
I used some pretty rainbow stripe washi tape from my sister’s planner supplies shop that ended up coordinating with the colors of the planner quite well!
I tend to stick to 3 most important tasks (my top 3) and then another 3 if I have time and ‘little things’ this is about all I can get done with working the day job as well as this blog and 2 Etsy shops.
As I continue to try different planners as part of this challenge, I’m slowly breaking my bad habit of over-scheduling. Just because there is blank space on the page doesn’t mean it needs to be filled. It’s good to have some white space at the start of the week for those little things that pop up unexpectedly. Having some white space on the page also makes the weekly spread looks less ‘cluttered’ and over-whelming. By scheduling the things you’re actually going to do and not too many of the things you would like to get done. Your to do list is not a wish list!
I opted to color code by category. I tend to color code blog posts each week but since I find myself enjoying blogging more about planners than the behind the scenes blogging & Etsy shop stuff, I probably don’t need to color code blog posts anymore.
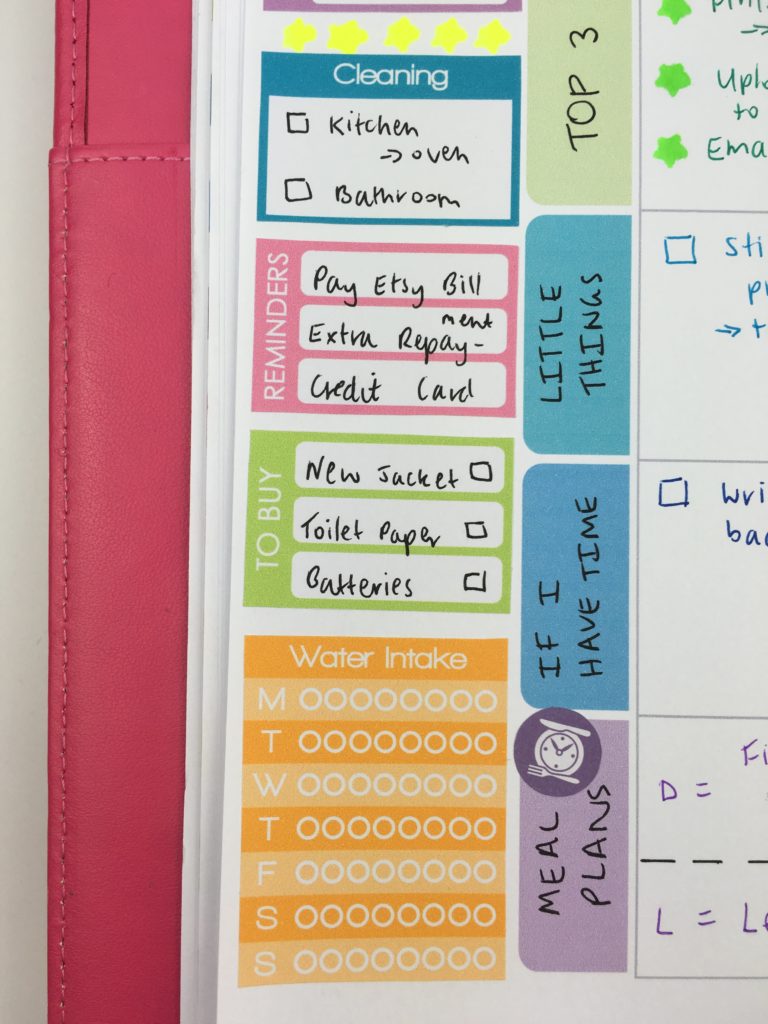
Using the sidebar
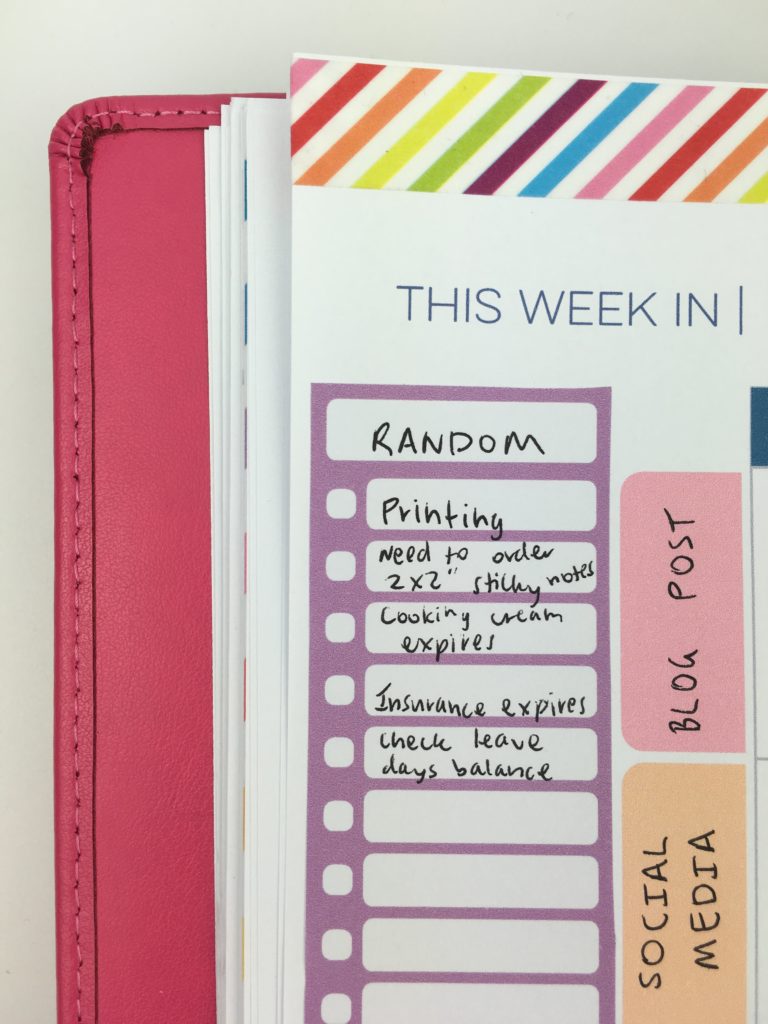
I used printable stickers from my shop and stacked them to make a sidebar.
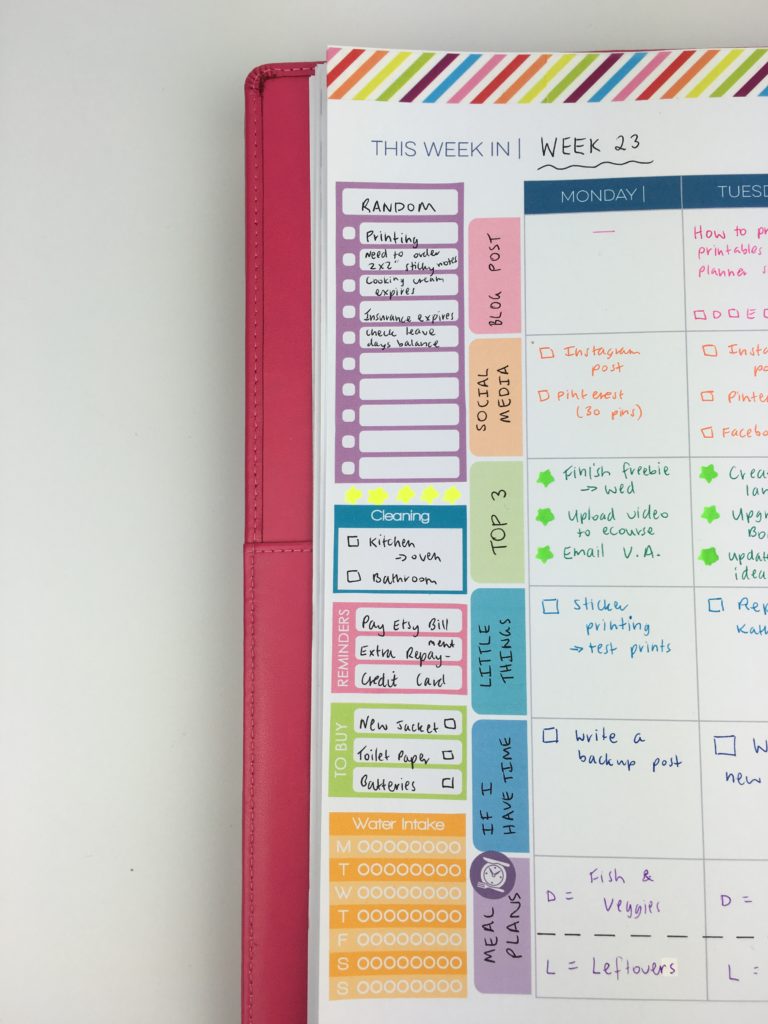
I used the anything checklist sticker (which is sized to fit the entire height of 7 x 9″ size planners) and trimmed it down to size. Rather than pre-planning my week, I used this as a ‘brain dump’ list of sorts. It worked ok but I think I’ll stick to what I normally use (a notepad). The reason being is that I like to be messy with my pre-plans so my final spread looks neat.
Related: Why I plan my day using planner stickers (and why you should too!)
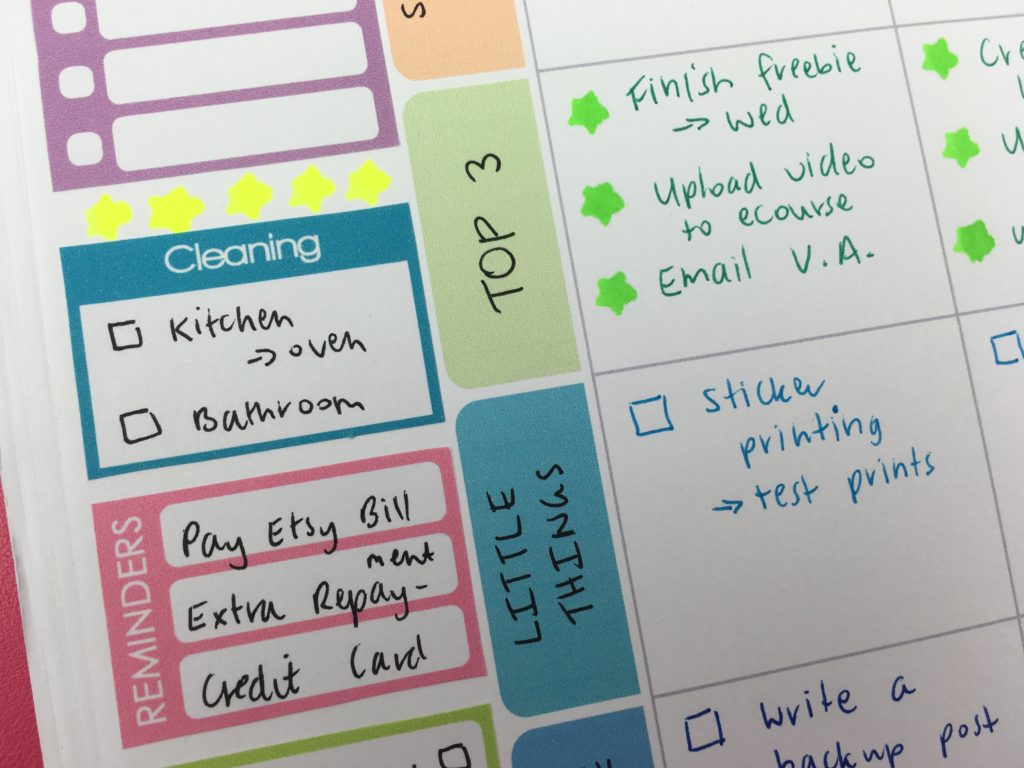
Cleaning sticker. This one is Erin Condren life planner half box size. It’s such as good size that works with just about every planner I’ve used it in including the Plum Paper, MAMBI mini happy planner etc.
‘Reminders’ sticker – I opted to use this for bills that are due to be paid soon. I’ve also made a payments checklist sidebar sticker if you want to record the date the bill is due.
To fill white space between the stickers I used my star highlighters – I don’t think it looked that great – I’ll probably stick to washi tape or colored dot stickers for future spreads.
‘To buy’ sticker. I like to use these for jotting a couple of things you forget to pick up or if you want to buy something that is on sale for a limited time (in my case a new jacket for the trip to Europe I’m planning for next year!)
Weekly hydrate sticker. These are always a helpful reminder to drink more water and take up much less room than adding a daily hydrate tracker to each daily planning space. It’s also easier to compare water intake for each day.
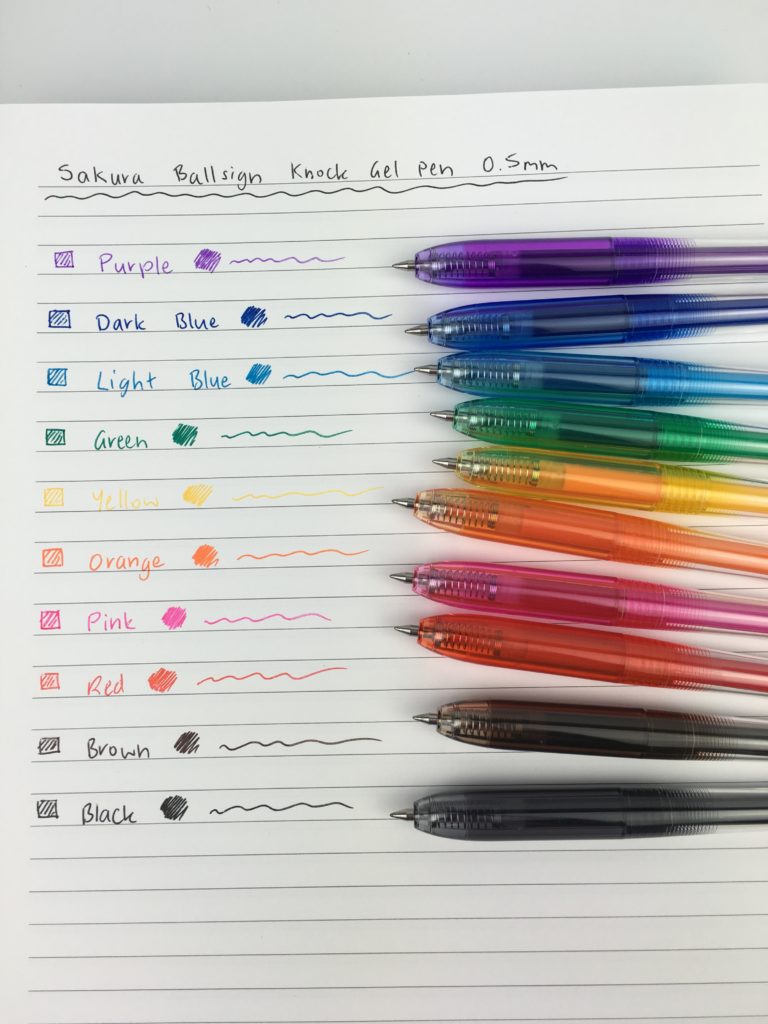
Pens Used
I used the Sakura Ballsign 0.5mm retractable pens. They write very smooth and the come in a pack of 10 colors.
I decided to mix it up this week and use star highlighters I found on Etsy for the top 3 section. I really like how it looked. These highlighters did bleed through the page and onto the page underneath.
I hand-drew the checkboxes but if you wanted to save time, MAMBI have a checklist stamp that I also use quite frequently, as well as the Frixion erasable stamps.
The colors used in the layout are those that are readily available in most stationery supplies for color coding (pens, highlighters, sticky notes etc.) making it very easy to color code 🙂 The boxes to write the subjects in are also a decent size – much more space to write titles / categories than most planners.
Related: 50 Category Ideas for Color Coding Your Planner

Would I use this spread again?
I really liked this planner. It was a simple and very functional weekly spread. I liked that there was a place for everything – 6 categories was just the right number of categories.
There’s the flexibility to change up the categories each week, and split a box into 2 to create more sections (like I did with meal planning). This is definitely one of my favorite planning layouts so far!
This would be a good planner for a busy person that’s trying to manage multiple things on the go, if you’re a student, blogger, business owners or a mom trying to keep track of everyone’s schedules.
Catch up on past weeks of the challenge:
- Week 8: Weekly Planning using the Plum Paper Memory Keeper Book
- Week 17: Using the Plum Paper Vertical Weekly Planner
- Week 18: Making a DIY printable planner with a flexible layout
- Week 19: Mi Goals Weekly Planner
Related Posts:
- My favorite places to buy planner supplies & stationery
- Plum Paper Planners Haul & Review (better than the Erin Condren?)
- Favorite black pens for planner addicts
Access the free printables library and be notified when new blog posts are published

Found this post helpful? Pin it!
Disclaimer: this is not a sponsored post. I was not compensated – all opinions are my own.
Leave a Reply