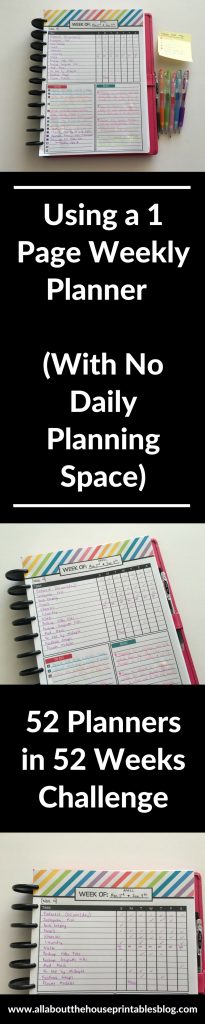
For week 14 of the 52 Planners in 52 Weeks Challenge, I kept it simple with a 1 page weekly planner that had only 3 sections. I originally made this planner page back in 2015 when I designed the rainbow weekly planner.
I used this as an add on page when I printed the planner at A5 page size and needed just that little bit of extra planning space, and to track routine tasks to save having to re-write them all the time.
This time when I used it I printed it at full page size and had just enough space to plan the week without having to use any other pages or sticky notes.
![]()
Related: Ultimate planner page size guide (with printable reference cheat sheet)
This planner page is from my printables shop (it also comes in the signature chevron pattern).
Instructions for printing at non-standard pages size such as A5 or 7 x 9” (if you wanted to add it to your Erin Condren, Plum paper or other planner) are in this post: how to print any printable at any page size
Before the pen:
![]()
I used the Arc punch to add the page to my planner.
Related: Planner Organization: Why I use the Arc Planner instead of binders
Because I originally designed this printable is designed to be an ‘extra page’ each week to provide an overview…
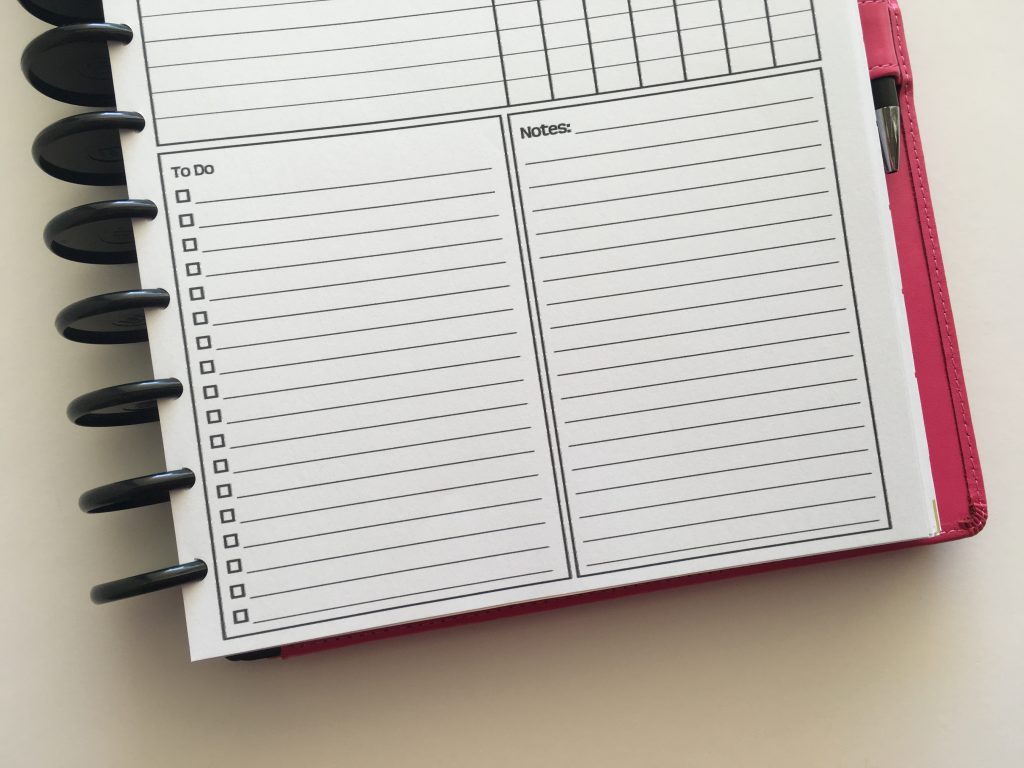
I opted to change ‘notes’ to ‘blog’ and add a pop of color in the form of some header planner stickers (they’re sized for the Erin Condren vertical life planner but I use them for any planner).
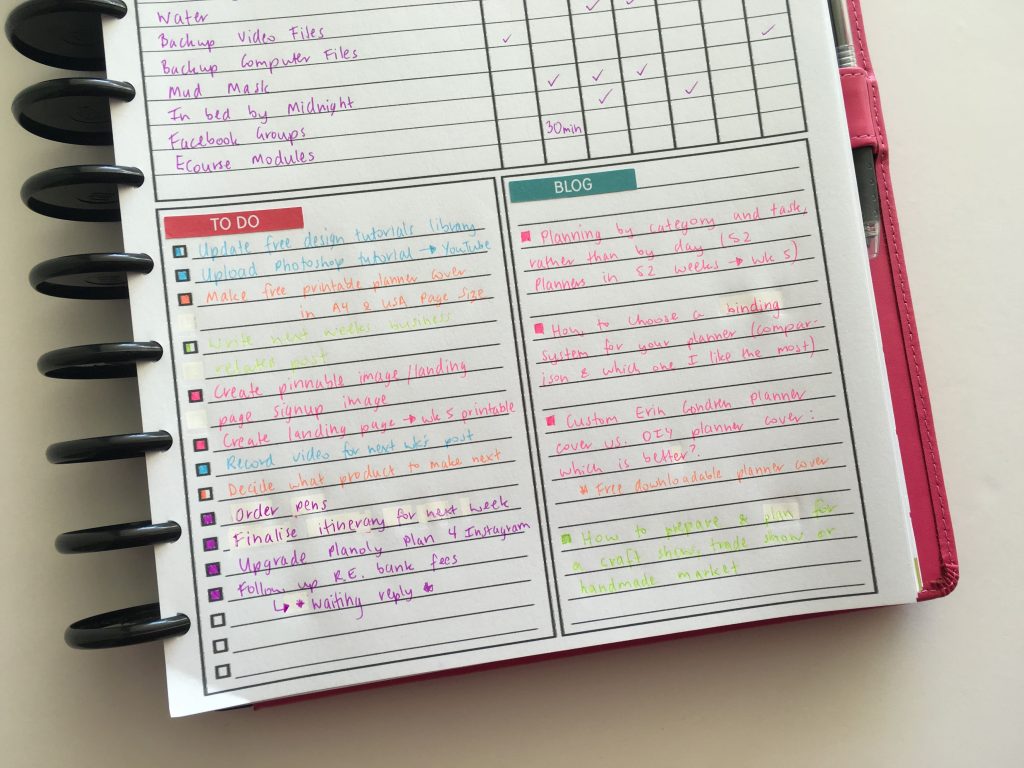
Color Coding
As I almost always do – I color coded this week 🙂
I color coded tasks using different colored pens.
- Pink for planning related blog post
- Green for business related blog posts
- Blue for graphic design related blog posts
- Orange for products (free and paid products in my Etsy shop)
- Purple for personal & behind the scenes – blog and shop maintenance
I’ve been using the same colors for the same categories for quite a while now and can finally say that I think I’ve found color coding peace 🙂 If you’re not sure what categories to choose, see: 50 Category Ideas for Color Coding Your Planner

Related: Planner Organization: How to color-code your planner (so you’ll actually use it effectively)
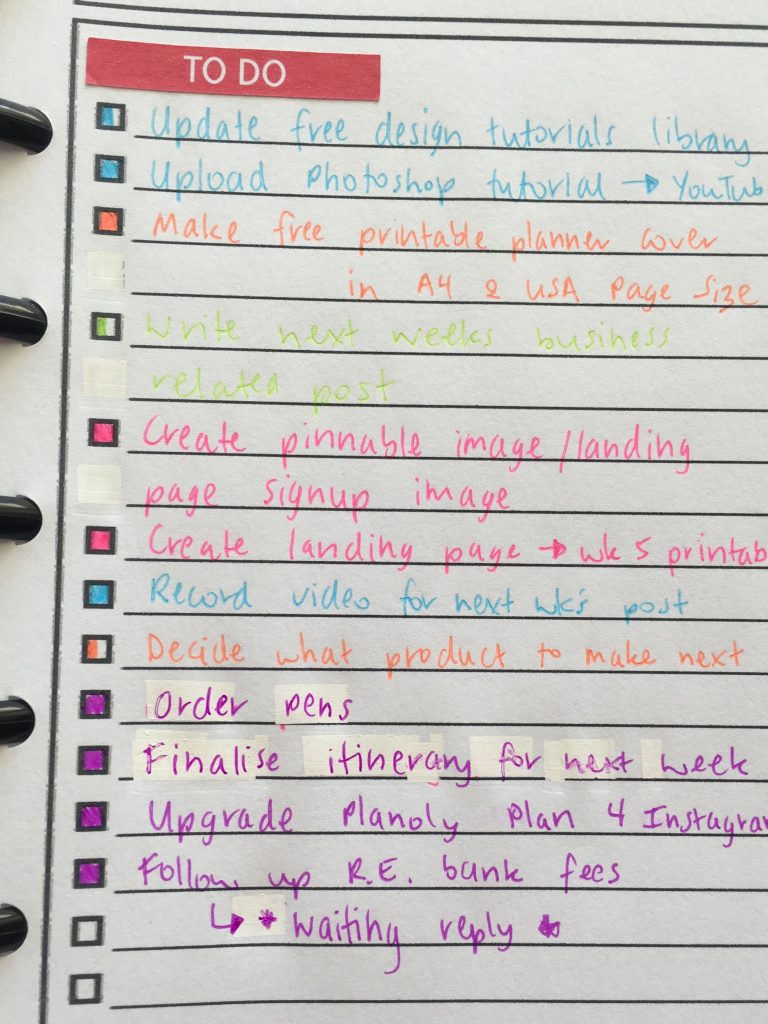
I ended up finishing most of the things on my to do list. To track my progress I use this system:
- A single line in the middle of the checkbox = task has been started
- A half shaded box = in progress
- Fully shaded box = task completed
Color coded blog posts:
Color coding helps me maintain the right content mix.
My main topic is planners so I try and do 2 – 3 posts about planners / planning each week, as well as 1 post for graphic design (blue) or 1 post for online business / running an Etsy shop (green).

Pens used
Pilot Juice pens – love all of the colors except the green. I had to write over the green text twice to be able to read it – the color was way too bright (it’s the Apple Green if you’re wondering).
The only place I was able to find them in Australia that had inexpensive shipping to Australia (free if you spend more than $15) was at Bunbougo – they also have Uniball signo pens, Zebra Sarasa and a few other pen brands that are hard to find. I may or may not have bought them all… 🙂
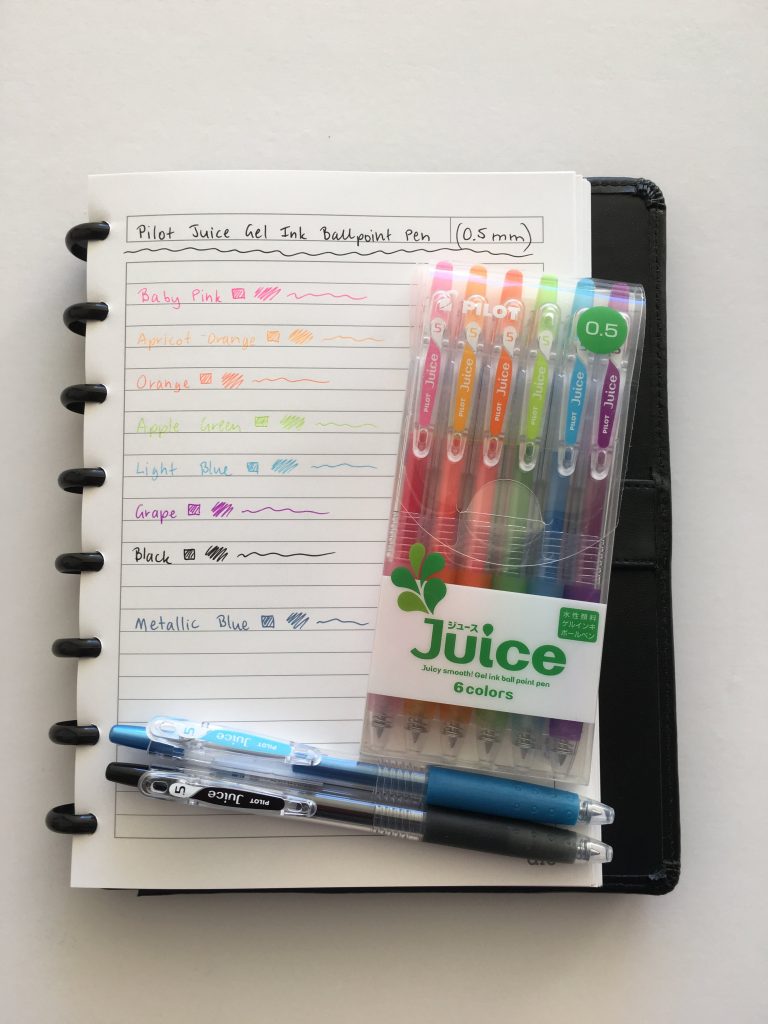
If you live in the USA, you can find these Pilot Juice pens (and all those other pens mentioned above plus dozens of other brands at Jet Pens).
I’m not sponsored by either company – just an FYI 🙂
Pros of this spread
- Not a lot of room to plan so it’s helps prevent you from over-scheduling
- Colorful! 🙂
- Very quick and easy to set up the week – because there’s only 3 sections and no room for decorative stickers
![]()
- When printed at full page size, there is room in the habit tracker for putting the time spent on the routine task instead of just a tick, cross or shading in the box. Because of this extra space I was also able to track water intake
- Space to track 14 habits / recurring tasks so you don’t need to keep re-writing them
- The printable is editable so if you did use this for weekly planning you can enter your habits once and re-print week after week to save having to re-write them all the time
![]()
Cons of this spread
- Only had just enough space to plan everything for the week – for a very busy week this planner page alone would not provide enough planning space
- If you plan by day rather than by task this would not be a good layout for you
- You could use the 2 sections at the bottom for anything you like. If you’re a fellow blogger though and want to set the planner up the way I did and need weekly meal planning space, you’ll have to do meal planning on a notepad or in the monthly calendar spread as there won’t be enough room on the page
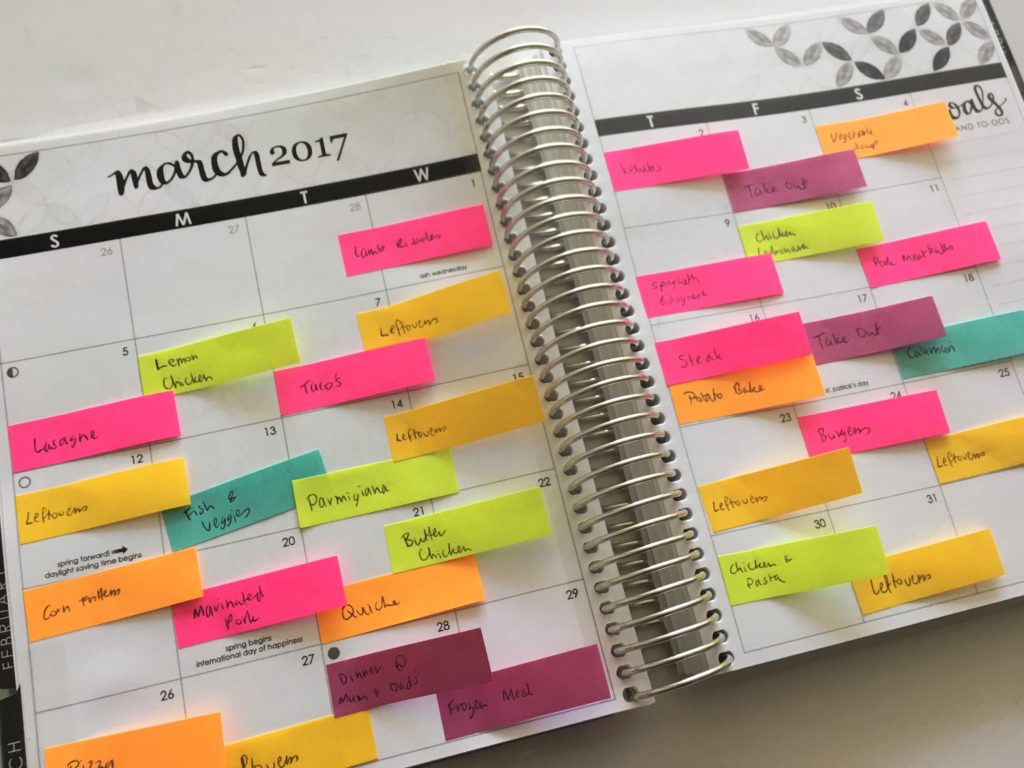
Related: Color coded monthly meal planning using sticky notes
Would I use this layout again?
I liked the simplicity of this layout but I don’t think I’d use only this page to plan my week again. I’d need another page for just that bit of extra space – everything felt a bit crammed on the page.
A similar style of this planner would be the Plum Paper Horizontal Lined with notes which I used in week 12. But if I used that planner again, I’d convert the notes box at the top to a habit tracking space like I did in week 8 with the Plum Paper Memory Keeper book, and then it would create a good combination of that planner and this layout.
Liked this post? Pin It!
Catch up on past weeks of the challenge:
- Week 4: Minimalist planning: how to plan your week using a blank notes page and stickers
- Week 5: Planning by category and task, rather than by day
- Week 6: Planning using the Horizontal Erin Condren Life Planner
- Week 10: Minimalist 1 page planning using washi tape
- Week 11: How to plan your week using Trello
Leave a Reply