What are Mockups?
Mockups are the ‘staged’ photos or backgrounds that you can use to present your product for sale and show the customer how they would use it. They make your products look much more professional! If you know your have a great product but that just doesn’t seem to be translating into sales, I recommend using a mockup (at least for the first photo of the product listing).
This post contains affiliate links. If you make a purchase after clicking one of these links I’ll receive a small commission (at no extra cost to you) in exchange for referring you.
Here are some more examples of how I’ve used mockups for my online business
Etsy shop (or online business) income & expenses tracking spreadsheets: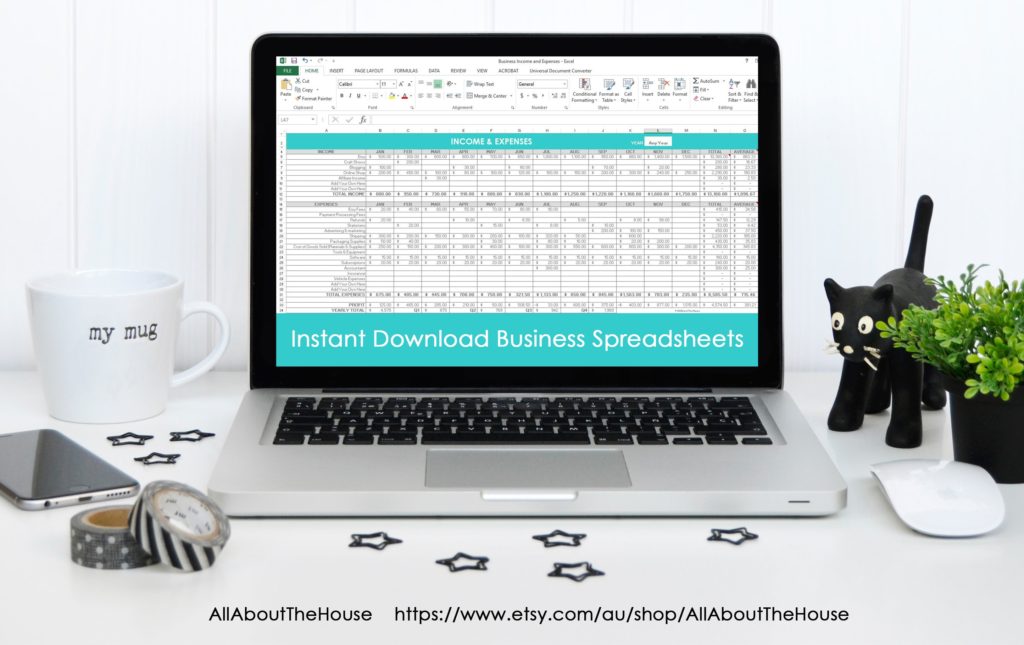
Inventory Management Spreadsheets
![]()
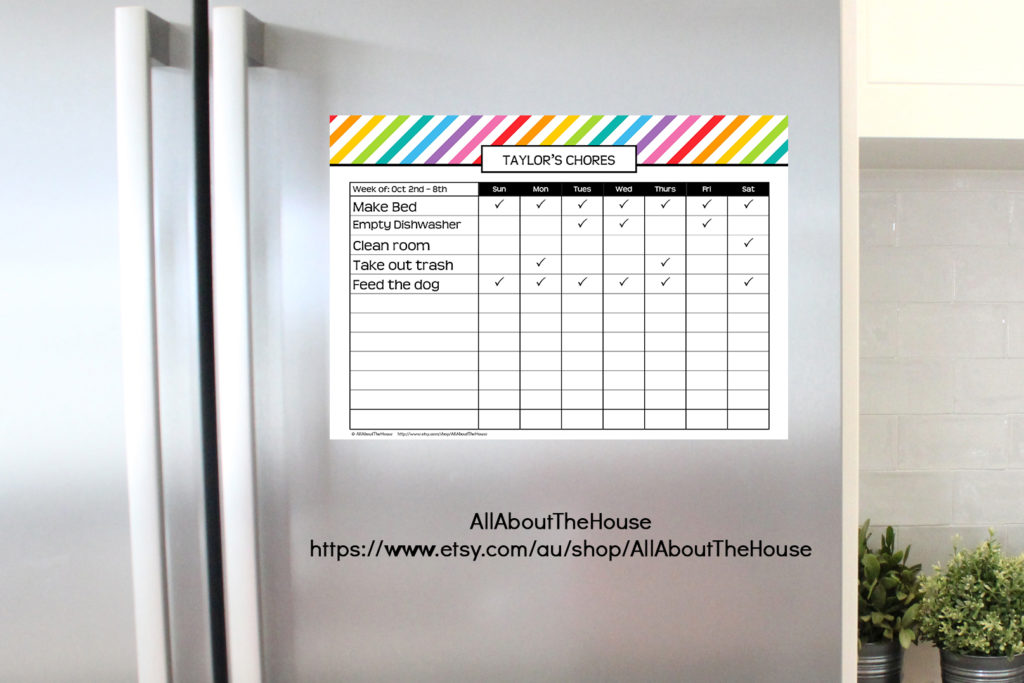
Editable Rainbow Chore Chart (Printable)
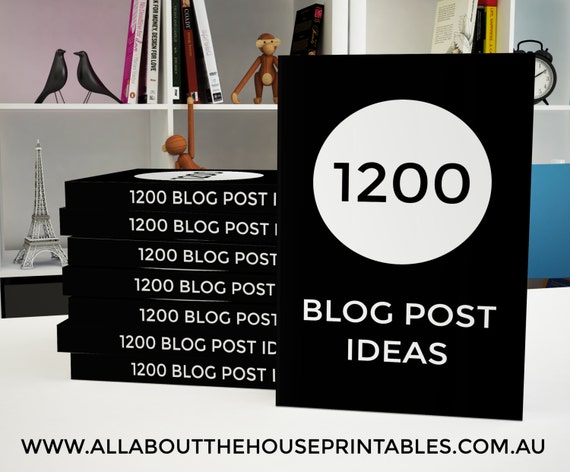
 1200 Blog Post Ideas Ebook
Where to find mockups & styled stock images
You can find mockups for almost anything from cushion covers, to frames for wall art, to mugs, to styled desktops etc. They are great for digital and physical product sellers. You can also find entire ‘scenes’ so customers can see how the product could look in their home (such as a couch with a blank wall behind it where you place your wall art).
My favorite resources for mockups are Design Cuts and Etsy.
I share more of my favorite places to find mockups in my Designer Resources ebook which is included in my ecourse: How to make patterns in Photoshop and Monetize your Designs
Mockups range anywhere in price from $5 to $70. Be sure to look for collections and bundles as these are cheaper, and all of your stock photos will have consistent styling. Most stock photography sellers on Etsy offer discount deals e.g. buy 3 get 1 free (be sure to check their shop announcement).
How to use Mockups
If you don’t have Photoshop, you can purchase and download it here (my affiliate link).
Mockups are either a jpg image you can simply add your product photo or design over the top of, or are a Photoshop file with a smart object. In the video below I show how to use this type of mockup.
If you haven’t already, you’ll need to download Photoshop to use Mockups with smart objects. Photoshop can be downloaded here.
To enlarge the screen, click the square icon in the bottom right hand corner of the video (it will say ‘full screen’ when you hover your mouse over the icon). If you miss a step or need to re-watch you can pause, restart, rewind and rewatch the recording as many times as you need!
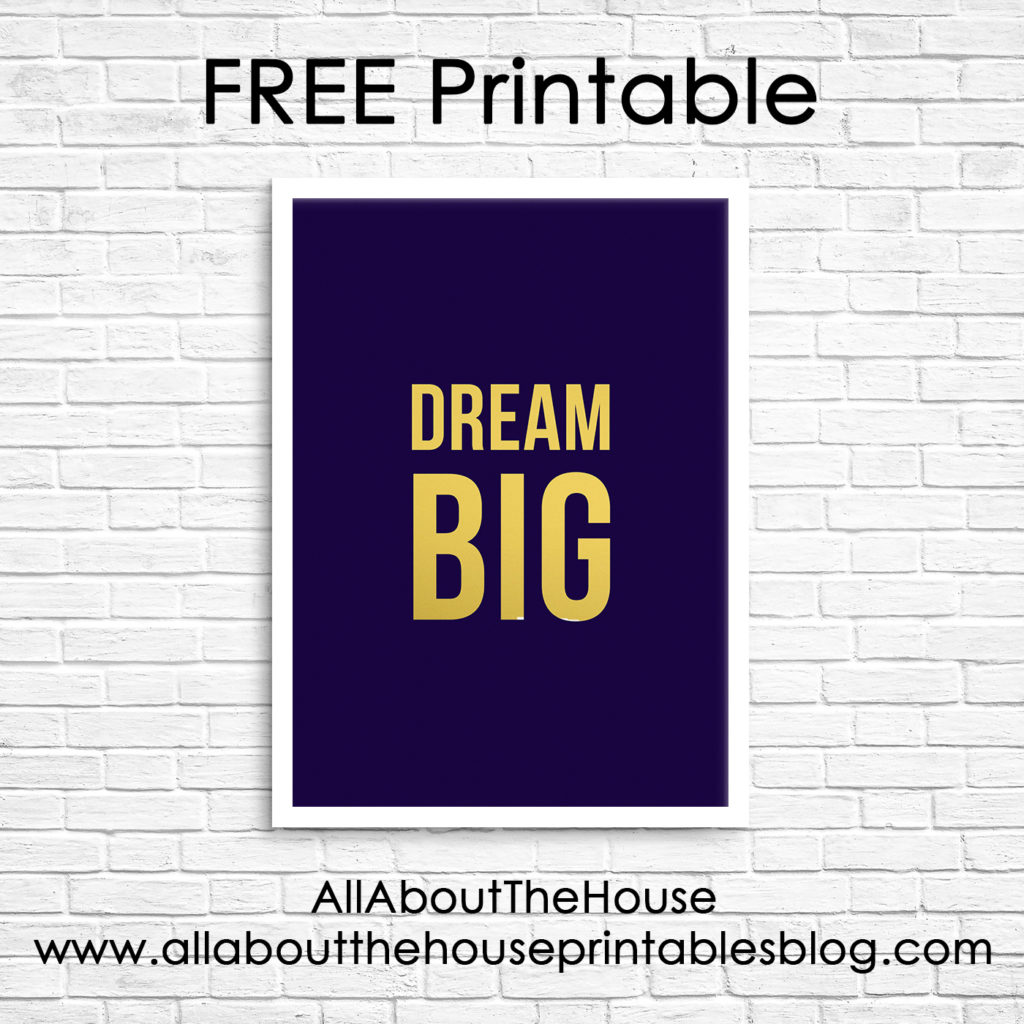
The Dream Big wall art printable I used in the video can be downloaded from the free printables library for blog subscribers. If you’re an existing subscriber, you can login here (the password was sent in the initial subscription confirmation email), if you’d like to subscribe and download the wall art, click here.
It’s 8.5 x 11″ page size so you can print it on your home printer – I recommend glossy full sheet label paper and then just don’t peel off the sticky backing. You can also use glossy photo paper (the glossy-ness makes the gold POP!). The print can be trimmed to 8 x 10, 5 x 7 etc. If you’d like a smaller size – just draw an outline of the desired size in the centre of the back of the print so you know where to cut.
I recommend printing using ‘borderless’ printer settings. More printing tips in this blog post.
A video tutorial on how to make a product collage (also a great way to present your products for sale) is coming soon!


Leave a Reply