This post is for anyone who has ever wondered what goes into making one of the printable planner sets in my shop, or are curious about the design process involved in making printable planners.
1) What type of planner should I make?
I’ve made enough printables to sort out my own life, but have a never-ending to do list of ideas for printable planners that may be beneficial to others. So I need to be really selective about those I go ahead and invest a lot of time in creating. To help narrow down my focus and choose which to make, I consider:
- Which products are customers demanding the most?
- Which products have I already started and are 50% or more through the process of being completed?
- Which product ideas am I excited to make? (and have tons of ideas for the product!)
- What type of product have I not created in a while? I want to make sure I maintain a variety of printables so people have a reason to come back! Especially if that type of product is the only product they are interested in purchasing from my store
- What product do people keep asking to customise? Then I try and make a variation of that e.g. different color/s, page sizes, style (fonts, formatting), Sunday and Monday week start versions etc.
2) Research and Brainstorm Ideas
What problem/s do I want my product to solve? As an example, I am not a direct sales consultant but I had a few customers asking me if I could make a direct sales planner for them. I thought it would be fun so I agreed! Making that planner involved:
- Researching what a direct sales consultant does – what their job entails, what sort of tasks are involved in their occupation, what types of things they would need to keep track of
- Used the knowledge I had from attending direct sales parties
- Asked direct sales consultants (the ones who had inquired asking if I could make them a planner) what sorts of planner pages they would like (after all, they are the ones who are going to buy the planner so it is wise to ask the end-user what they want/need to create a product that is going to help them!)
Related post: How to resize any printable for any size bullet journal
3) Compile a list of planner pages to make
This is my favorite part of the process ! I go a tad overboard and list every single type of planner page if I was someone using the planner I am making would find helpful/useful (as I can always scale it back later). Sometimes the list of pages ends up being more than 100 types of planner pages long! I will usually get a point after researching and brainstorming where I am itching to start designing and then:
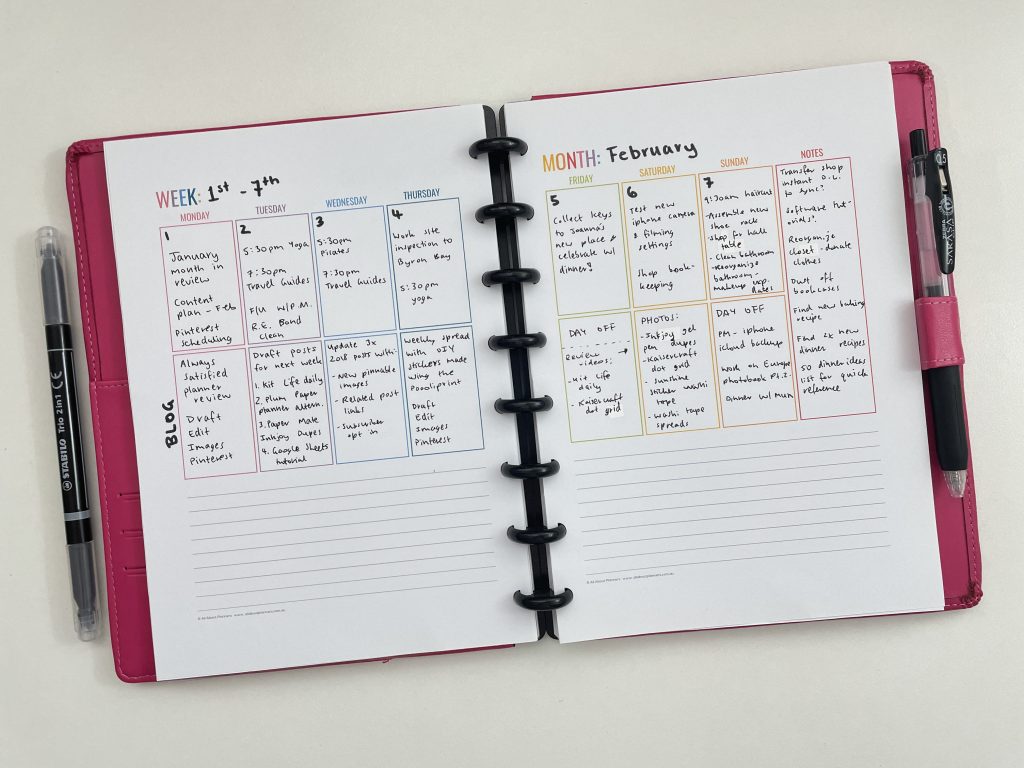
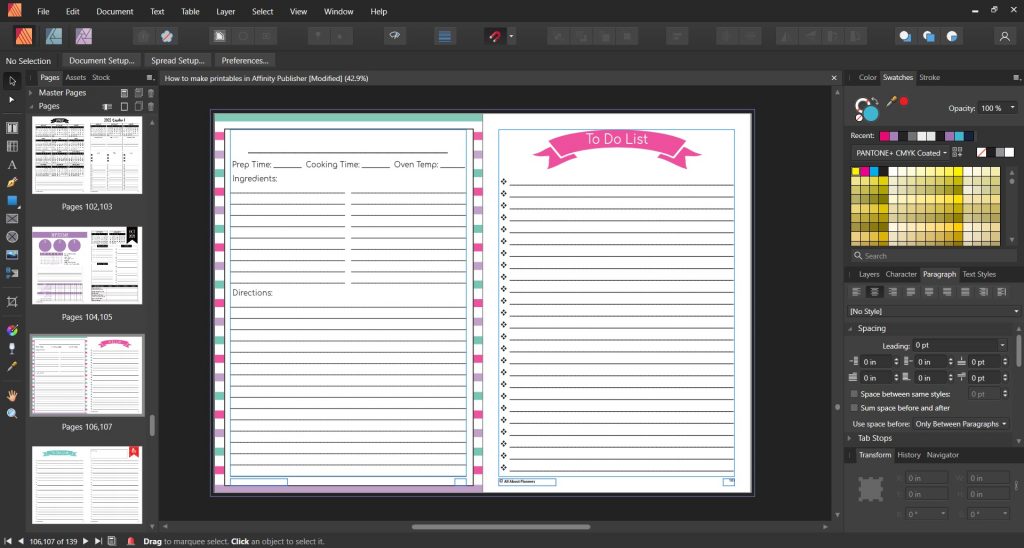
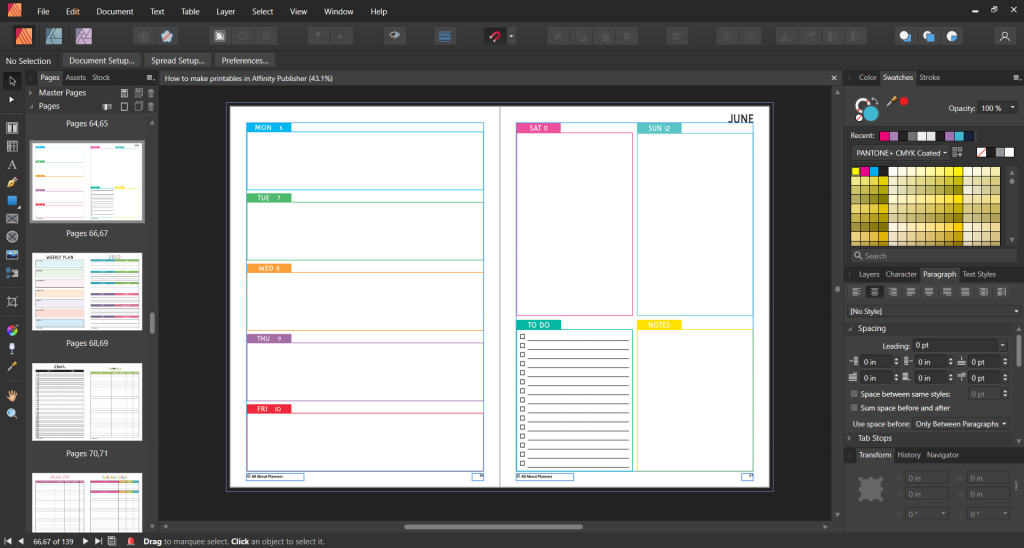
4) I draw sketches for each planner page or just design them straight on the computer
I usually have an idea in my head of what I want the page to look like although sometimes they morph into something completely different (better) than what I had in my head or had sketched, when I am actually creating them. Because all of my chevron planners use the same background design ‘template’ this saves time (but it did take a long time to create when I made my very first planner set which was the finance binder)
5) Once I am happy with the design I…
Do test prints to see if there is a large enough margin for binding or hole punching (including for left-handed people!) and if the font size is large enough.
Test/use the pages to see if I like how they work, if more room is needed to write in a certain section, if I think another element would make the design more useful etc.)
Then I keep making more planner pages. Sometimes, during the design process, I think of new pages that I think would be helpful, or create variations of the same page to cater to more people or if I just know people will ask for that version e.g. Sunday and Monday start versions if there is a weekly planner. This can be a very time consuming process (usually a few entire weekends spent entirely glued to my computer working solely on the one planner), as I like to do the designing in ‘bulk’ and all at once when inspiration strikes.
If you’re interested in more tutorials about making your own printables, I have an entire ecourse filled with tutorials on How to make printables using Affinity Publisher
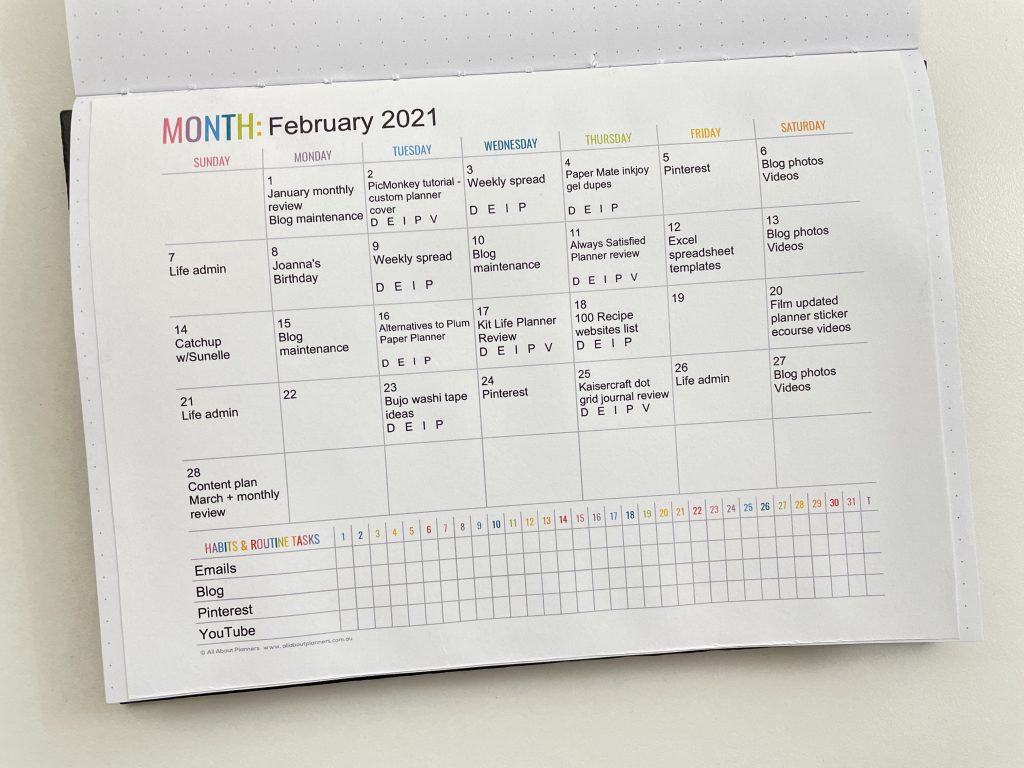
6) Check my list of pages I want to include in the planner..
And weed out the pages I have designed/combined into one page (for example one page that solves two problems) – this could be as simple as adding a feature, for example, of making the notes section of a calendar shorter and adding a monthly checklist. If I do not think a page will be popular I may not end up creating it, or if there is a slight variation I could make or a different type of design that achieves the same thing as a planner page I have already created then I might leave that page out also.
Design tutorial:10 Reasons why I switched from Adobe Photoshop to Affinity Publisher
7) Step away from the computer
Take a break (usually 1 week) and go work on something else.
8) Come back to the planner
And, if inspiration strikes, create some more printables for the planner, or make tweaks to the pages I have already designed.
Related tutorial: Making printables in Affinity Publisher: how to set up your document and choose page size
9) Check my list of pages to include in the planner again
And make sure I am happy with all of the designs. If there is something I think really needs to be added, then I will add it. Then I draw an imaginary ‘line in the sand’ where I don’t add any more pages to the set.
10) Write a short description about each page explaining how to use them
Including what to record on them and their purpose e.g. it will tell you how much your expenses were this year. Sometimes I will write these descriptions as I am creating/designing the pages
Related post: Etsy sellers: Why you must stop accepting custom order requests (the number 1 mistake I made my first year in business)
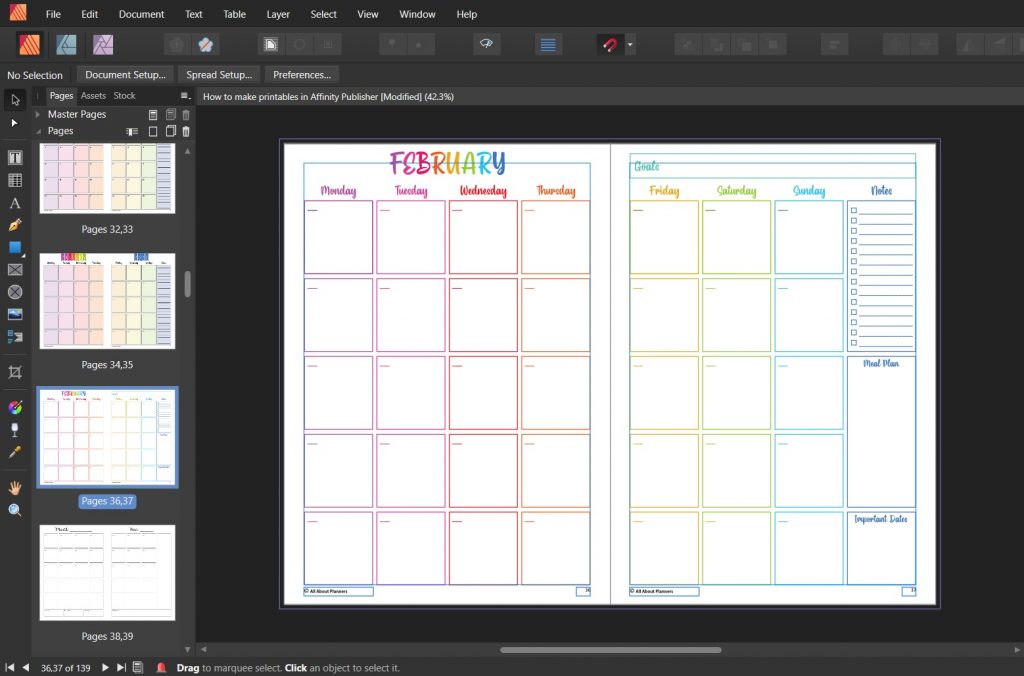
11) Make the files editable PDF’s.
This is my least favorite part of the process – it is tedious and time consuming and I usually end up doing it not once, but up to 7 times!!! (for each of the 7 colors that most planners in my shop come in: light blue, dark blue, green, pink, purple, grey and black). To make it editable, I need to add all those blue boxes you see when you open the file:
This page is the new consultant checklist from the Direct Sales Planner – I have to add each of those light blue boxes that you can type in which takes forever!! :/
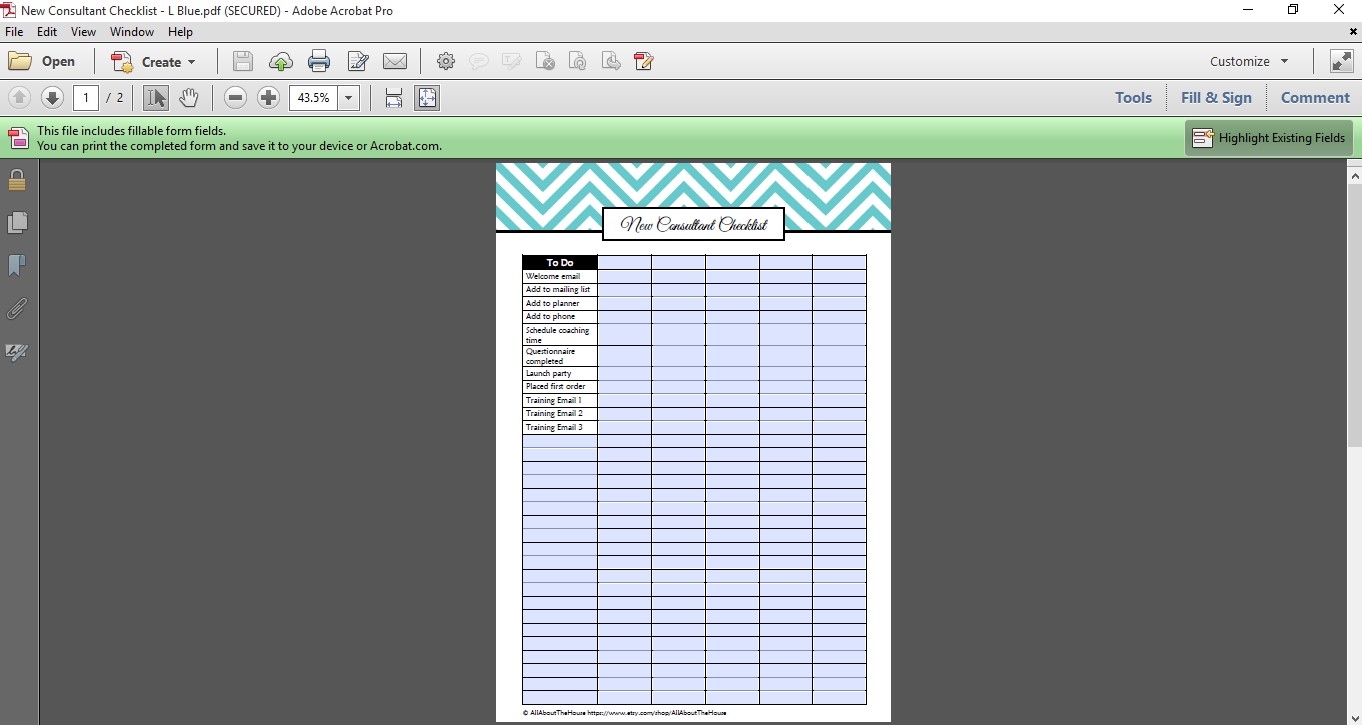
So you guys can do 2 per page printing then cut the pages in half for half size pages (if you want to do this), I need to make sure the editable fields appear on both pages in the PDF. Adobe has an annoying little quirk where if you copy fields to another page, they have the same names meaning I have to rename every single little blue field a different name to avoid the same text appearing on both pages in the document when you type into the light blue fields. Because, for example, if you were typing in a recipe, you wouldn’t want the same recipe to appear on both pages.
There is a tutorial for how I make my printables editable in my ecourse showing how to make printables in Affinity Publisher.
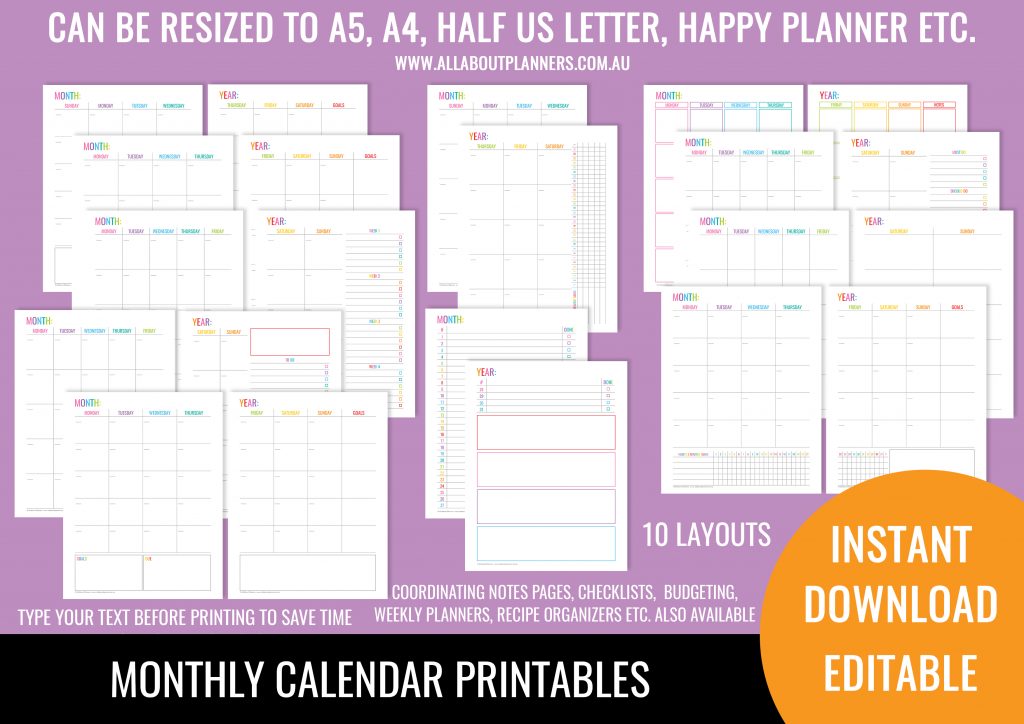
12) Create the preview images for the planner set
This takes a long time and is also my least favorite part of the process. Arranging all of the planner pages into a nice preview photo/s, making sure each photo is the same size, large enough to see the design etc. takes a very long time.
Each planner page image also needs to be saved individually with a watermark/copyright notice added, and to rename every.single. photo to optimize for Pinterest with keywords etc. These are the photos you see in the blog posts about each planner showing sample pages from the set.
13) Write the listing description/sales page (what you read on Etsy or the online store before purchasing)
Usually this is a cut and paste from my list of planner pages (with the short descriptions I wrote in step 10). I then add an introduction, refund policy, editable info etc. to the listing, add keywords, upload images, save files in a zip folder and upload to both my Etsy store and my online shop. If you’d like a step-by-step video of my formula for crafting product descriptions, see here.
14) Take the information I wrote about each printable and add it to a blog post
I also need to upload each planner page I am going to show a sample for (created in step 12).
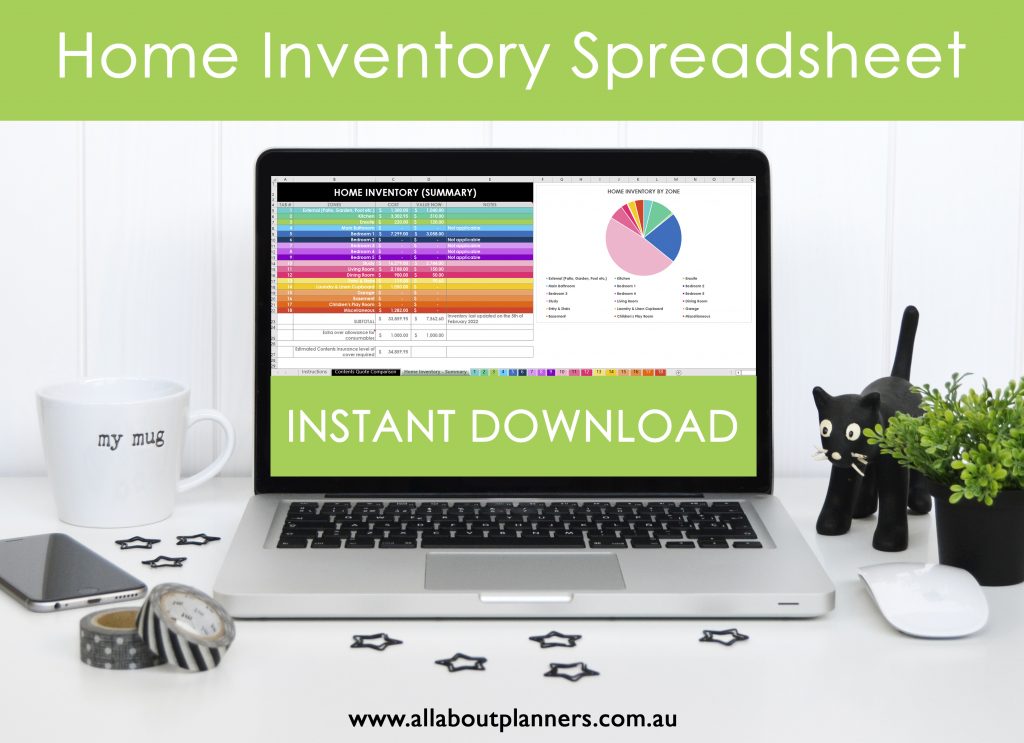
I record videos for spreadsheets as it’s easier to show features instead of just photos. Here’s an example post for the home inventory spreadsheets in my shop.
15) Proof read the listing description and blog post
I usually do this twice because I am OCD about things being spelled wrong.
16) Publish the blog post
Explaining how to use the printables and set the listings live on both Etsy and the online store so people can purchase the planner.
17) Marketing
This might be a post in your own Facebook group, in a Facebook group you’ve joined, on Instagram, Pinterest etc.
All up it takes about 3 months and I would say from 150 up to 200 hours to design a planner set, make it editable PDF’s in the various colors, write the product descriptions, create the photos etc.
Found this post helpful? Pin it!
Leave a Reply