A few months ago (how time flies!) my sister and I attended the Brisbane Planner Markets. Of course I created a planner to keep us organized! I’ve put the finishing touches and tweaks after giving it a test run at those markets and now I want to share it with all of you!
This planner could be used for:
- Craft shows
- Trade shows
- Craft fairs
- Fundraisers
- Market stalls
- Some of the pages would also work for direct sales parties and events, although I do have a separate planner specifically for direct sales consultants
Craft shows, craft fair, craft market, handmade market – regardless of what you want to call it – this planner has been designed for those making handmade (or selling manufactured products) at markets or trade shows. essentially where you’d have a table or a booth from which you’re selling your products.
So if you want to stay organized all year long, or just need a planner to keep you organized throughout the busy holiday season, let’s take a look at what’s included in the planner.
Included in the Craft Show Planner
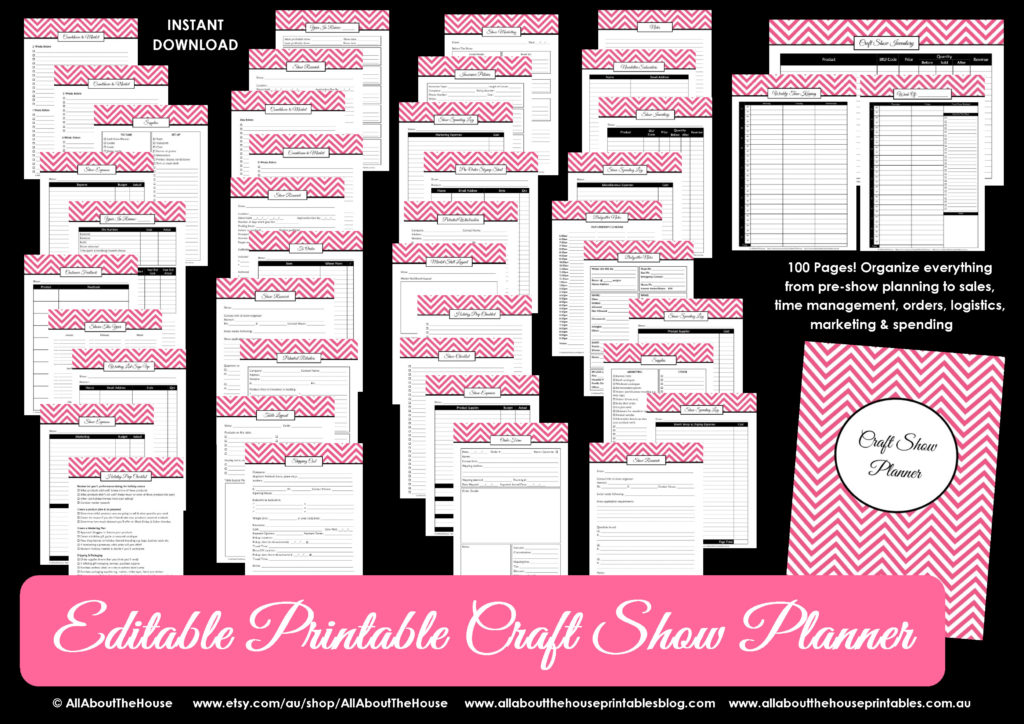
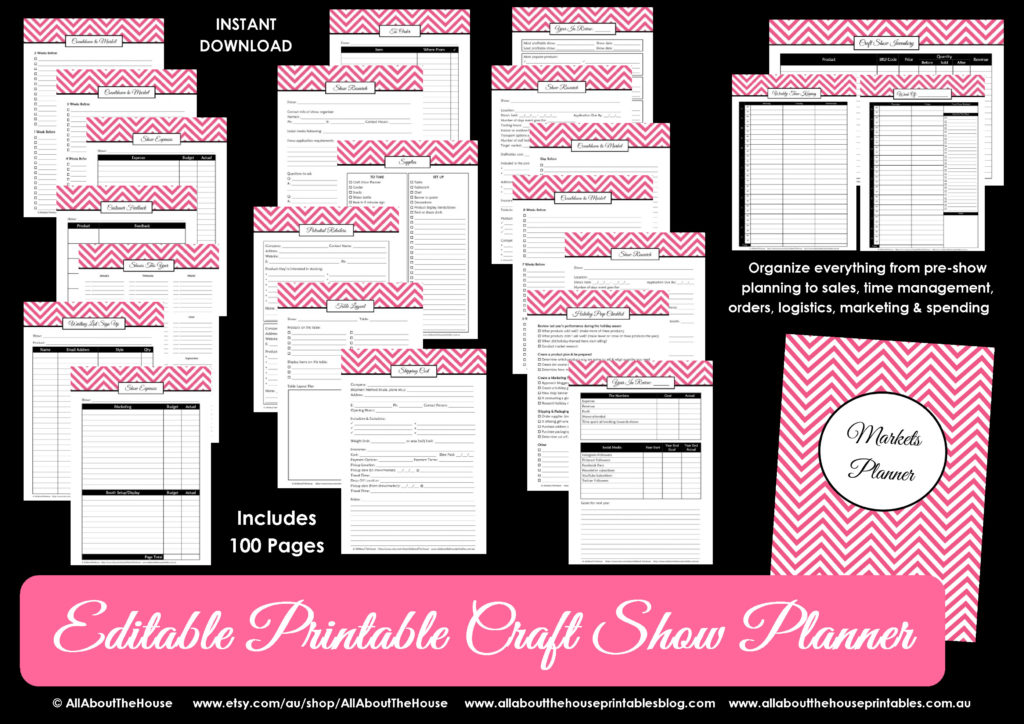
There are 100 pages to organize everything from pre-show planning to sales, time management, orders, logistics, marketing & spending:
– Cover and Spine – 3 different phrases: Craft Show Planner, Trade Show Planner, Markets Planner
– ‘This belongs to’ page in case you lose your planner
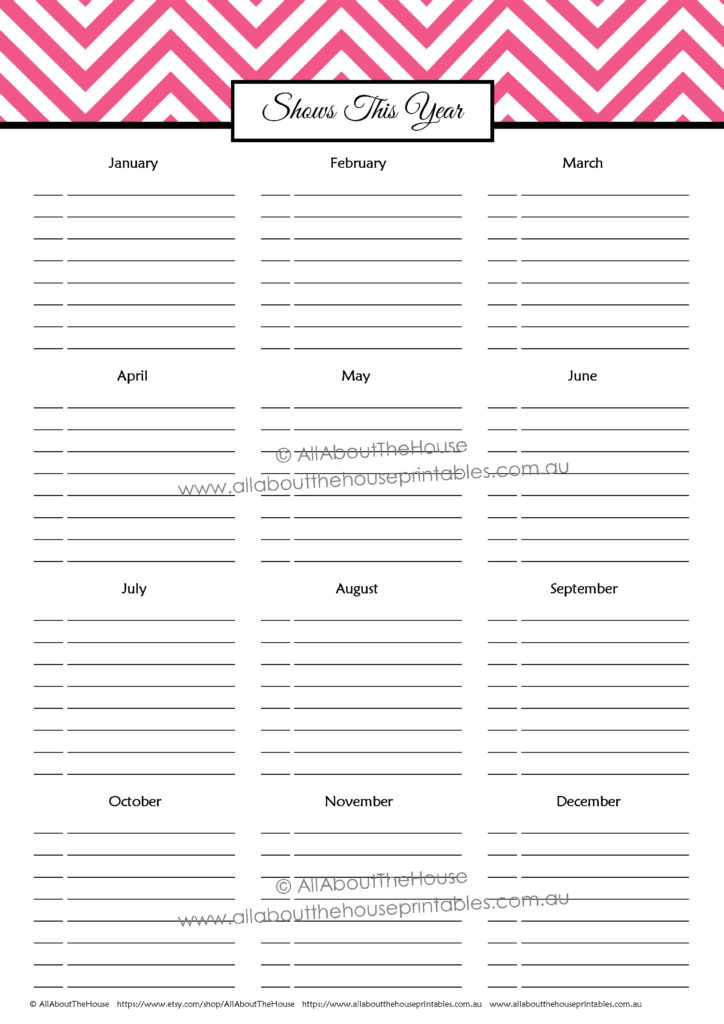
– Annual craft show planner
– Countdown to markets – (4 pages) pre-filled with all the tasks you need to do before your show including marketing, products, stall/booth planning etc. – there is space to add a few more of your own tasks as well
– Countdown to markets (4 pages – weekly countdown with blank checklist – so you can add tasks unique to your business)
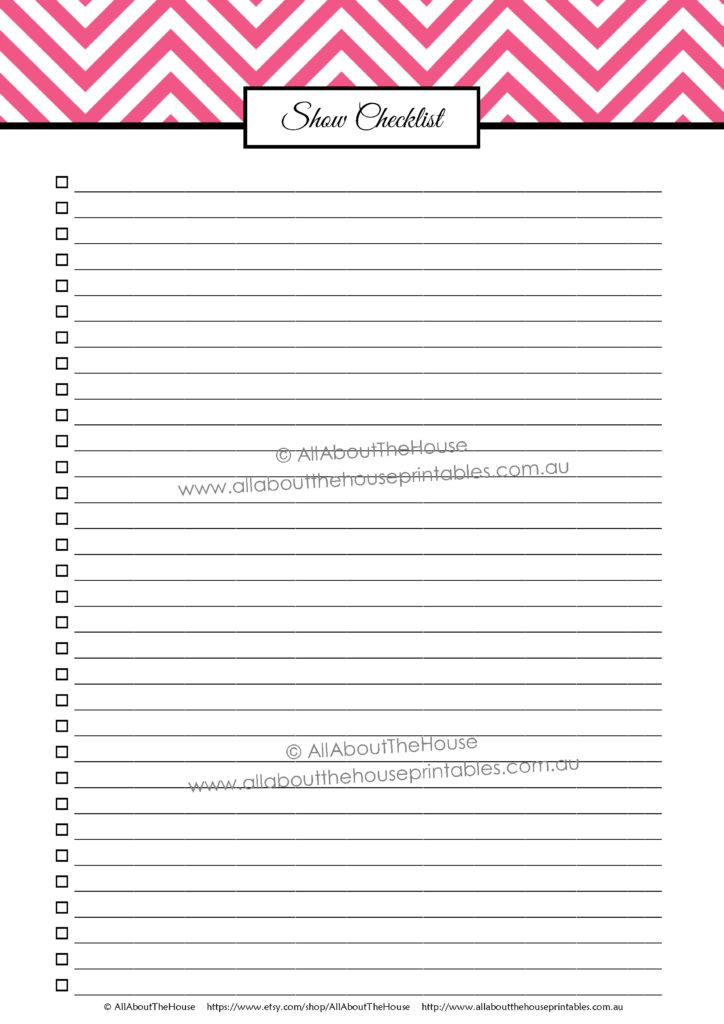
– Show Checklist – for to do’s, supplies, products to make etc. (blank – so you can add tasks unique to your business)
– Show sales log
– Order form (if you only want to purchase this printable and not the entire craft show planner, it’s also available separately here)
– Inventory (portrait and landscape page orientation versions) – 2 page total
– Babysitter notes – leave this with the babysitter (or your spouse, aunt, grandparent etc.) wile you’re attending the craft market, trunk show etc. (2 pages)
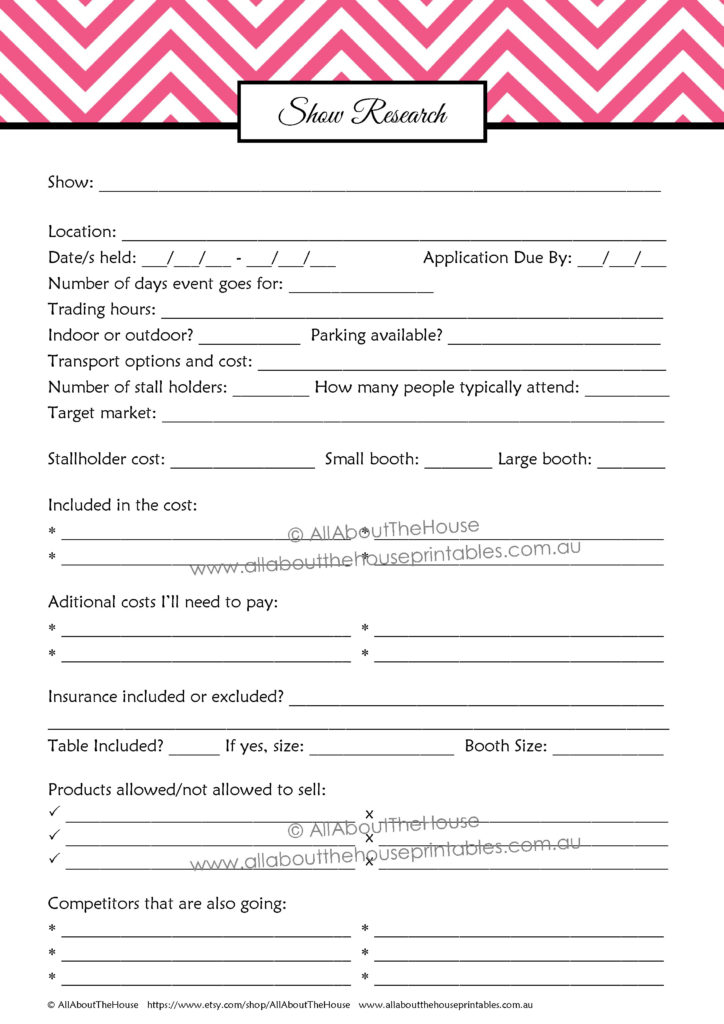
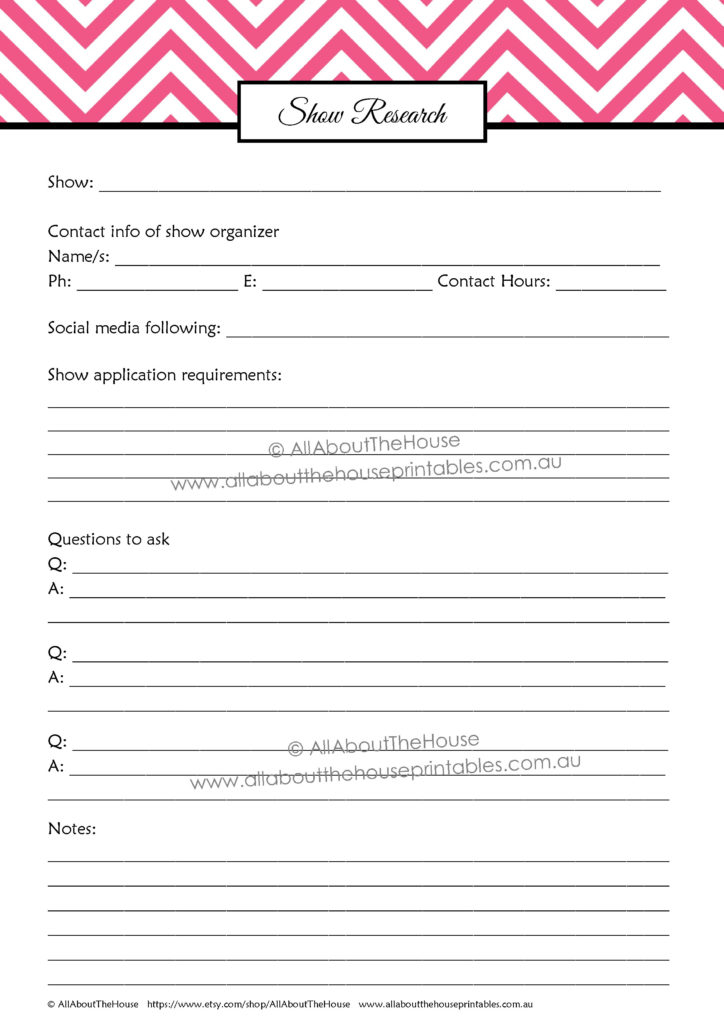
– Shows research (2 pages)
– Newsletter signup sheet
– Show marketing plan
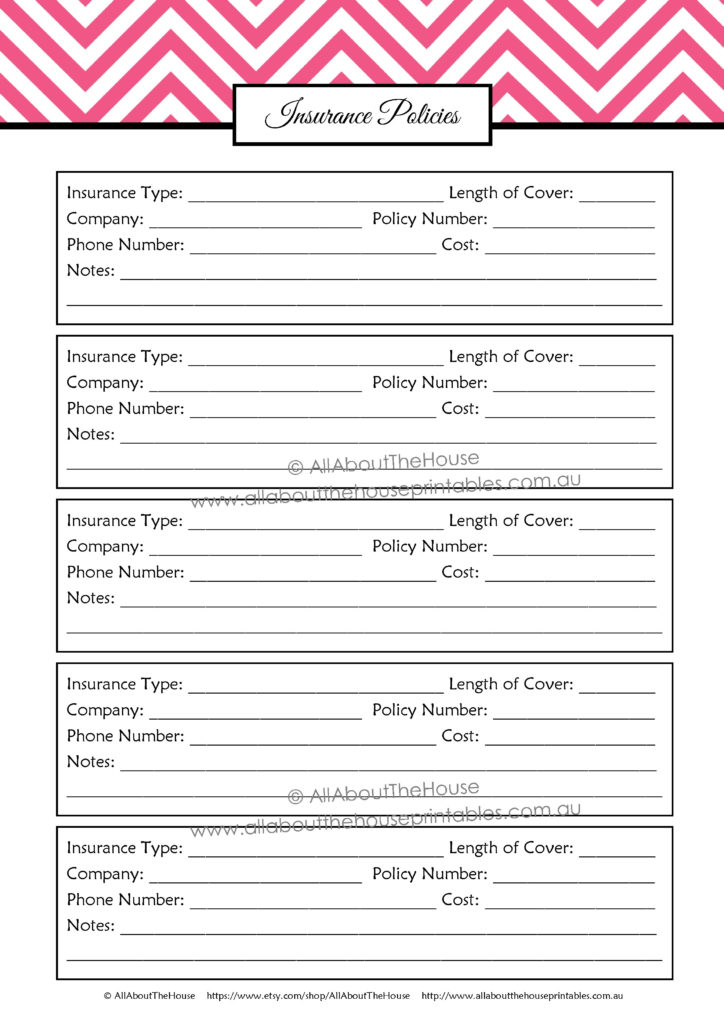
– Insurance policies
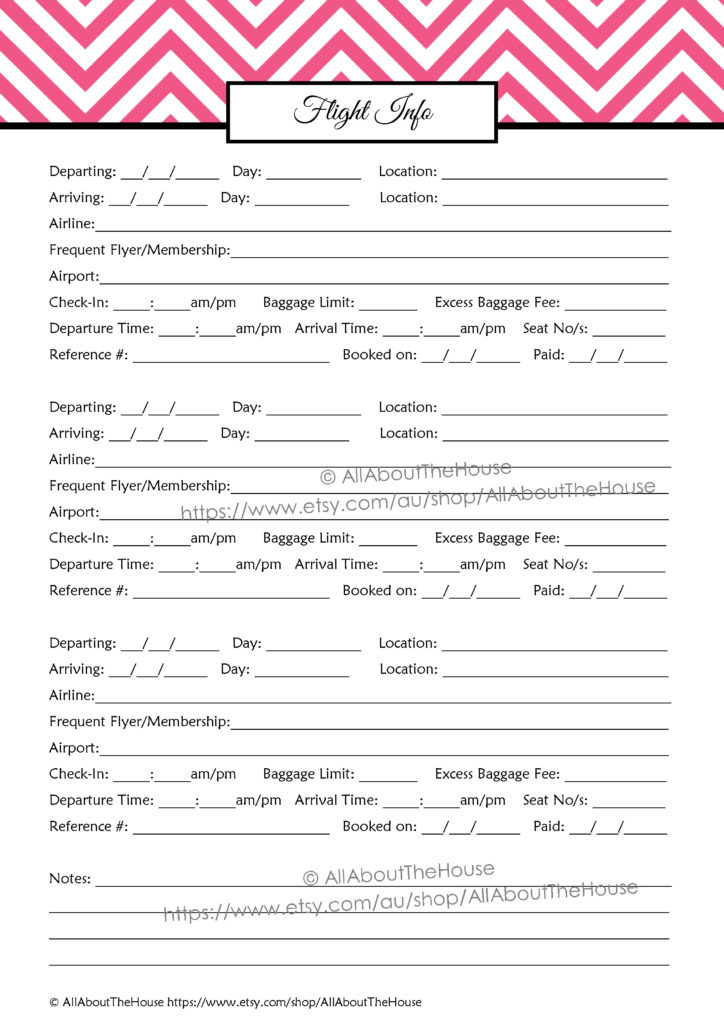
– Flight info
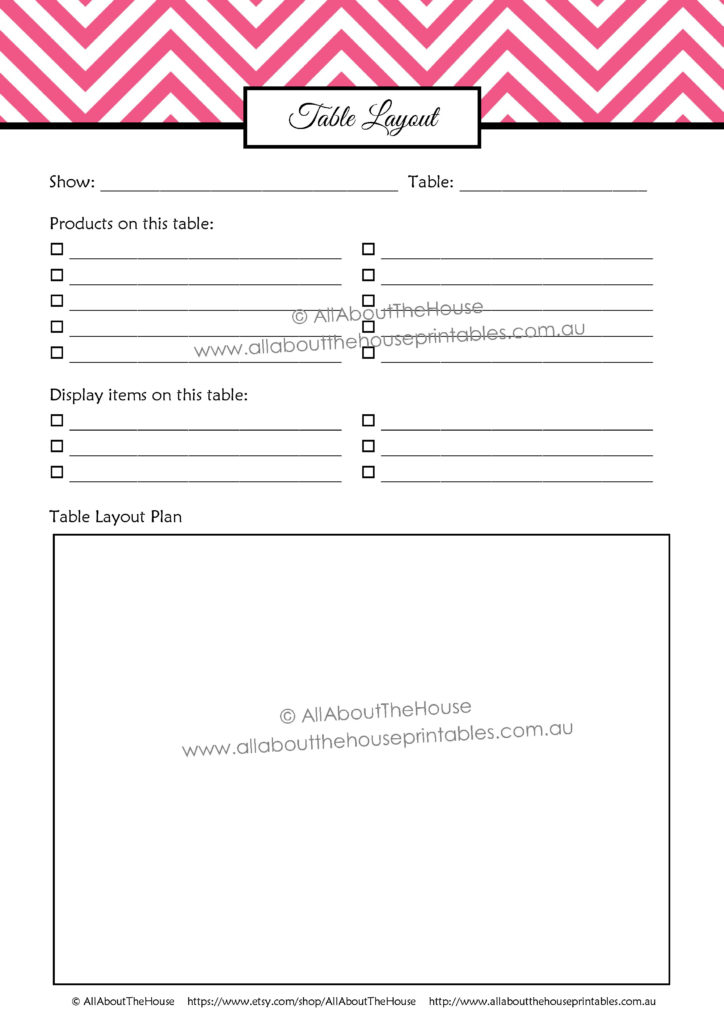
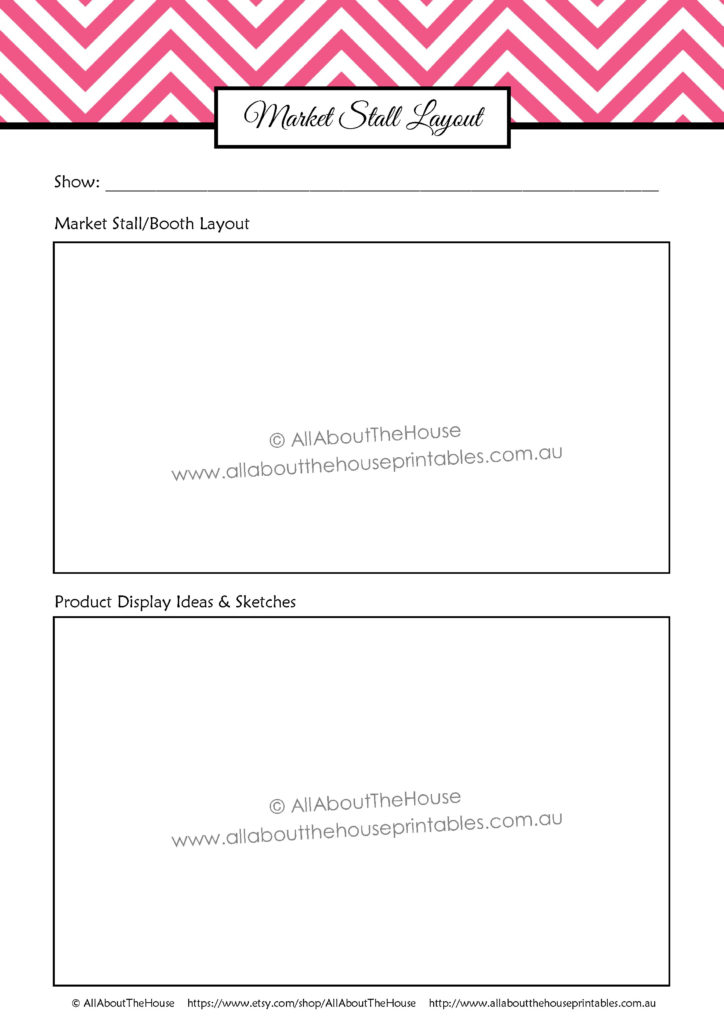
– Stall/booth layout – plan your booth and each table (including what products and display items will be on each) (2 pages)
– Price list (doubles as a products you’re taking with you list)
– Holiday prep checklist (filled in and blank versions – 2 pages)
– Potential wholesalers
– Potential retailers
– Spending log – one page to keep a running track of expenses
– Spending log – categorized (4 pages)
– Show expenses – includes space to record budgeted and actual amounts spent – transfer your totals from the spending log to this page
– Show expenses (categorized) – 2 pages includes space to record the budgeted and actual amounts spent – transfer your totals from the spending log to this page to track how much you actually spend and if you need to budget more or less for each expense category
– Customer feedback
– Lined note paper
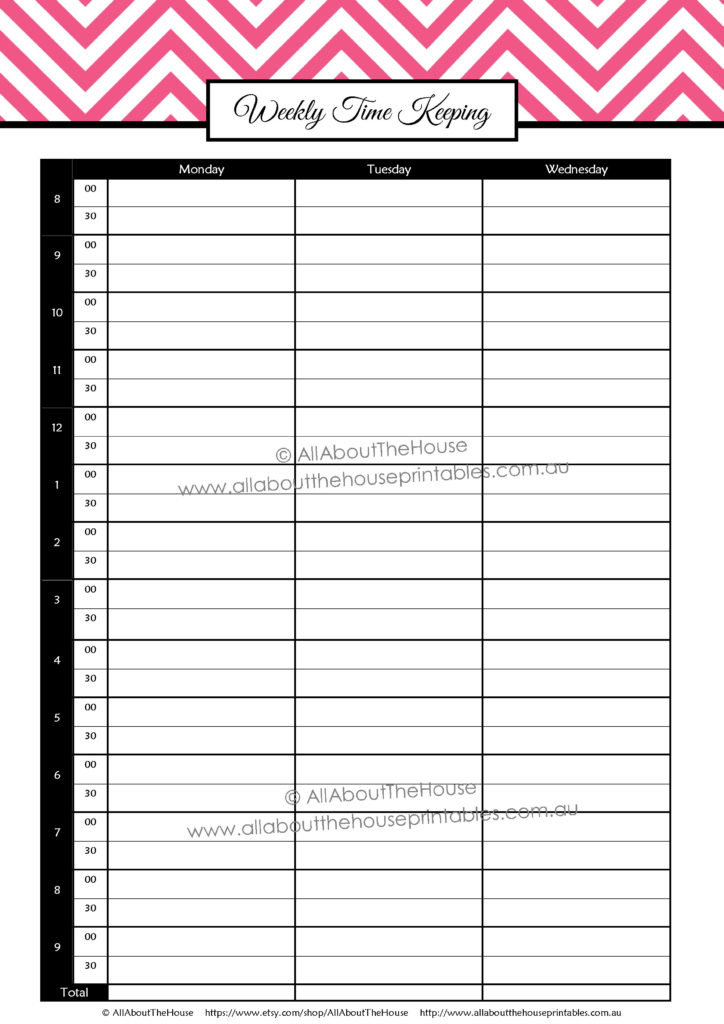
– Weekly time tracker (2 page portrait orientation in half hour time increments with a to do check list for the week) – so you made $2,000 at your last craft show – but how much time did you spend? Keep track of where your time went (from planning through to sending orders after the show) to see if it was actually worthwhile for the amount of time involved
– Supplies checklist
– Supplies to order (for products)
– Shipping cost/freight cost comparison
– Pre-orders sign up list – one page for all products
– Pre-orders sign up list – use one page for each product that customers can pre-order
– Waiting list sign up sheet (for out of stock products) – one page for all products
– Waiting list sign up sheet (for out of stock products) – use one page for each product that customers can pre-order
– Shows review – keep a summary of all of the shows you attended to help you determine which ones made a lot of profit, which weren’t worth the time invested and which aren’t worthwhile returning to next year
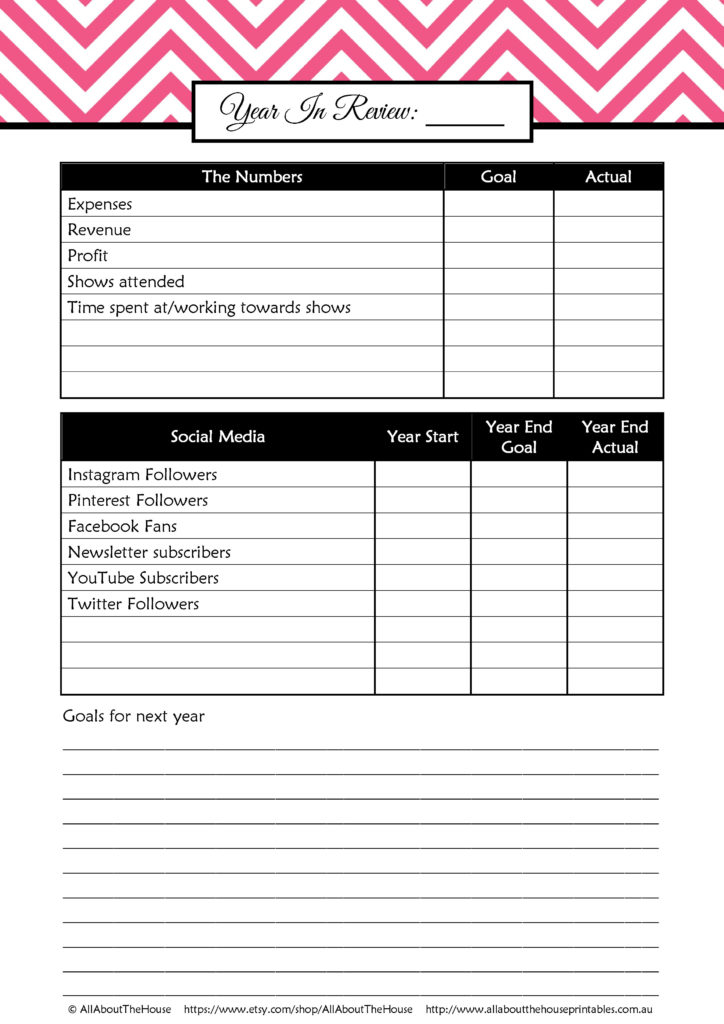
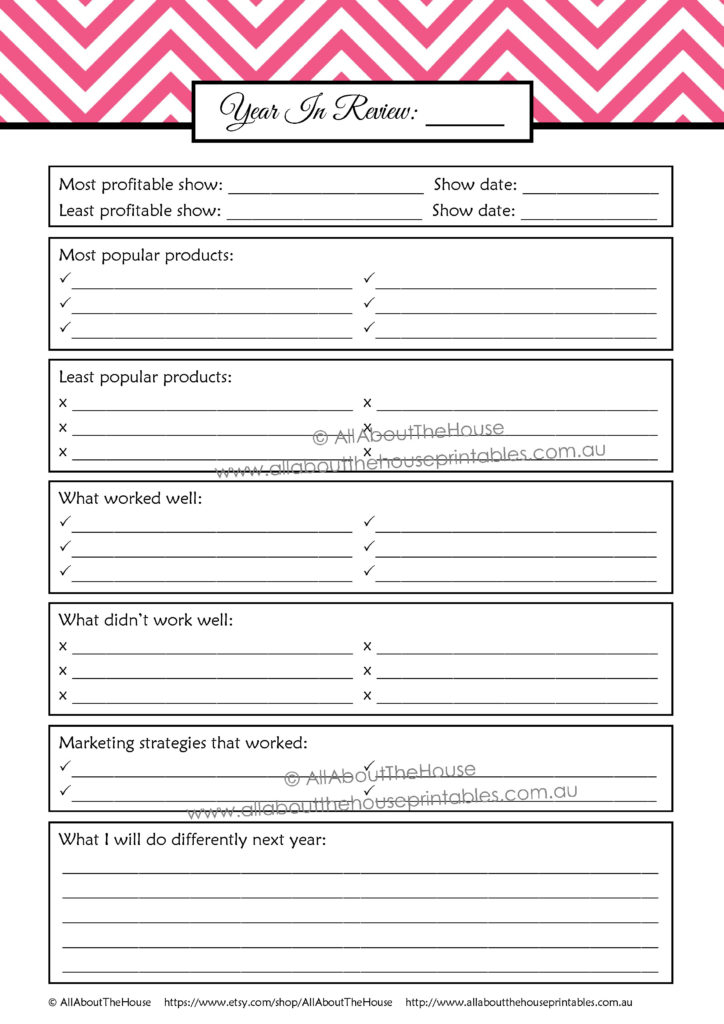
– Shows – year in review – record which shows were your least and most profitable, what strategies worked and didn’t work and what you’ll do differently next year
![]()
32 DIVIDERS
– Booth layout
– Stall layout
– Expenses
– Orders
– Custom Orders
– Pre Orders
– Wholesale
– Retailers
– Contacts
– Insurances
– Products
– Supplies
– Checklists
– Inventory
– Receipts
– Marketing
– Products
– Catalogues (Catalogs spelling version also include)
– Samples
– Transport
– Time tracking
– Sales
– Year in Review
– To do
– To Order
– Price List
– Miscellaneous
– Notes
– Before craft show
– After craft show
– Before markets
– After markets
– 12 months of the year dividers (January, February, March etc.) – text is on the side so you can easily find the month you’re looking for when flicking through your planner
Features of this planner:
- There’s a section to record what show you’re planner at the top of each page, so if you’re preparing for multiple shows at once it is easier to keep track of.
- Each page is in a separate PDF file so you can do double sided/duplex printing, or do 2 per page printing and cut in half for half size pages. See this post for printing tips and instructions
- All pages in this planner (except the cover & dividers) are editable – this means you can add your own text before printing. For more on what editable means (and a video tutorial), see this post
- The sheets can be placed in a binder, the Arc Planner. I personally prefer to use the Arc Planner – you can read why in this post.
- All pages are portrait page orientation (except for one) making it easier to use – you can write everything without having to turn the page to landscape page orientation
- Some pages have 2 styles so you can choose which works best for you e.g. if you need a bit more room to write
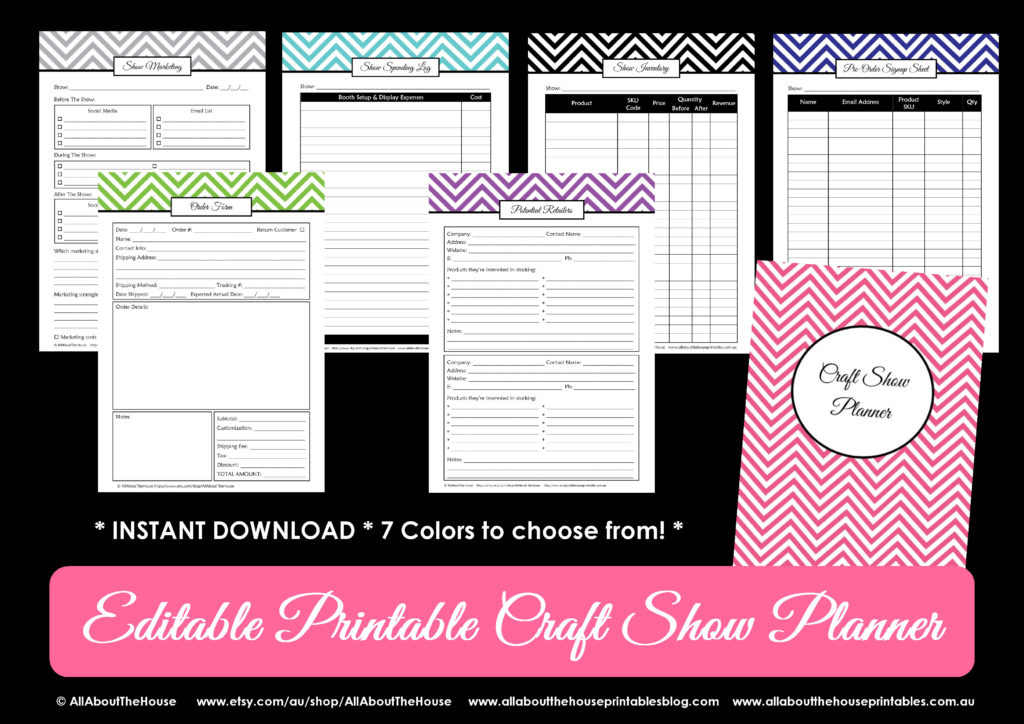
The planner also comes in 7 different colors so if you’re not a fan of pink there’s 6 other colors to choose from 🙂
I’ve recorded a video walkthrough explaining what’s included, how to use the pages & what editable means if you prefer videos, or if you keep scrolling down this post you’ll also be able to take a closer look at everything that’s included.
To enlarge the screen of the video, click the square icon in the bottom right hand corner of the video (it will say ‘full screen’ when you hover your mouse over the icon). Then press ‘Escape’ on your keyboard to come back to this post.
Let’s take a look at some of the included pages!
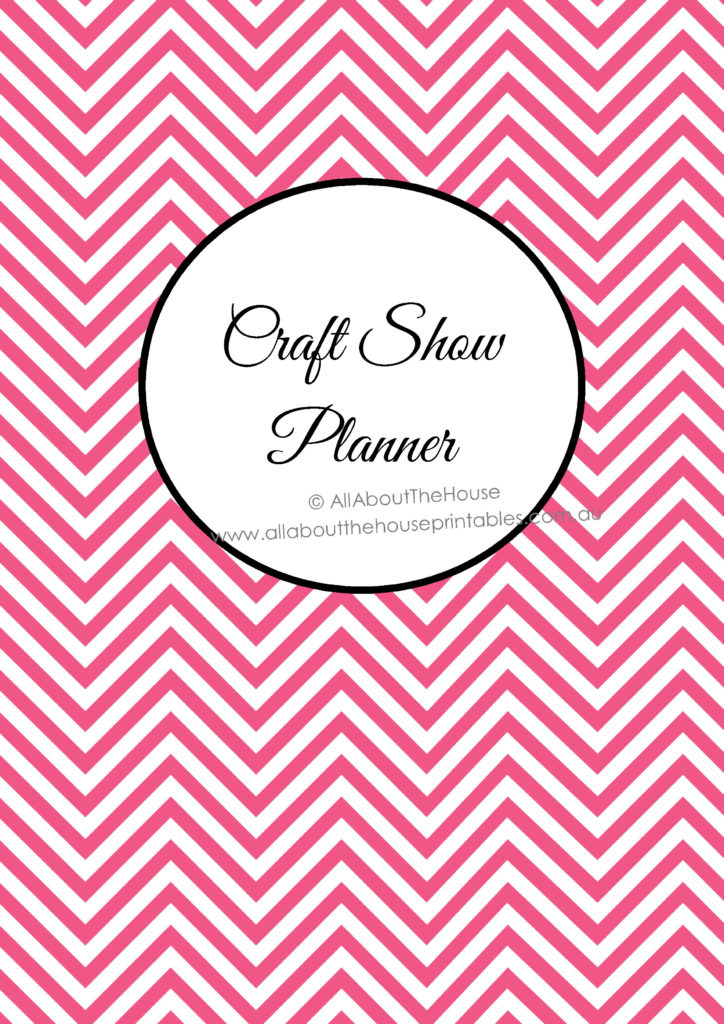
First up, the cover (an essential element of every planner!)
There are 3 cover phrases included: ‘
- Craft Show Planner
- Trade Show Planner
- Markets Planner
There’s also a matching spine.
The watermarks shown on the photos in this post won’t appear on the copy you download, it’s just to prevent others from ripping off my designs!
Pre-Show Planning
At the start of the year, use the annual planner to jot down all of the shows/markets you’re interested in attending. There’s space to write the date on the left side and the event on the right side.
If you’re not sure what shows are happening in your area, Google and Facebook groups are good places to start. I’d also recommend seeing which events your competitors typically attend.
Once you have an idea of what shows you’d like to attend, it’s time to do some further research:
Craft Shows Research
When choosing what craft shows to attend, a few criteria to look for:
What competitors are going? If all of your competitors are going then obviously you should be going to!
What parking facilities are available?
- You’ll want to look for parking close to the entrance
- If there’s a loading and un-loading zone (you don’t want to be walking a long way from your car carting all your merchandise)
- The cost of parking
- If parking is secure
- If there’s covered parking (especially if you’re going to be storing extra stock in the back of a van, trailer or your car etc, and if you have perishables)
Where is the event being held?
- Is is near public transport? If it’s difficult to get to, people are less likely to attend?
- If the event is being held in a small building, with no air-conditioning in the middle of summer, people are not going to hang around for long
- Are there food and bathroom facilities?
How much does it cost to attend?
This shouldn’t be the main deciding factor – if the event is expensive but thousands of people will be attending then it will likely be worth the cost – you gotta spend money to make money! If it’s only going to cost $20 for a booth/stall, it’s probably because not many people are going to attend – you’ll likely be wasting your time and make very few sales. Remember that any time spent working on one thing, is time you can’t spend on something else. If you can only attend a few shows per year – go for the most popular ones
Related: Craft & Hobbies printable project planner
Insurance Policies
Use this page to keep track of the insurances you currently hold and when they expire. You’ll likely need public liability insurance – be sure to check with the event organizer as this is not always included in the stall holder fee.
Flight info
This page is from the printable travel planner which you can read more about in this post. If the craft fair/show/market is out of town
Shipping cost comparison
If you don’t have the luxury of having the craft show or market in the same town as you and you need to pay for shipping or freight to get your merchandise there, this is the page where you can compare the costs from various companies. There’s space to record important factors you should consider when choosing a company including:
- The pickup and drop off location (do they pick up from your house or place or business, or do you need to taken your stuff to the depot?)
- How long will it take for your items to arrive
- What is the cost
- Inclusions and exclusions e.g. packaging, bubble wrap, insurance, warranty/compensation if items arrived late or damaged etc.
- You can also note down who you spoke to/who gave you the quote if an issues arise later on, of if you want to use the same company again the future
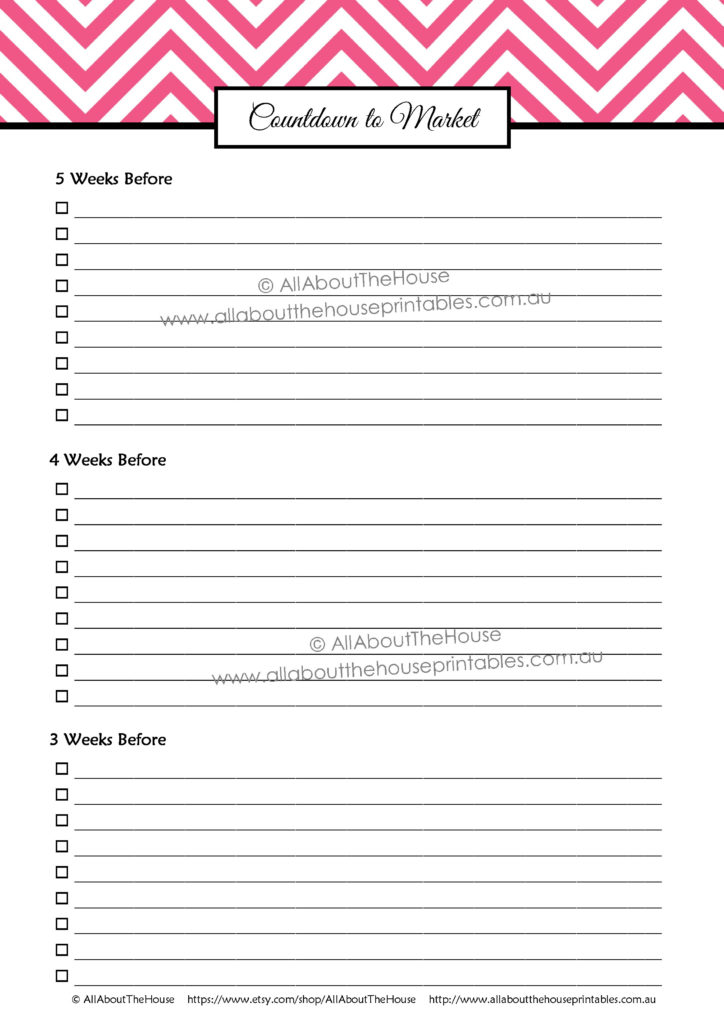
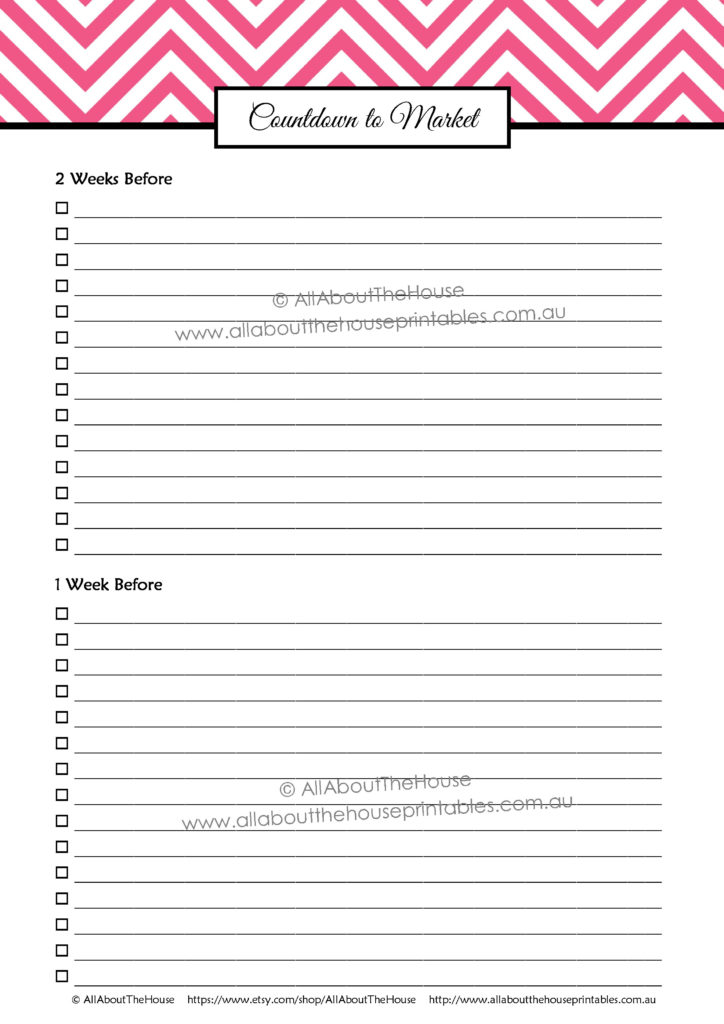
Countdown to Markets Checklist
This 4 page checklist comes in 2 versions:
- Pre-filled with all the tasks you need to do before your show including marketing, products, stall/booth planning etc. – there is space to add a few more of your own tasks as well
- And a blank version (some pages shown below) for you to add whatever tasks you need to do
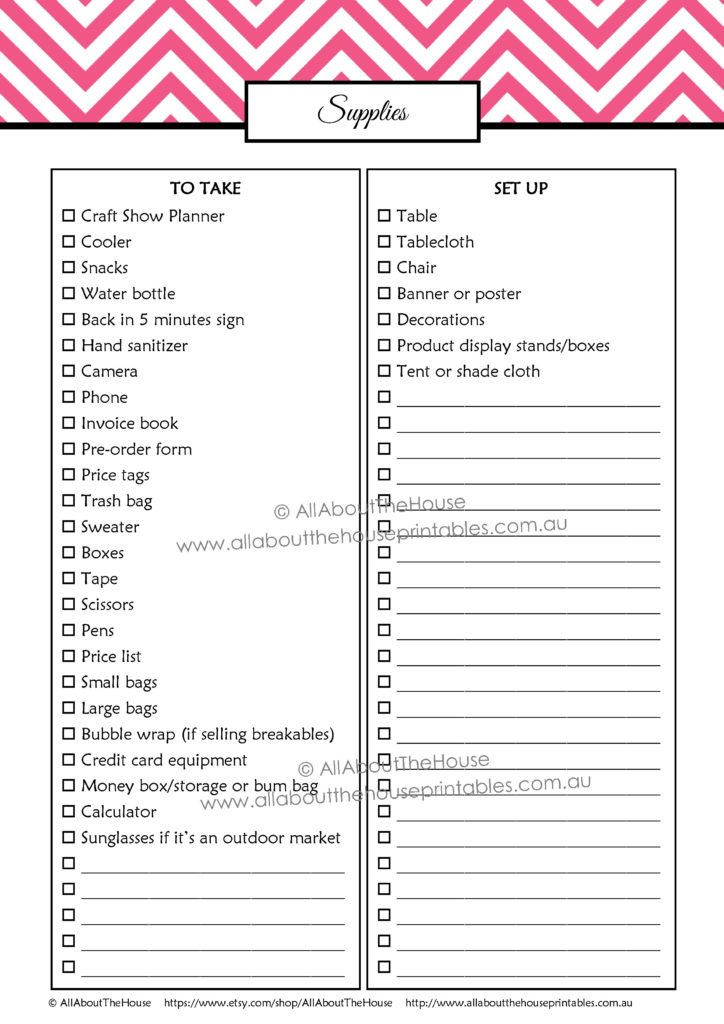
Supplies Checklist
One page with items to take and things needed to set up (shown below)
and another for marketing items and other (for anything else you can think of!) (not shown)
Market Stall Layout
You don’t want to leave setting up your table to the last minute – if you have enough time, do a practice of the display – you’ll probably realize that the table size you’re allowed won’t fit as much as you thought it would and you’ll need to be selective in what you do and don’t bring. Raising items at the back of the table up on stands so people can see better is a must. I recommend using brochure stands and boxes (which can store surplus stock).
Order Form
This form can be used for:
- Pre-orders
- Personalised orders
- Custom orders
You might only be able to take a select range of your products with you to the craft show – with each in only 1 or 2 styles that you offer. By taking a catalogue of your designs or having an iPad or photo album of all the different styles on offer, people can place an order with you on the spot. Most people will say ‘sure I’ll check out your website’ but they’ll likely forget or misplace your business card. By accepting orders on the day it keeps a steady stream of income coming in after the show, especially if you didn’t have much time to keep your Etsy or online shop well stocked in the lead up to the show. It’s also ideal if you didn’t have enough time to create a lot of products for the show.
This printable is also available separately in the shop if you don’t want to purchase the entire craft show planner.

Related: Editable printable Direct Sales Planner
Show Checklist
This open-ended checklist can be used for anything you like – I”m a firm believer that you can never have too many checklists! 🙂
Weekly Planner
There’s no point in going to craft shows if you aren’t making any ‘real’ money for the time you put in. You could estimate the number of hours you spent planning, preparing, organizing, packing for the show, unloading and setting up your booth, selling at the show, packing up, travel time, responding to customer queries after the show and fulfilling orders made at the show, but with so many elements involved you’ll likely under-estimate just how much time it actually takes. Much like how stuff always seems to take twice to three times longer than you expect it to!
So that’s where this weekly planner comes in handy. This weekly planner is a 2 page spread – I’ve set it up in 30 minute time increments so you can keep track of exactly where you spend your time, there’s also a section to total up how much time you spent at the bottom.
You could use this page for your business in general (not just for craft shows), if you do client work and need to know how much to charge, and to identify areas of your business which are time guzzlers. Make sure you record everything you do from writing emails, to packaging, to actually creating products, filling out application forms for craft shows etc. – these are all tasks involved in attending a craft show.
The second page includes a section to record the total time spent for the week – this will probably be higher than you expect! There’s also a section to record your to do’s for the week with checkboxes to tick of when tasks have been completed, and then a general notes or goal planning section as well. 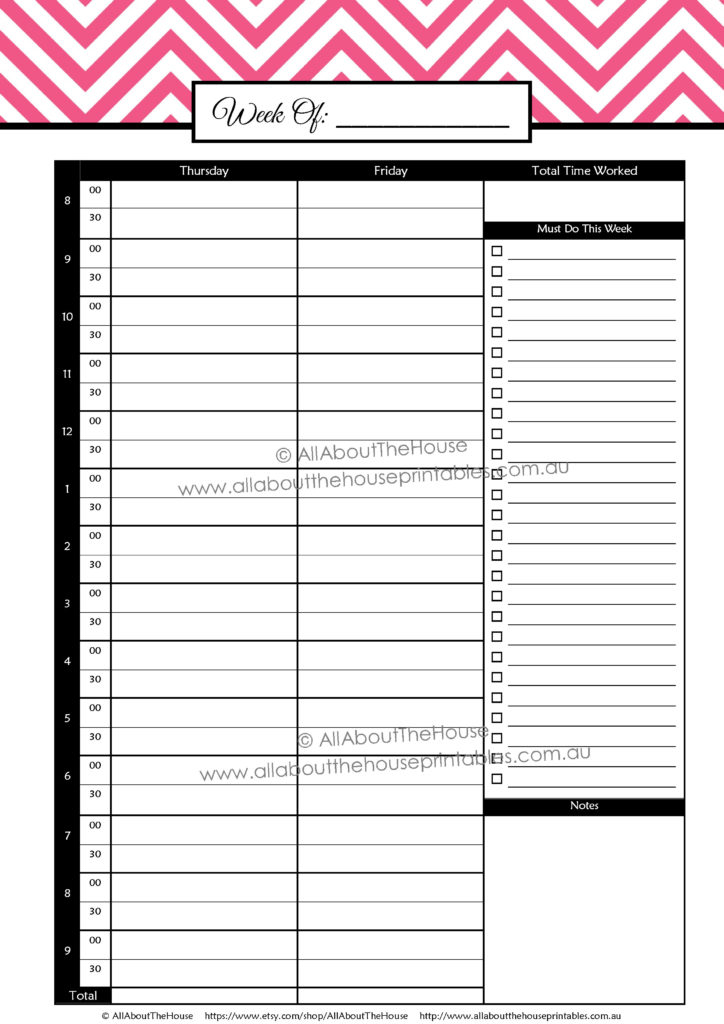
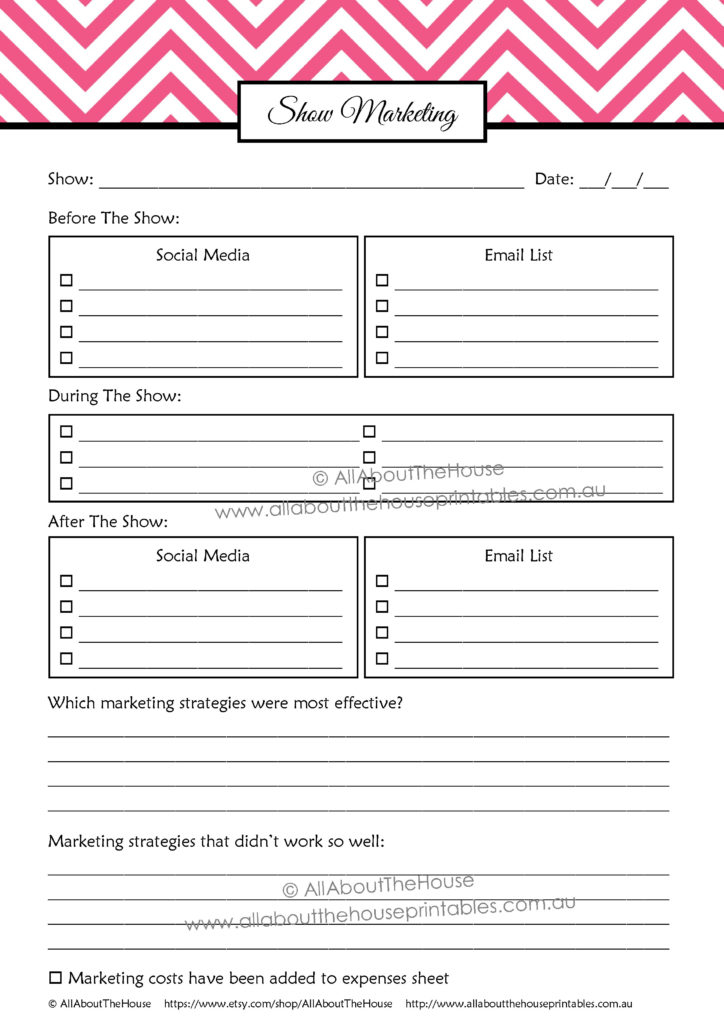
Marketing Plan
There’s so much more to attending a craft market than just showing up on the day. If no one knows the market/craft show is even happening – then no one is going to show up!
With this page, you can track what you’ll post to social media and your email list in the lead up to the show, what you need to do during the show and afterwards. Some ideas:
Before the show:
- Sneak peaks of you preparing for the markets e.g. your packed car, you making the products (the production process)
- What products you’ll be taking with you to market
- Any special deals and promotions you’ll have throughout the day
- A picture of your practice run booth/setup display
- Ask your customers (especially those that you know will be in attendance) what products they want to buy at the markets so you have a better idea of what to take
- Advertise that customers can collect their order at the markets (specifically great if you sell bulky items with expensive shipping)
During the show/craft market you can increase your sales by promoting:
- The discounts/promotions you have on offer e.g. buy 3 get 1 free
- A bonus product or sample of a product for the first 100 customers
- A discount couple to use in your shop after the event
- A lucky door prize
- A special bonus product if customer spend over a certain amount
- Exclusive products
After the craft show you can increase your sales by:
- Sharing photos from the day to your email list and social media followers
- Sharing a special coupon or promotion so those that couldn’t attend don’t feel left out
- Photos of products made for orders placed at the markets ready to ship, or during the production process (tagging the customer if you know them well enough is great for fostering repeat business)
Spending Logs
There are 2 different styles of spending logs
One version with 1 page to record all your spending (ideal if you’re only attending small markets) and another version with each type of expense on it’s own page (4 pages)


Product Inventory
There are 2 version of the inventory page – a portrait page orientation and landscape page orientation if you need some more room to write.
I highly encourage you to set up SKU codes for every product you sell – especially if you have a lot of products. An SKU code is a unique identifier code – every product should have a different SKU code – especially
if a lot of your products are similar. Because I have over 400 different printable planner sticker designs in my shop, I use a different SKU code for each type of planner stickers. So all of my half inch square stickers begin with the code letters HIS followed by a number: HIS001, HIS002. This not only helps for your internal business purposes, but also if a customer wants a certain style/color/size you can be sure you know exactly what they want rather than just – ‘that bag but in blue’ (as you may have different shades of blue, the same bag in different sizes etc.) – SKU codes ensure both you and your customers are on the same page.
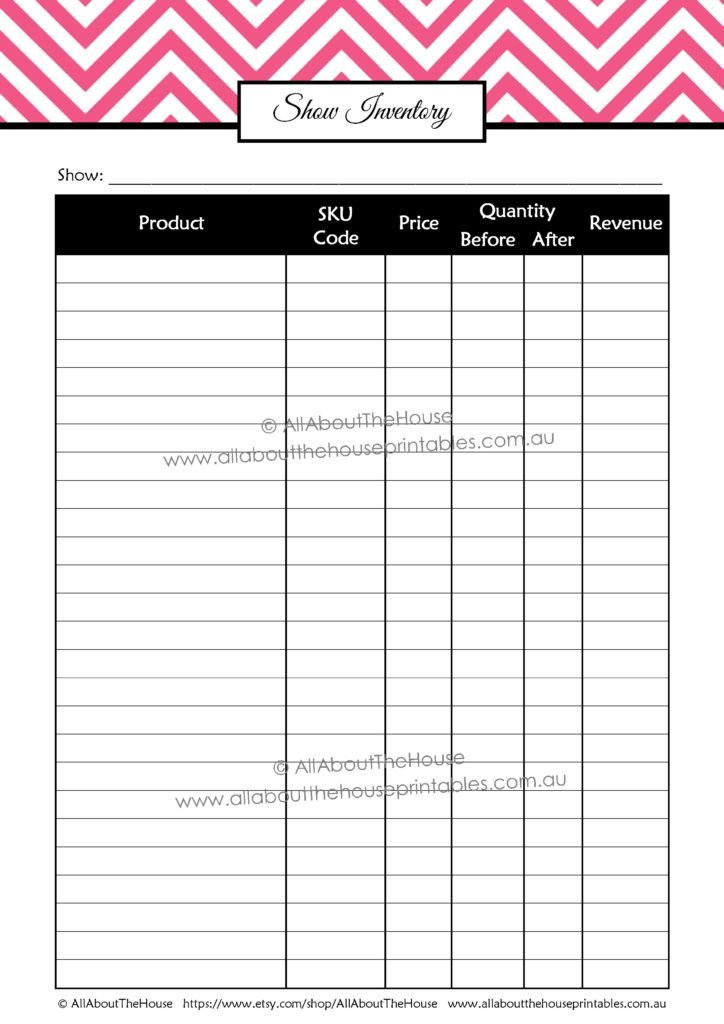
I designed this page to include columns for the quantity before the show and after so you can quickly work out how much revenue you made for each product. Analyzing this information after your craft show helps you determine which products you should focus more on, which are maybe priced too high (and those that are priced just right!)

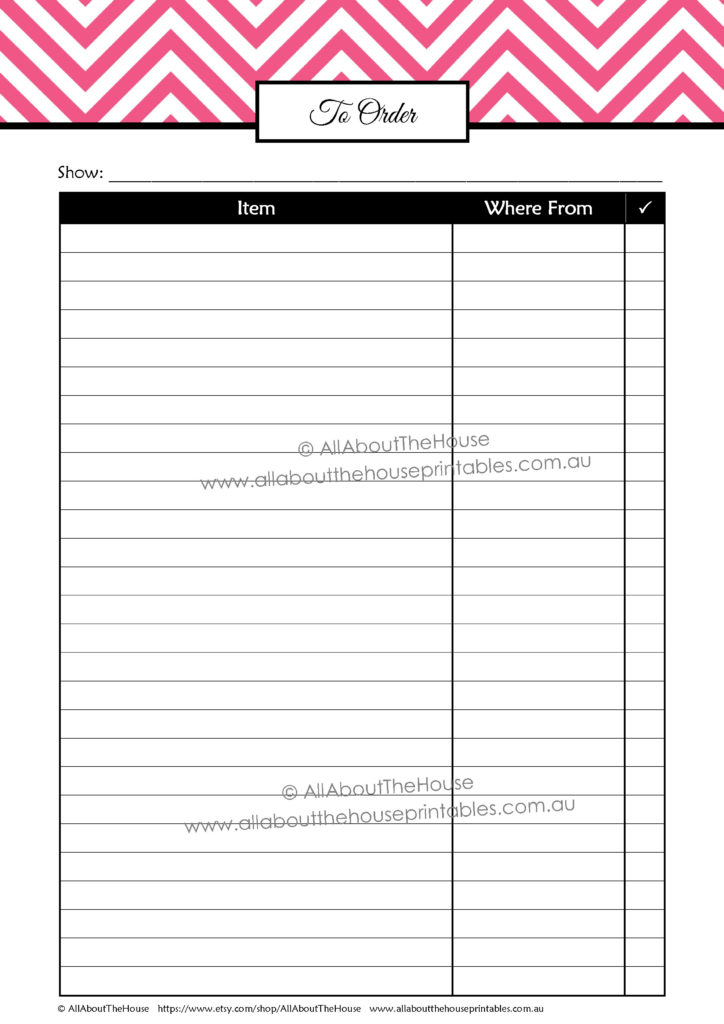
To Order List
So once you’ve worked out what products you’re taking with you, you’ll want to work out what supplies you need to make those products. You’ll probably need to order supplies so included is a ‘to order checklist.’
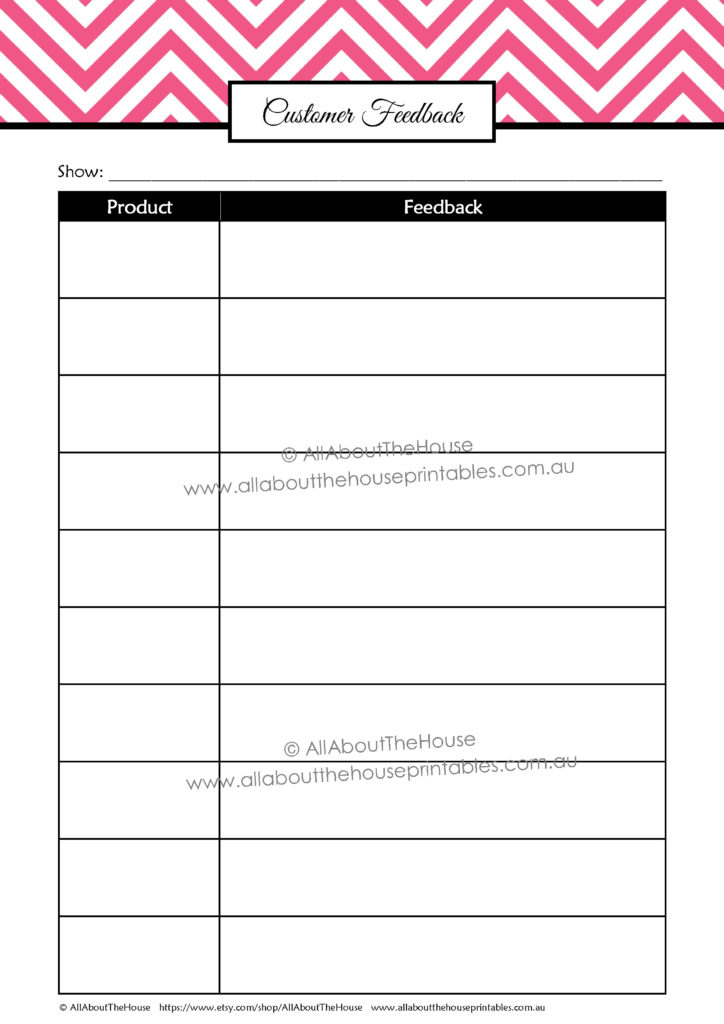
Customer Feedback
Have customers fill this out, or write notes when you return home (or if there’s a lull in sales while you’re at the craft show) to keep track of feedback on your products. This could include: size, color, style, shape, quantity e.g. do people want more colors than you currently offer? That’s a good indication of what products you should be making next
Related: How to create a product catalogue (step by step video tutorial)
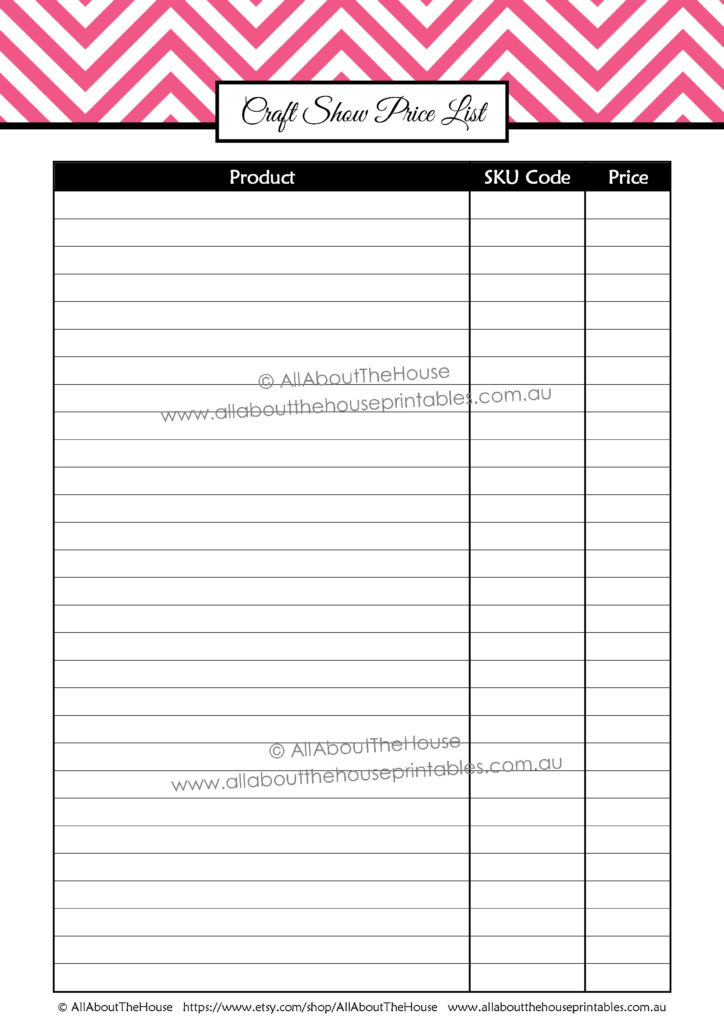
Price List
Using a clipboard placed on a stand is deal, otherwise taping your product list to the front of the table works too. Have a price list means you won’t accidentally tell different people the wrong price, you won’t get asked questions all the time about how much something is when you’re trying to accept payment from another customer. If you don’t display your prices people may be scared to ask and think it takes too much effort than if you display prices clearly. On the other hand, people may be more likely to haggle with you (and expect to pay less) and ask questions like ‘will you take $5 for this?’ than if you clearly state your prices.
Related: How to create a product collage for your Etsy shop (step by step video tutorial)
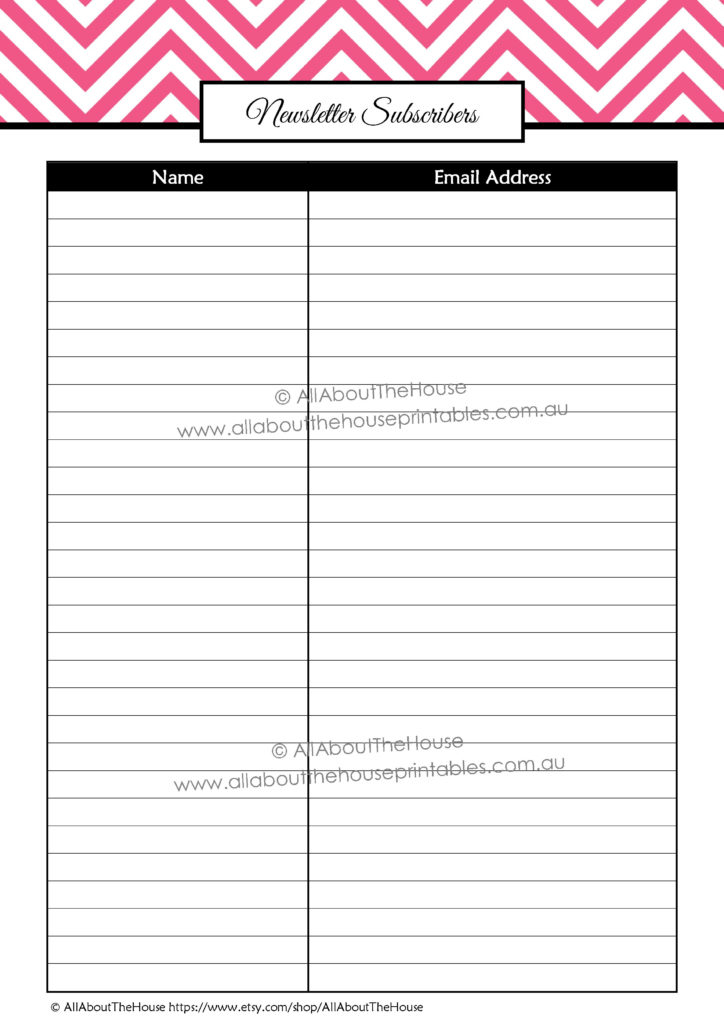
Newsletter Subscribers
When you’re at the show, you’re going to want to collect email addresses and this printable is where people can sign up for your mailing list so they recievr your nesletter or are notied when new blog posts are published. This is a great way to easily add subscrbers, and people who are actually interested in your products – if people are willing to let you into their inbox, they’re more likely to place an order with you in the future,
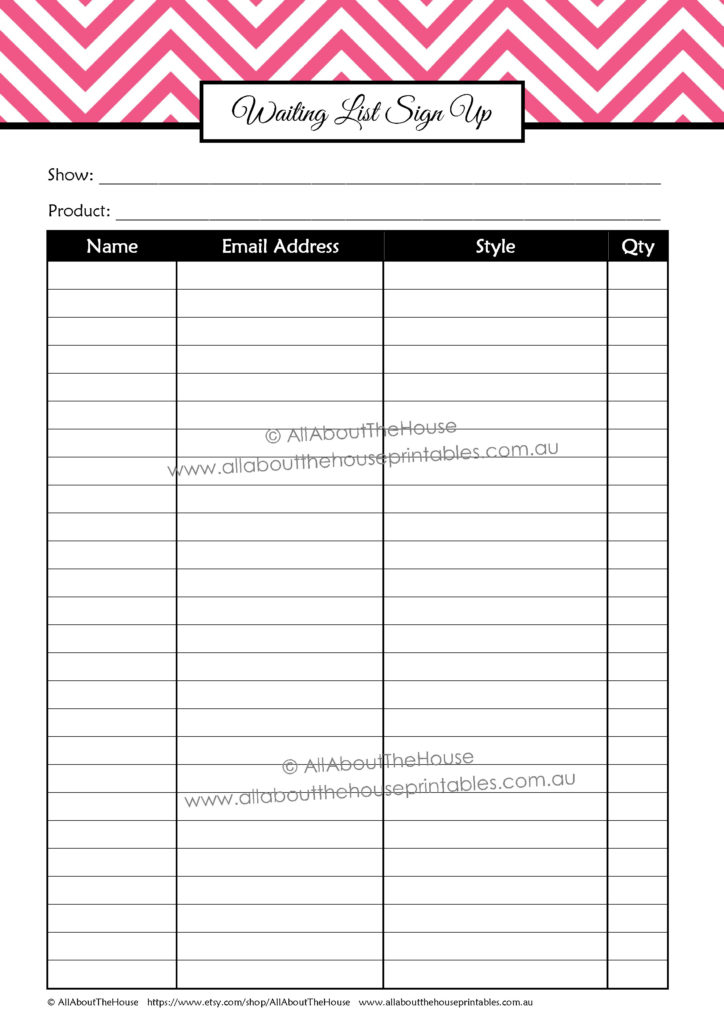
Waiting List Signup
If you have a new product launching soon or a product/s that are out of stock – have people add their name to the waiting list so you can let them know when it launches. People are likely to forget but if you have their email address you
There are 2 versions of this page:
- 1 page per product (so if someone wanted to sign up to the waiting list for multiple products they would add their details to each page) – this is the version shown below
- 1 page for all products (they list what product they’re interested in in an additional column not shown on the page below)
Pre-Order List Signup
You’d be surprised how much money you can make from pre-orders – they’re a great way to keep the income flowing, so you have a better idea of how much supplies you need to order to meet demand.

Related post: Etsy sellers: are you making these 54 mistakes?
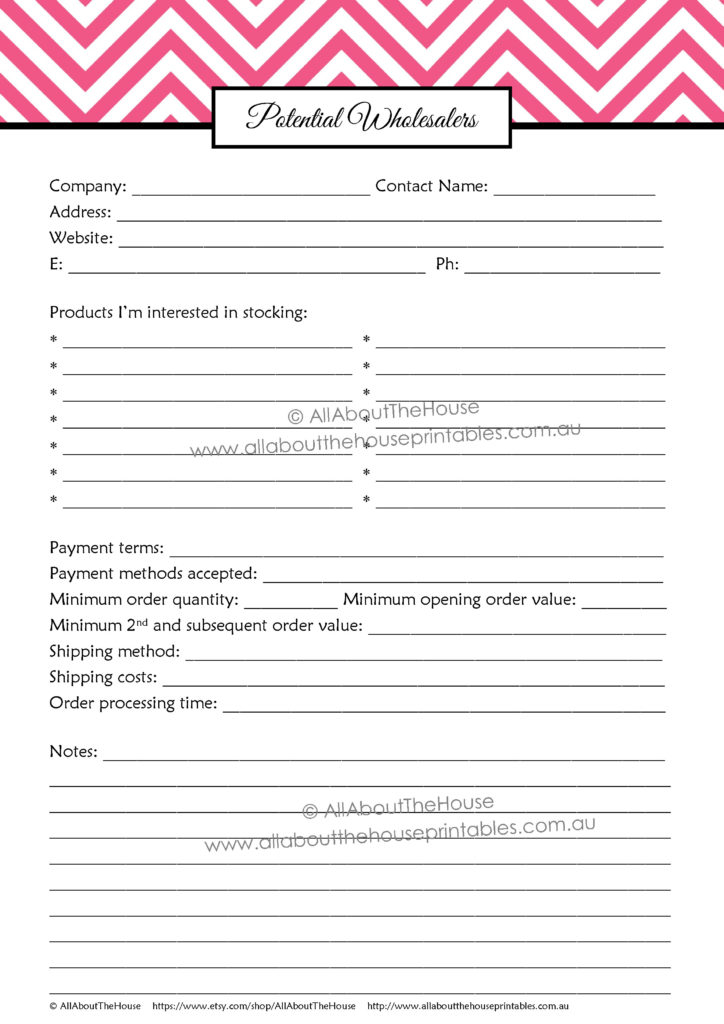
Potential Wholesalers & Potential Retailers
Craft shows/trade shows/handmade markets are a great networking opportunity. Other sellers at the markets may be interested in stocking your products, and you may be interested in stocking products from other sellers. If you attend a large craft show it can all become a bit of a blur regarding who sold what products, the names of the people at each company that you spoke to etc. so this potential wholesalers page (show below) and the potential retailers page (not shown) are perfect for keeping track of this information.
I also added in a couple of extra useful pages such as:
Babysitter notes
If you need to leave your kids with your spouse, an aunt, uncle, grandparents, neighbour, friend or babysitter you can avoid the last minute rushed instructions as you run out the door by filling out these pages in advance – they’re especially ideal if you’re attending a craft show means you need to be away from home overnight or a couple of days.
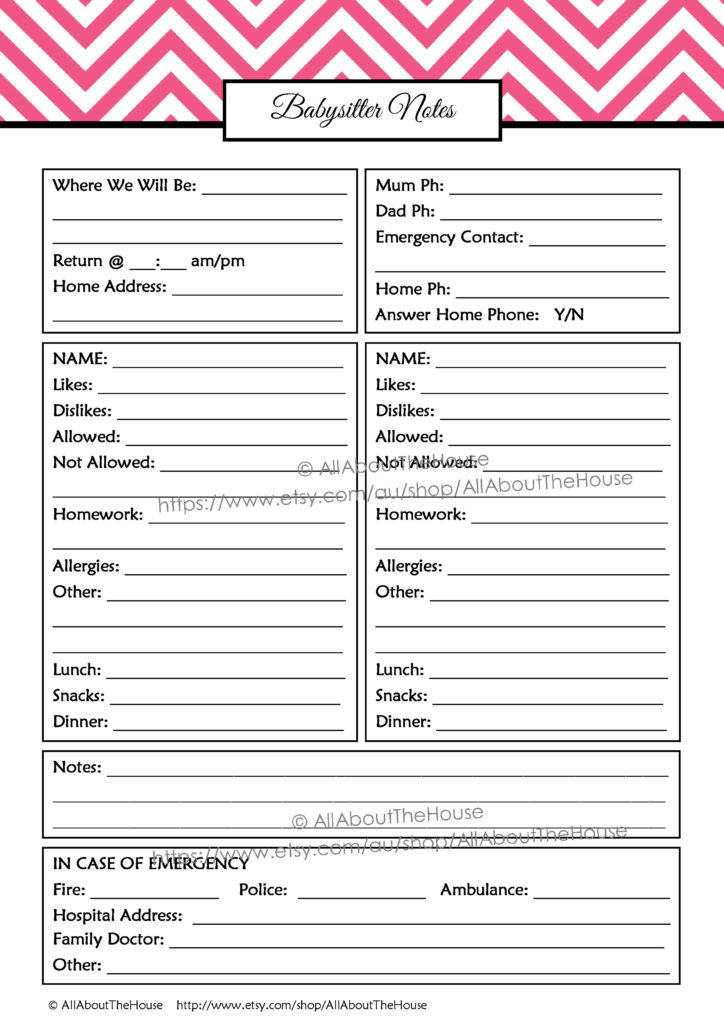
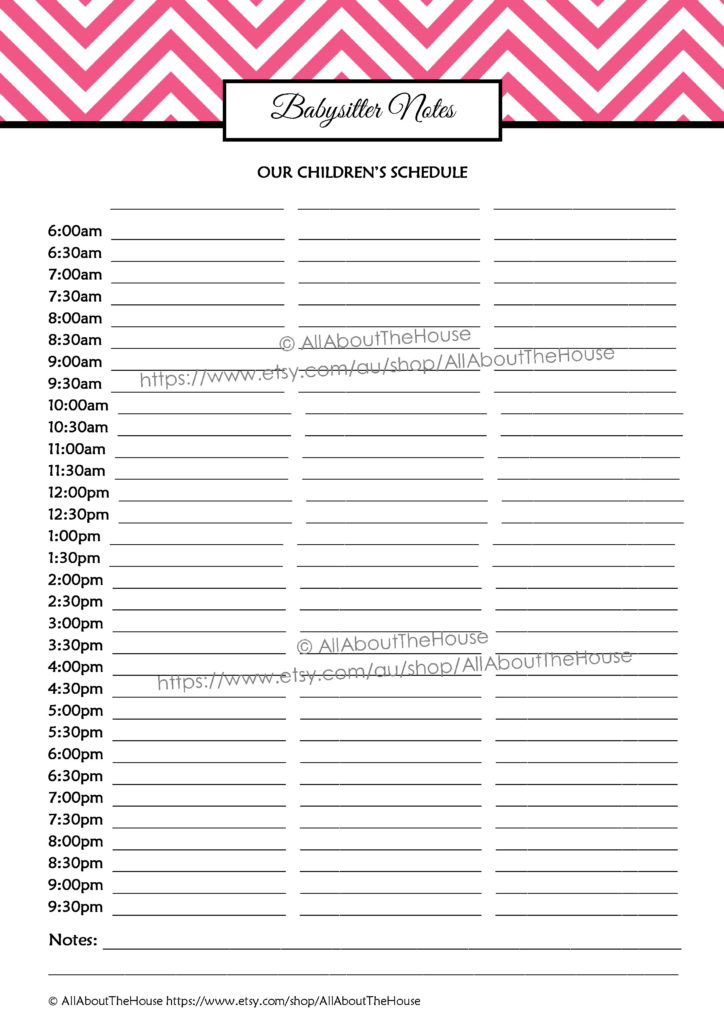
If you have to leave your kids with a sitter while you attend a craft show (or even leaving them with your husband or a relative) then this page is where you can leave instructions includig their routine, waht to feed them etc.
Craft shows record
Keep a summary of all of the shows you attended to help you determine which ones made a lot of profit, which weren’t worth the time invested and which aren’t worthwhile returning to next year
Transfer to this page:
- The total of all of your expenses involved in attending the craft show (recorded using the spending logs or expenses tracker)
- Profit (from the inventory page)
- Time spent (from the weekly planner/time tracker)
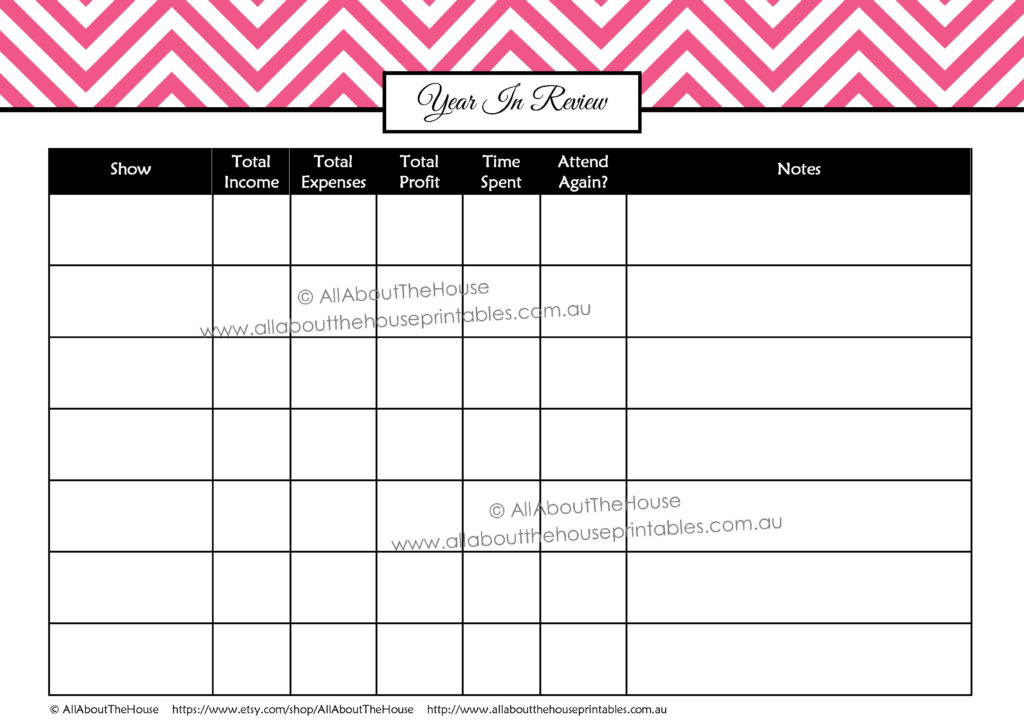
Year in Review
At the end of the year, take the time to analyse what worked and didn’t work so you can make improvements for next year. You specifically want to compare your most profitable show and your least profitable show and look for patterns that can be replicated (or those you want to avoid replicating!)
Notes page
As is included with all of the printable planner sets in my shop, lined notes paper for jotting down random thoughts, ideas or anything else you like is also included 🙂

There are 32 dividers to keep everything organized:
– Booth layout
– Stall layout
– Expenses
– Orders
– Custom Orders
– Pre Orders
– Wholesale
– Retailers
– Contacts
– Insurances
– Products
– Supplies
– Checklists
– Inventory
– Receipts
– Marketing
– Products
– Catalogues (Catalogs spelling version also include)
– Samples
– Transport
– Time tracking
– Sales
– Year in Review
– To do
– To Order
– Price List
– Miscellaneous
– Notes
– Before craft show
– After craft show
– Before markets
– After markets
Plus 12 dividers (one for each month of the year)
…So in summary,the planner includes 100 pages
To help you organize everything from pre-show planning to sales, time management, orders, logistics, marketing & spending!
– Cover and Spine – 3 different phrases: Craft Show Planner, Trade Show Planner, Markets Planner
– ‘This belongs to’ page in case you lose your planner
– Annual craft show planner
– Countdown to markets – (4 pages) pre-filled with all the tasks you need to do before your show including marketing, products, stall/booth planning etc. – there is space to add a few more of your own tasks as well
– Countdown to markets (4 pages – weekly countdown with blank checklist – so you can add tasks unique to your business)
– Show Checklist – for to do’s, supplies, products to make etc. (blank – so you can add tasks unique to your business)
– Show sales log
– Order form (if you only want to purchase this printable and not the entire craft show planner, it’s also available separately here)
– Inventory (portrait and landscape page orientation versions) – 2 page total
– Babysitter notes – leave this with the babysitter (or your spouse, aunt, grandparent etc.) wile you’re attending the craft market, trunk show etc. (2 pages)
– Shows research (2 pages)
– Newsletter signup sheet
– Show marketing plan
– Insurance policies
– Flight info
– Stall/booth layout – plan your booth and each table (including what products and display items will be on each) (2 pages)
– Price list (doubles as a products you’re taking with you list)
– Holiday prep checklist (filled in and blank versions – 2 pages)
– Potential wholesalers
– Potential retailers
– Spending log – one page to keep a running track of expenses
– Spending log – categorized (4 pages)
– Show expenses – includes space to record budgeted and actual amounts spent – transfer your totals from the spending log to this page
– Show expenses (categorized) – 2 pages includes space to record the budgeted and actual amounts spent – transfer your totals from the spending log to this page to track how much you actually spend and if you need to budget more or less for each expense category
– Customer feedback
– Lined note paper
– Weekly time tracker (2 page portrait orientation in half hour time increments with a to do check list for the week) – so you made $2,000 at your last craft show – but how much time did you spend? Keep track of where your time went (from planning through to sending orders after the show) to see if it was actually worthwhile for the amount of time involved
– Supplies checklist
– Supplies to order (for products)
– Shipping cost/freight cost comparison
– Pre-orders sign up list – one page for all products
– Pre-orders sign up list – use one page for each product that customers can pre-order
– Waiting list sign up sheet (for out of stock products) – one page for all products
– Waiting list sign up sheet (for out of stock products) – use one page for each product that customers can pre-order
– Shows review – keep a summary of all of the shows you attended to help you determine which ones made a lot of profit, which weren’t worth the time invested and which aren’t worthwhile returning to next year
– Shows – year in review – record which shows were your least and most profitable, what strategies worked and didn’t work and what you’ll do differently next year
32 DIVIDERS
– Booth layout
– Stall layout
– Expenses
– Orders
– Custom Orders
– Pre Orders
– Wholesale
– Retailers
– Contacts
– Insurances
– Products
– Supplies
– Checklists
– Inventory
– Receipts
– Marketing
– Products
– Catalogues (Catalogs spelling version also include)
– Samples
– Transport
– Time tracking
– Sales
– Year in Review
– To do
– To Order
– Price List
– Miscellaneous
– Notes
– Before craft show
– After craft show
– Before markets
– After markets
– 12 months of the year dividers (January, February, March etc.) – text is on the side so you can easily find the month you’re looking for when flicking through your planner
There are 7 colors to choose from
Purchase via my Etsy shop: Pink, purple, green, light blue, grey, black
Purchase via the online shop: Pink, purple, green, light blue, grey, black
This planner has also been added to the Get It All Printable Planners Bundle! (it includes all 23 printable planner sets – by purchasing you save over 75% off!). The bundle is available via the online store or my Etsy shop.

Leave a Reply