After seeing Instagram flooded with calligraphy and being jealous of everyone’s ability to hand-write such pretty letters I wanted to try it for myself! Given my hand-writing looks like chicken scratch has never been very good, I did some Googling to find some free worksheets to start learning how to write calligraphy!
Practicing Calligraphy
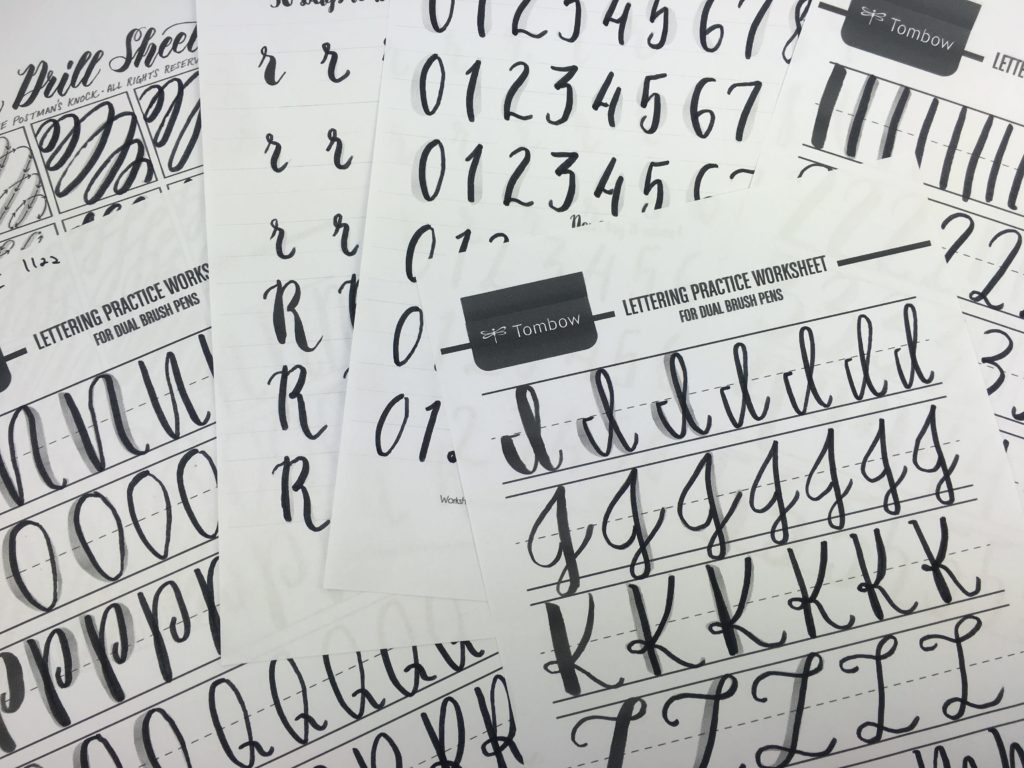
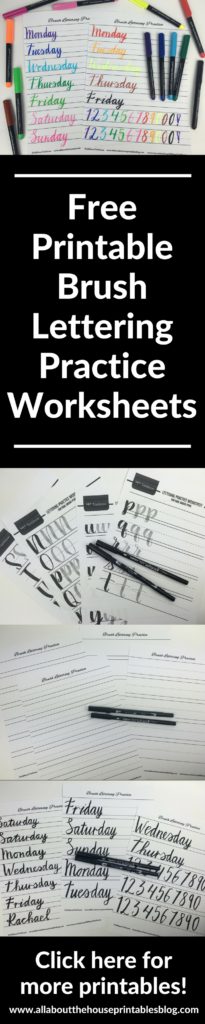
The Tombow Website has practice pages for each letter of the alphabet which are a good starting point, but I wanted blank pages to practice writing different phrases, so I ended up making my own brush lettering practice sheets.
Click here to download!
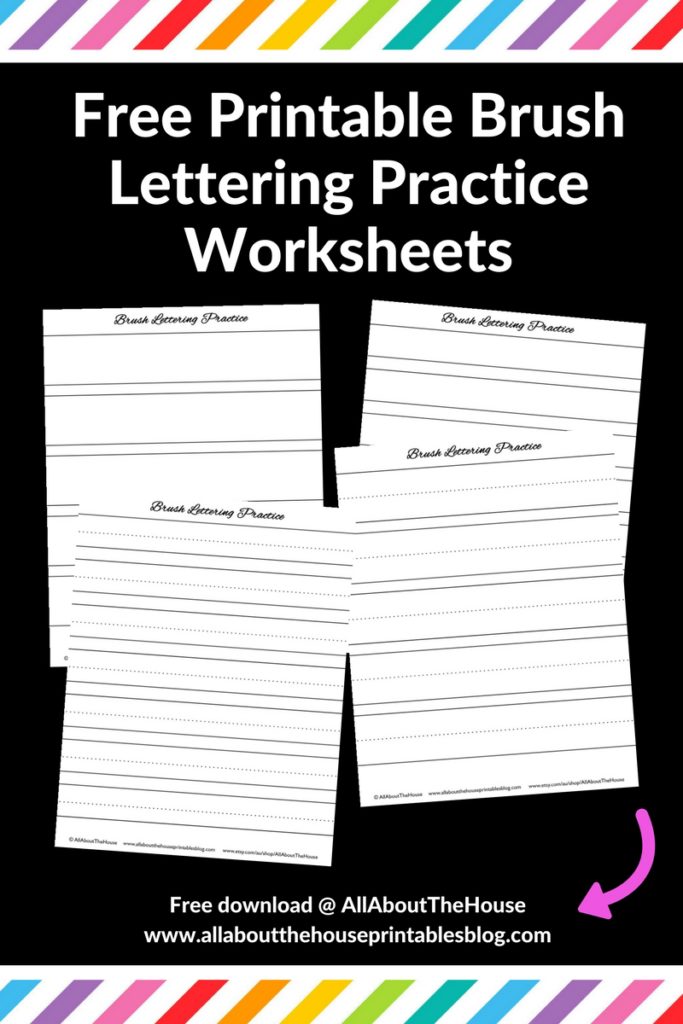
There’s upper case and lowercase sizes – both with the dashed middle line and without.
The templates are in black so they’re ink friendly if you need a lot of practice like I do!
I was originally writing directly onto the worksheets I printed out then was wondering why my brush tip was feathering. After doing some Googling I discovered that normal copy paper is not good for brush pens – it ruins them 🙁
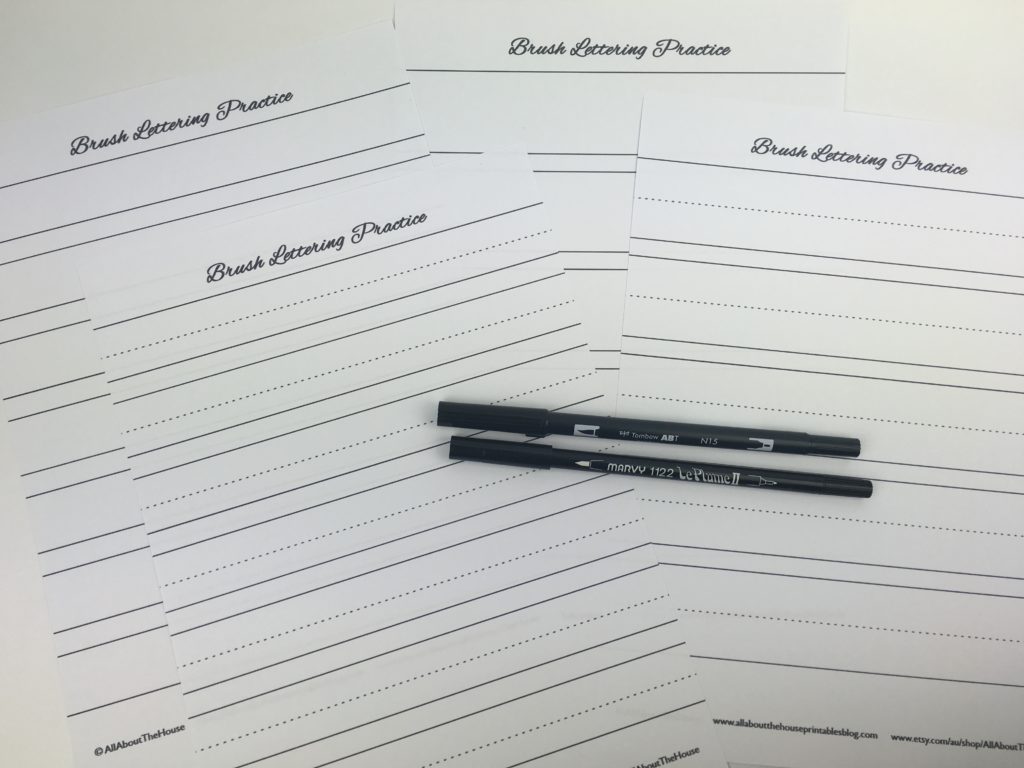
So now I place the practice worksheet underneath a page of a notepad. I’m currently using the Rhodia brand. It’s a bit pricey but the paper is so smooth – it definitely makes it easier to practice lettering on and now I don’t need to worry about ruining another brush pen!
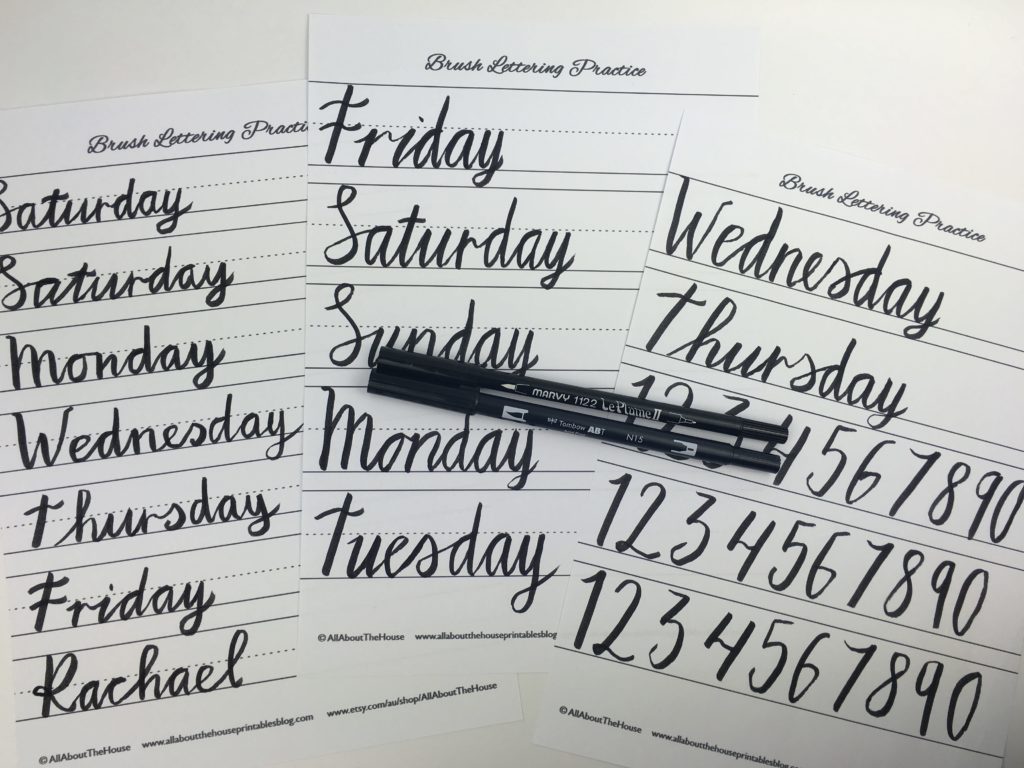
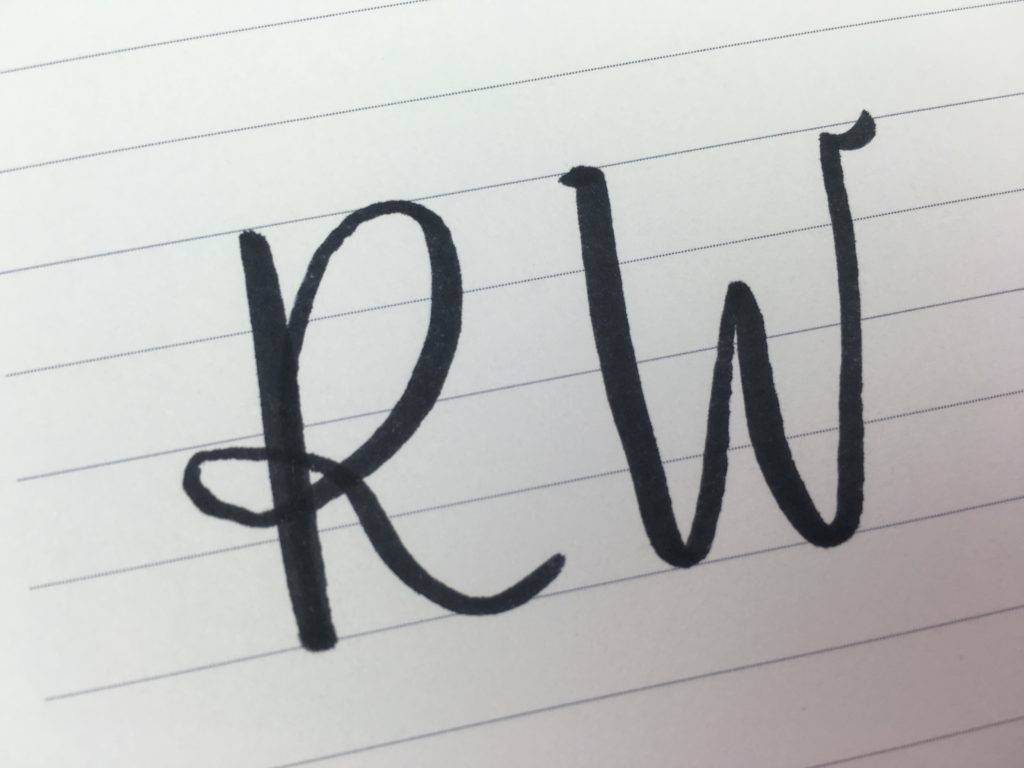
My hand lettering looks terrible 🙁 I definitely have a lot of practicing to do!
Printing the brush lettering worksheets
I made the template at 8.5 x 11″ size since most of you guys live in the USA! If you live in Australia like I do, when printing, make sure you select:
- A4 page size
- Borderless
- Fit to page
How to Print the Worksheets
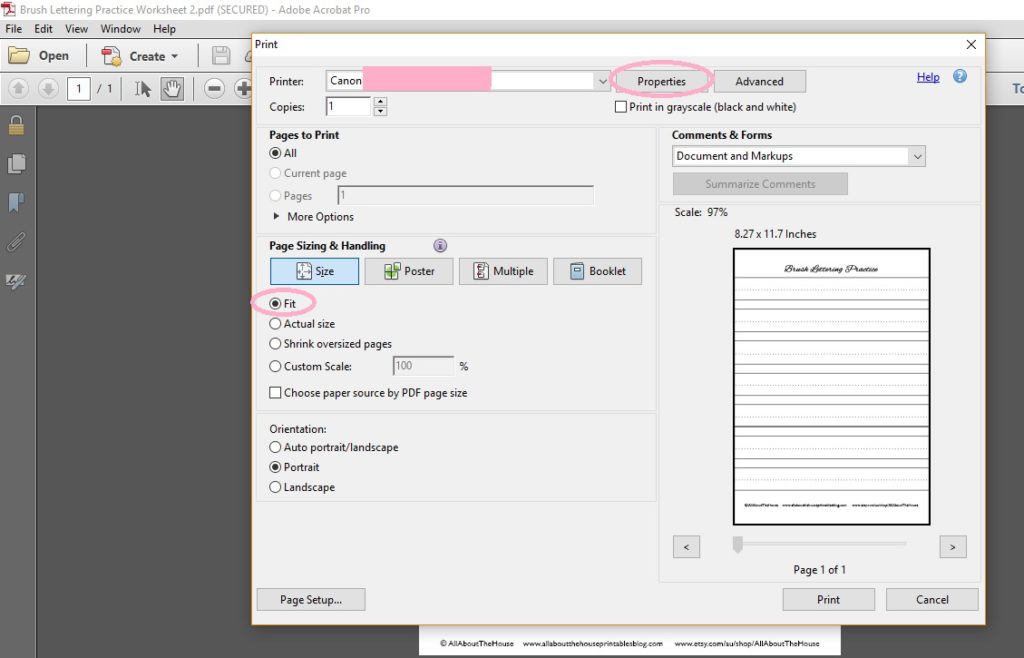
After downloading the worksheets, open one of the PDF files and go to file > print
Then select ‘fit’ to page
Then select ‘properties’
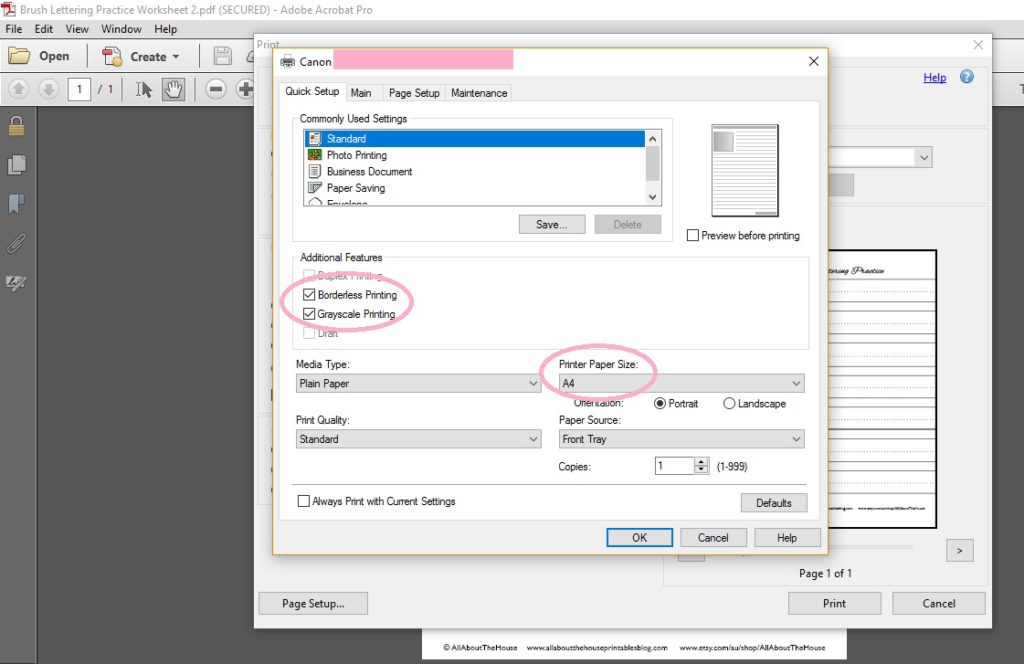
Then select ‘borderless’ (if you’re printer has this option. If it doesn’t, don’t worry it just adds a small white margin to all sides of the page – you can still use the hand lettering practice sheets)
To save printer ink, select ‘greyscale’
And then A4 page size
Related: How to Choose a Printer (Including the best printer for printing printables and planner stickers)
Needless to say I have a LOT of practicing to do before I start monogramming things!
Calligraphy not your thing? I shared a tutorial on how to make monograms in Microsoft Word in this post.
Brush Pens
You know me and pens… I have no self control.
Related: How to choose the right planner pens: what to look for when buying planner pens
I’ve purchased quite a few different brush pens to try them out.
Some of the brush pens I’ve tried:
- Tombow ABT N15 (Dual Tip)
- Marvy 1122 Le Plume II (dual tip)
- Monte Marte
I also considered the Faber Pit Castell and Copic markers but since calligraphy pens are expensive I’m trying to hold off on buying them. Not sure how long that will last…
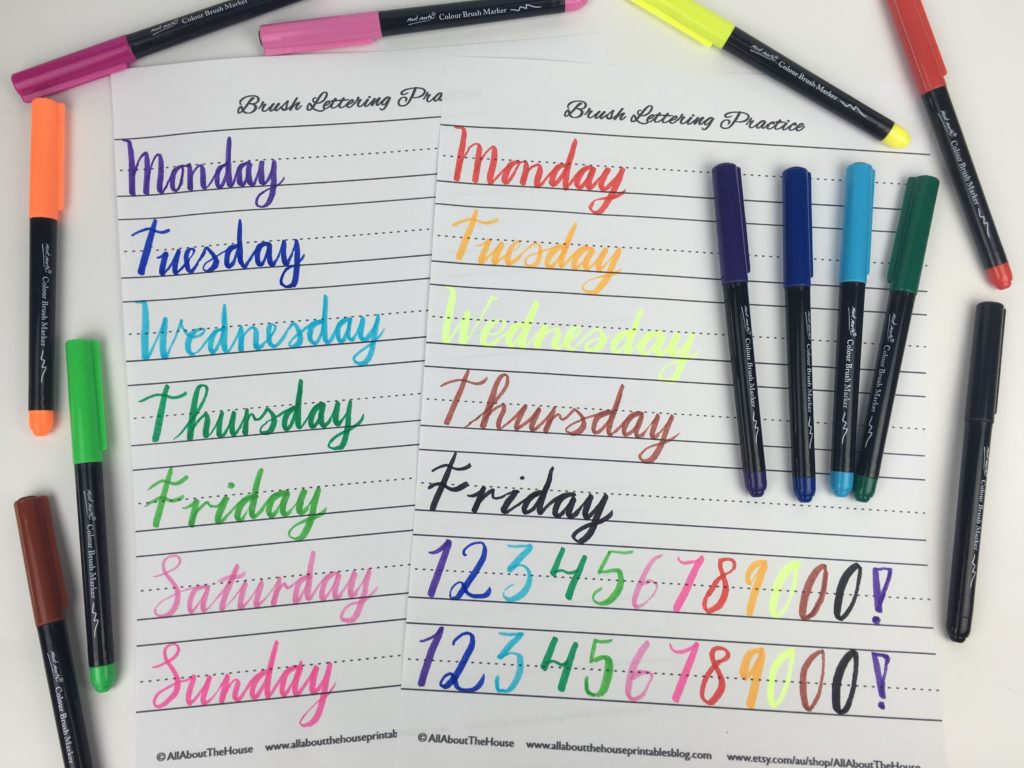
The Tombow pens come in lots of pretty colors – they are expensive though so make sure you get colors you’ll actually use.
My favorite at the moment are the Monte Marte. They aren’t as fat at the popular Tombow. I stumbled across them in Stacks (a cheap discount store) – a pack of 12 rainbow colors was only $10!
Don’t forget to download the practice worksheets!
Click here to download!
Update: after a few weeks I’m pleased to say my brush lettering has improved (I cringe looking at the above photos!)
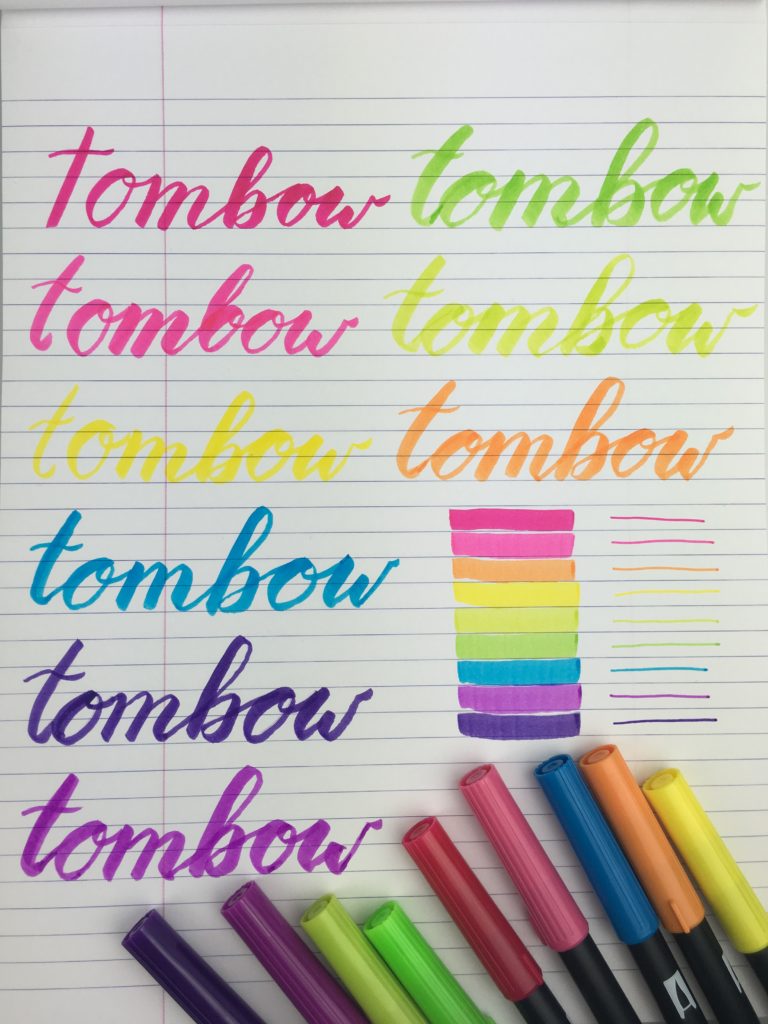
My current favorite pens are the Tombow brights (my sister has them in her planner supplies shop!) The Marvy Le Plume II are a close second.
I’m currently using the Rhodia notepads (which I found at Officeworks) – they come in blank, lined and grid – the lined is my favorite to write on.
Related: DIY Hand lettering practice worksheets (tutorial on how you can make your own!)

Found this post helpful? Pin it!
Leave a Reply