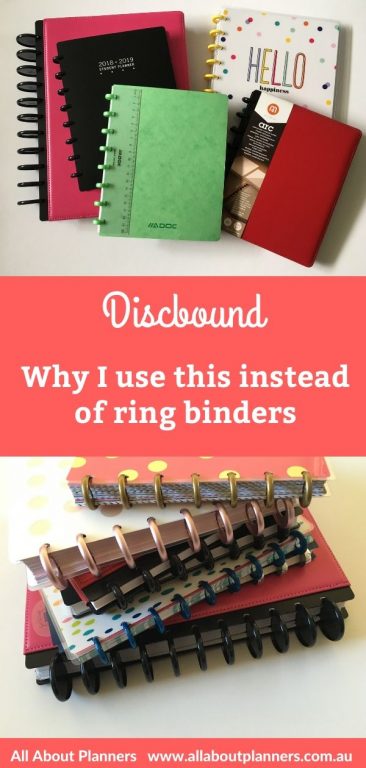
The ARC system is discbound which means you can add, remove and rearrange pages as often as you please. Similar to the MAMBI Happy Planner discbound system you can purchase refills (although the ARC ones are quite basic), or print some printables and punch them with the ARC punch.
Related: MAMBI Happy Planner Discbound Punch versus the ARC (are they compatible?)
I went into heaps more detail about how discbound planners work in this post: guide to Discbound Planners & Frequently Asked Questions
This post contains affiliate links.
ARC versus binders
While you can add and remove pages using binders, there’s a few key reasons why I ditched binders:
- If you can find a hole punch that has a slider for different pages sizes then great, but otherwise it’s annoying to line up where the holes should go
- Some binders have 2 rings, others have 3 rings. 2 rings and the pages tend to slide, 3 rings and you’ll need to find a special hole punch that can do 3 rings
- Opening and closing the metal rings is loud and it’s easy to accidentally pinch your fingers
- The holes punch far into the page taking up space
- Binders are chunky – it’s hard to find binders that are less than 1″ thick
If you’ve never heard of the ARC system I used it to turn some of my Plum Paper Planners into discbound planners:
To enlarge the screen of the video, click the square icon in the bottom right hand corner of the video (it will say ‘full screen’ when you hover your mouse over the icon).
Subscribe to my YouTube channel for more planner related videos & graphic design tutorials!
Some of the ways I use the ARC system
- Organising recipes (with the compatible plastic sleeves)
- Filing receipts
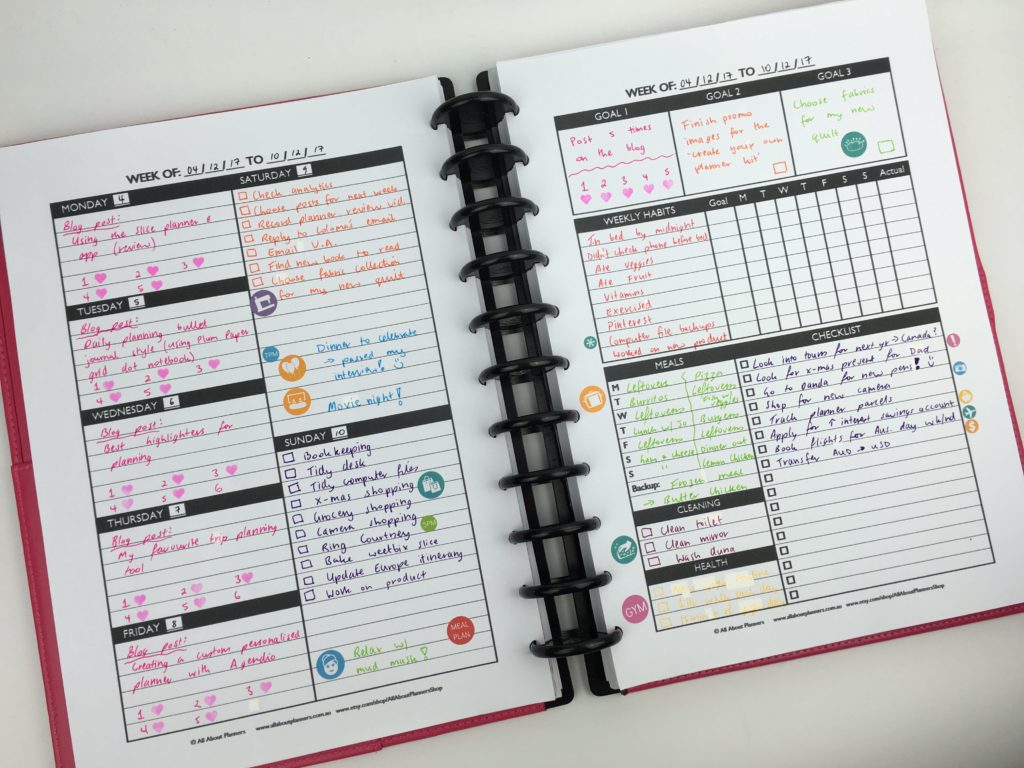
- Weekly planning
- Home binder
- Lists
- Printable planner sticker sheets
- Blog planning
I use A4 versions for my home binder, recipes, blog planning and occasionally for weekly planning.
For everything else I use A5 versions (I have one in each of the different color leather covers!)
If you’re in the USA the ARC comes in US letter size and half US letter size versions
Using the Arc planner to organize my planner stickers:

I chose the Arc planner system because:
- The discs don’t get in the way when writing like binders can and you can fold the notebook back on itself
- I can easily remove pages (without damaging them) from one Arc notebook and transfer them to another Arc notebook
- I can also transfer pages within the same notebook
- Comes in A4, A5, US half letter and US letter page sizes
- Has accessories such as plastic sleeves, pocket folders and zip-lock pockets
- Sturdy – I purchased the leather version. You can also get a less expensive poly cover as well
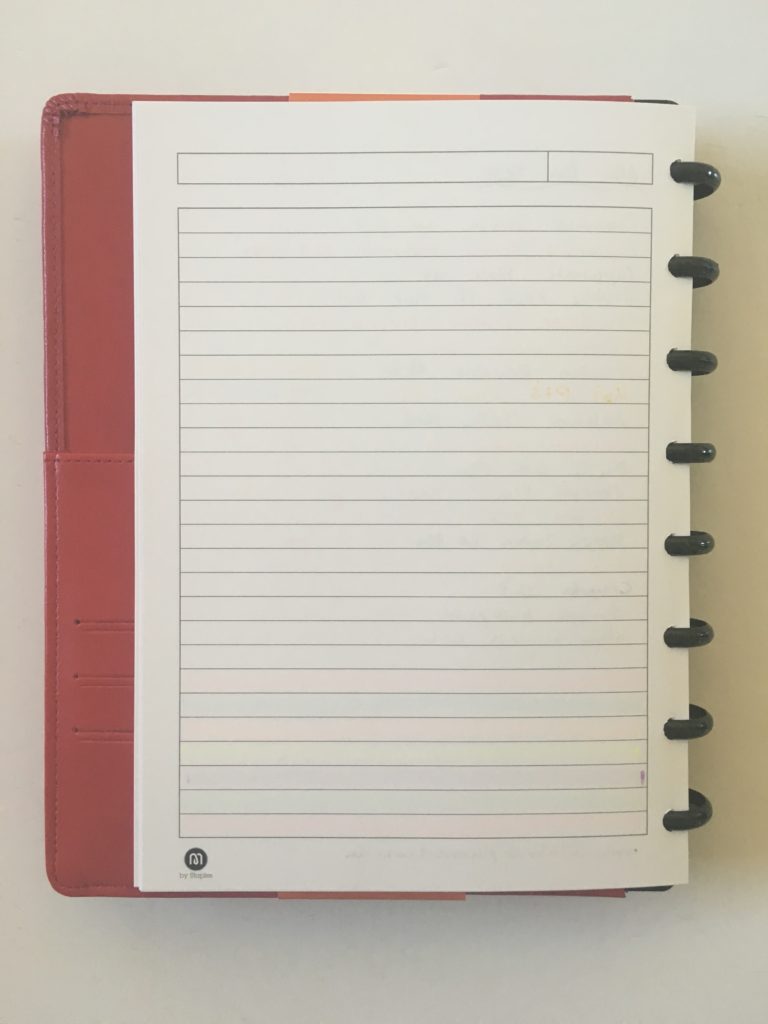
- Comes with pre-lined writing paper that is thick and sturdy (although I remove these pages and replaced with my own printable note-paper and planner pages)
- I use my own inserts such as the planner dashboard I shared in this blog post (which can download from the free printables library when you subscribe to my blog), but you can purchase list-making inserts
- I can easily add more pages throughout the year. I usually keep about 6 months’ worth of planner pages in my notebook at once time to avoid it becoming too bulky
- You can buy larger discs if you need to store more paper (and the rings aren’t too expensive) – just make sure you change the coil BEFORE you add the pages to your notebook
- You can punch pages smaller than the size of the notebook i.e. if you purchase the letter size version, you could punch half size pages (on the shorter side) or small lists
- Less bulky and more portable than binders
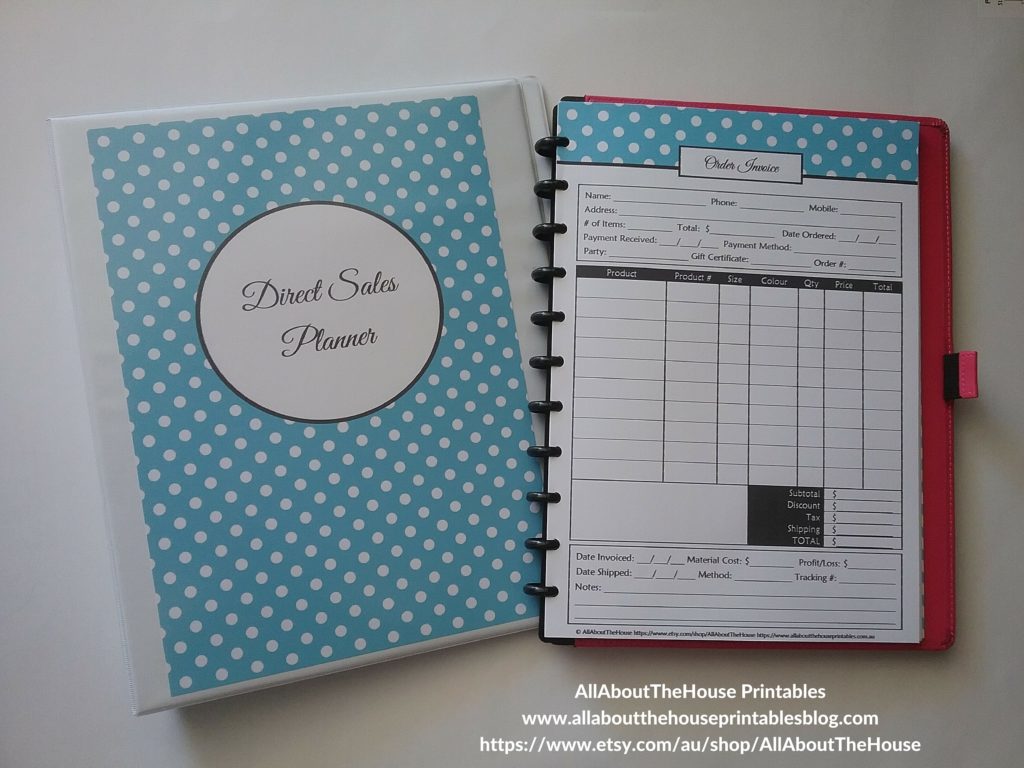
The pages show in the image above are from the Direct Sales Planner
Some of the accessories you can purchase to go with the Arc notebook include (these are affiliate links):
- To do lists
- To do pads (handy lists that are great for grocery lists)
- Lined note paper
- Planner refill inserts
- Project filler paper
- Dividers for your notebook (e.g. organize by subject, recipe, categories for a household binder, months of the year etc.)
- Clip in rulers
- Clip in sticky note dashboard
- Different disc sizes (the notebooks come with the smallest size – 1″ discs – but you can switch them out for the 1.5″ discs if you need more space)
You can choose between leather covers (expensive) or poly covers (very cheap but the material is bendy). I bought leather covers and they’re still in as new condition after 7 years of use.
Using the Create Your Own Planner printables with my ARC Notebook
Cons of the Arc Planner System
- There are limited colors available for the covers – pink, red, black, blue and a yukky shade of green (that looks like puke!)
- It is expensive – you’ll need to purchase the custom notebook, the punch and the larger discs if you want the option to add more pages to your notebook.
The ARC planner cost $30(AUD) for a half page size notebook (with a sturdy leather front and back covers). It required a special punch which cost about $60(AUD). Staples Australia have increased the price since I purchased the planner system. The punch used to cost $60 and now it costs $90! The Arc planner is cheaper in the USA. Staples also offer poly covers which are cheaper but aren’t as sturdy as their leather ones. Because I can re-use the covers year after year, I opted to spend more on the leather cover (I haven’t regretted it!).
The Martha Stewart discbound system is similar to the Arc planner (with different colors notebooks!)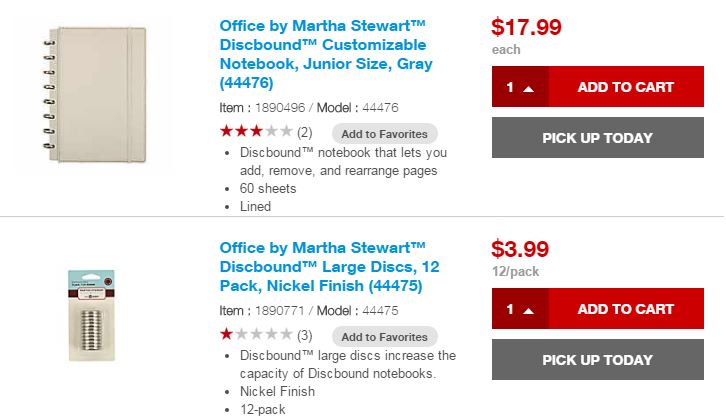
Read more: Guide to Discbound Planners & Frequently Asked Questions
Update: in the past couple of years that have been quote a few new discbound notebooks come to market. See this post for my top 10.
If you’re trying to choose between the ARC and MAMBI discbound systems, I did a detailed comparison in this post
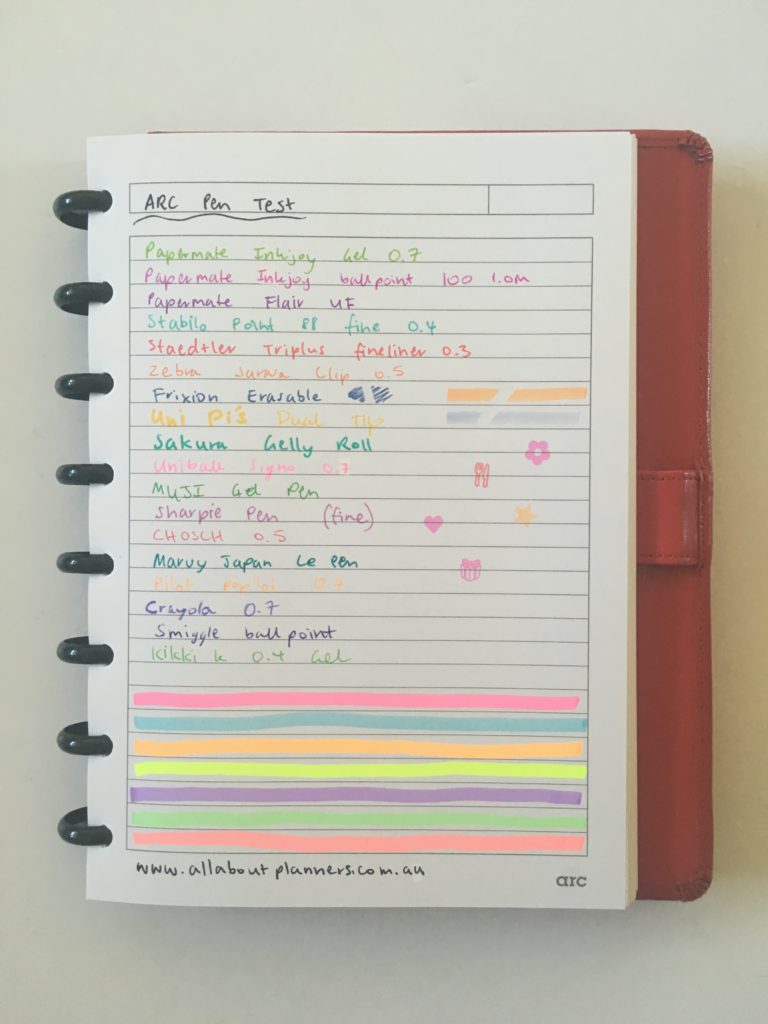
Pen Test
ARC’s paper is so smooth to write on. It feels thicker than the paper in most planners. There is some light ghosting (mainly highlighters) but overall one of the best papers I’ve found in a planner.
You may also be interested in this blog post full of printing tips.
If you’re interested in learning how to make your own printables, I have an entire ecourse filled with tutorials: How to Make Printables in Photoshop.

More planning tips
- DIY Planner Tutorial: How to make your own planner stickers without a Silhouette machine
- Setting up a new planner: 70 Tasks to add
- Hardbound versus coil bound planners (pros and cons)
Found this post helpful? Pin it!
[…] first discbound notebook I ever purchased and the one I still use to this day, is the ARC system from Staples. I have an A5 size that I use for frequently referred to printables such as password logs, project […]