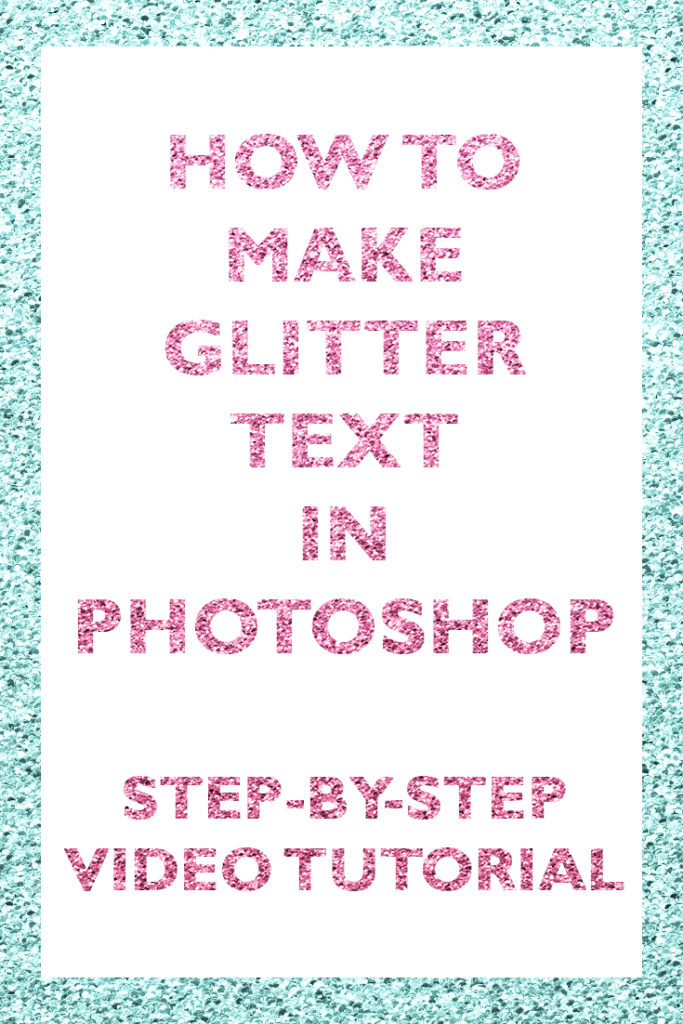
Who else is obsessed with glitter?! It’s super easy to make glitter text in Photoshop, in the video below I show you how 🙂
To enlarge the screen of the video tutorial, click the square icon in the bottom right hand corner of the video (it will say ‘full screen’ when you hover your mouse over the icon). If you miss a step or need to re-watch you can pause, restart, rewind and rewatch the recording as many times as you need!
This post contains affiliate links. If you make a purchase after clicking one of these links I’ll receive a small commission (at no extra cost to you) in exchange for referring you.
How to make glitter text in Photoshop
If you don’t have Photoshop, you can purchase and download it here (my affiliate link).
Links mentioned in the video
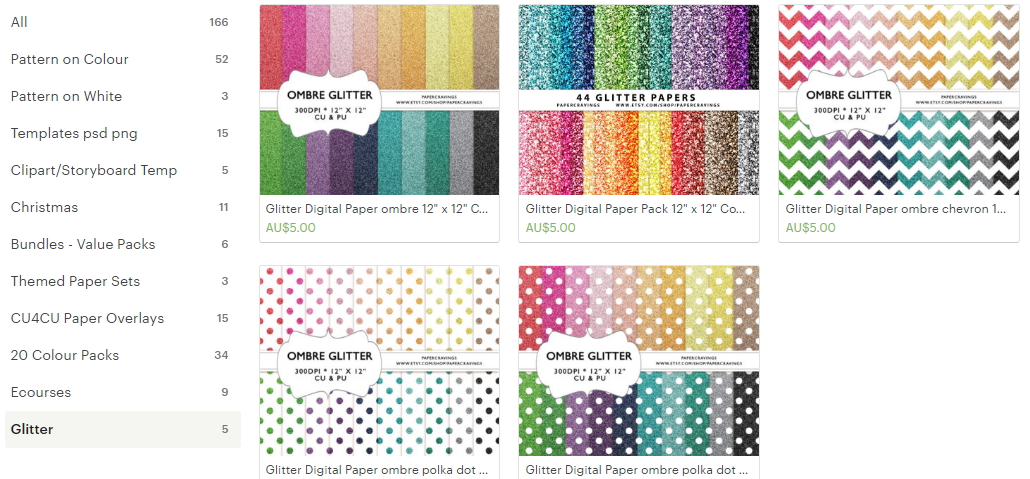
- My Etsy shop PaperCravings where you can find the glitter backgrounds used in this video
- How to download Photoshop
- Free graphic design video tutorials library
- Ecourse: How to Make Patterns in Photoshop & Monetize your Designs
- How to download & install shapes in Photoshop
To make glitter text/type/font in Photoshop
- Open a new file in Photoshop and select your canvas size (if you’re not sure what you want the end size to be, start big as you can always make it smaller later, but if you start small and enlarge it, the text/glitter can become pixely and blurry)
- Choose a ‘block’ style font. I used Gill Sans MT in the video (it’s free to download)
- Type your text
- Locate the glitter file from where it’s saved on your computer. The glitter used in the video is from my Etsy shop, PaperCravings
- Left click on the file and drag and drop it into Photoshop. Press enter to place the glitter
- If the glitter layer is not already positioned above your text in the layers menu, left click on the glitter layer so that it’s highlighted blue in the layers menu, then left click again and drag to re-position it ABOVE the text layer
- Right click on the glitter layer and select ‘create clipping mask’
- Increase or decrease the glitter until you’re happy with the effect. When re-sizing remember to choose a corner and hold down shift so that the glitter doesn’t get distorted. Drag inwards to decrease the size, drag outwards to increase the size
Other variations of this technique:
2 color glitter combination
Christmas glitter
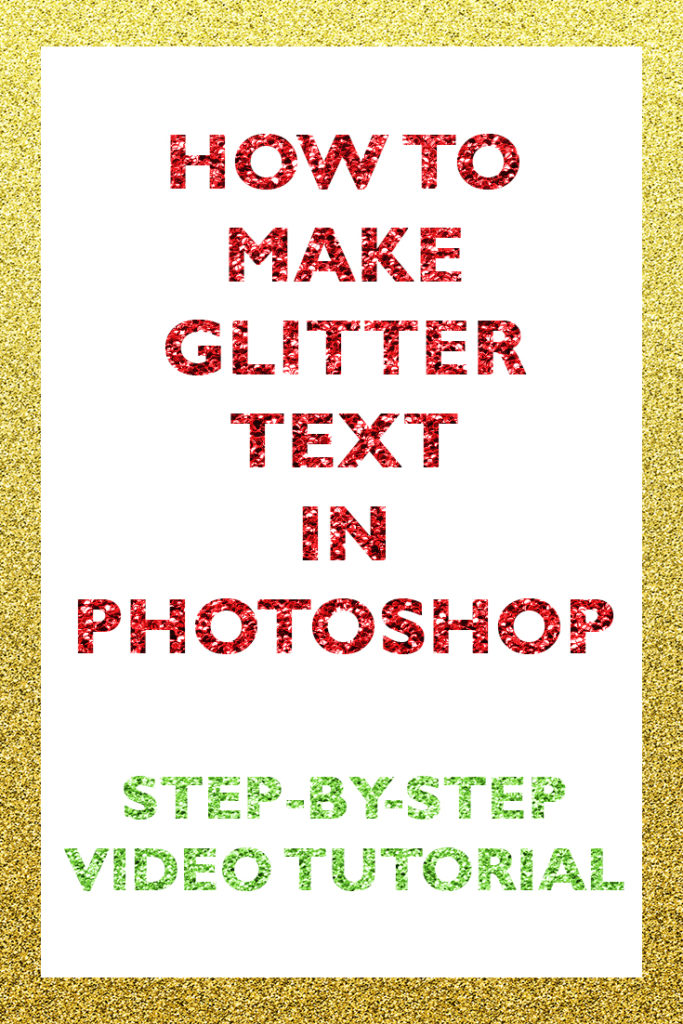
You could also change the font style and use a different glitter color for each letter.
Glitter text on a white background is great for:
- Wall art
- Computer background/phone lock screensavers
- Gift tags
- Stickers
- etc.!
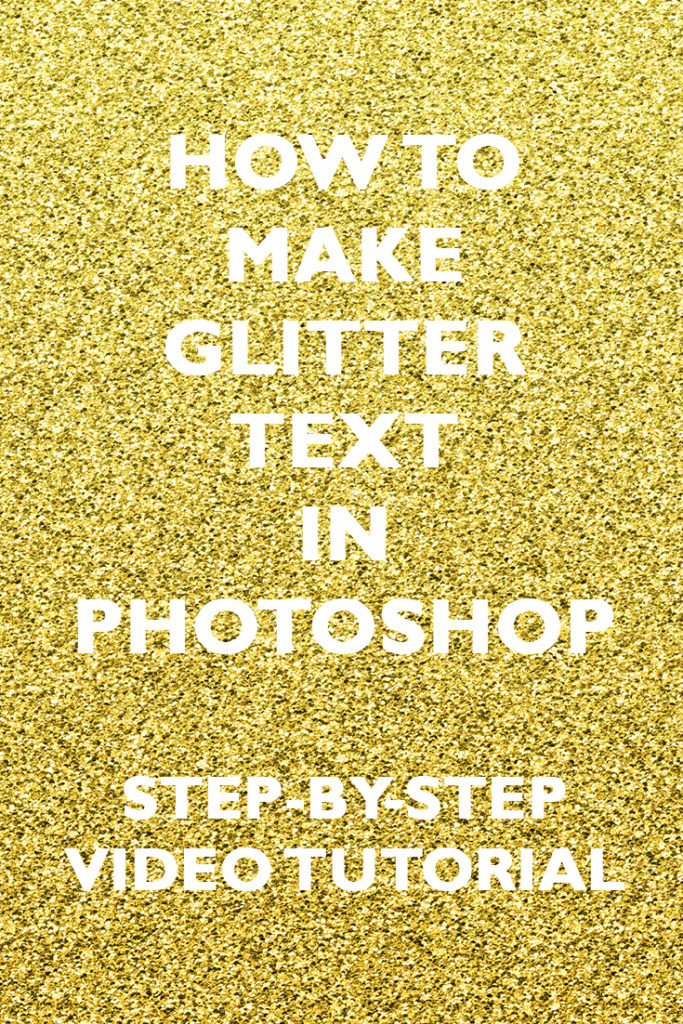
You can also do the reverse: white text on a glitter background
You can also use the same instructions above for shapes in Photoshop. I previously shared a video tutorial on how to use shapes in Photoshop
The glitter used in the video is from my Etsy shop, PaperCravings:
See this post for a tutorial on how to make glitter patterns in Photoshop.
Want more Photoshop tutorials? Visit the Free graphic design video tutorials library
HAVE YOU EVER WANTED TO KNOW HOW TO MAKE YOUR OWN PATTERNS IN PHOTOSHOP?

Leave a Reply