 If your blog is bland and boring and lacks pretty graphics people aren’t going to want to read it!
Every blog post you write should have:
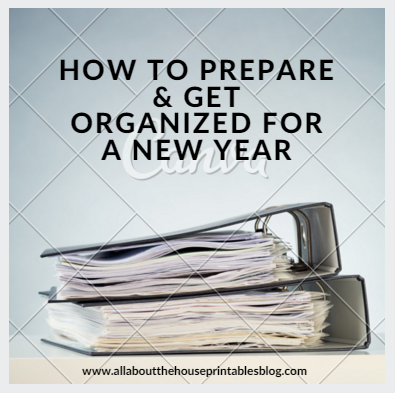
- A large, vertical pinnable image optimised for Pinterest
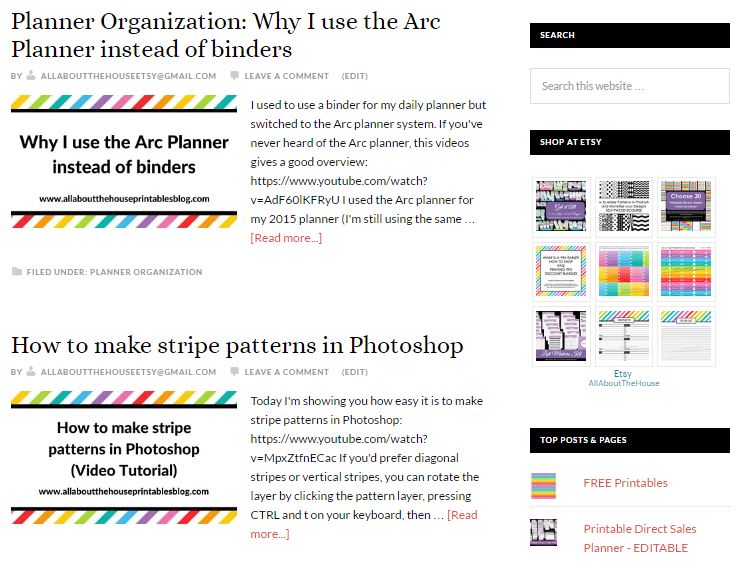
2. A smaller image to use as the ‘featured image/preview’ image when people are scrolling through your blog archives
3. Social media images sized for Instagram, Facebook etc.
In this blog post I’m showing you how I make my blog images in Canva (free online software)
Tips for designing blog images:
- Use the same font as your blog theme and/or keep it consistent with your branding
- Make sure the font is large enough to read – you want it to stand out amongst all the others when people are scrolling on Pinterest
- Avoid using hard to read cursive fonts
- Include your blog name and/or URL on every image
- Avoid using pastel colors. Instead, use colors that stand out like red or black. Bonus points if your colors match your brand colors! (You’ll notice I use the same rainbow stripe pattern for the background of my blog images, that I use for my Etsy shop branding)
- Create an image template so each time you write a blog post all you need to do it update the text and/or image background
- To make my pinnable image (the first image you see on at the top of this blog post), I used the blog image template that is a pre-sized template in Canva (800 x 1000px). After I created my image template they made a Graphic template pre-sized for Pinterest, or you can ‘use custom options’ and enter whatever dimensions you like (just make sure the pin is vertical/portrait orientation as Pinterest re-sizes landscape/horizontal pins to be vertical, so you want to make sure they are vertical to begin with!
- I save my finished image in JPG file format (optimized for the web), it will automatically save in the downloads folder of your computer. If you’re not sure where to find that, see this blog post
And here’s the step-by-step instructions in written format:
STEP 1
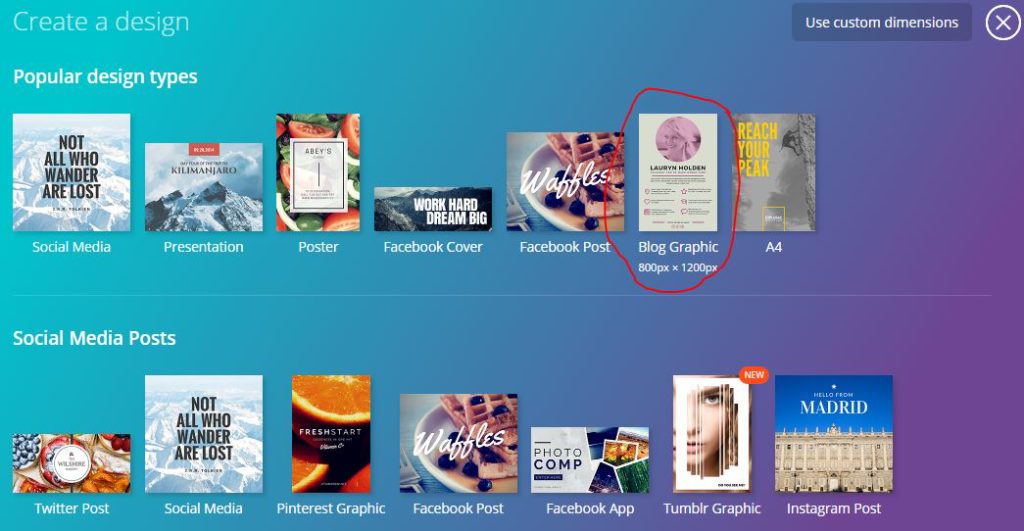
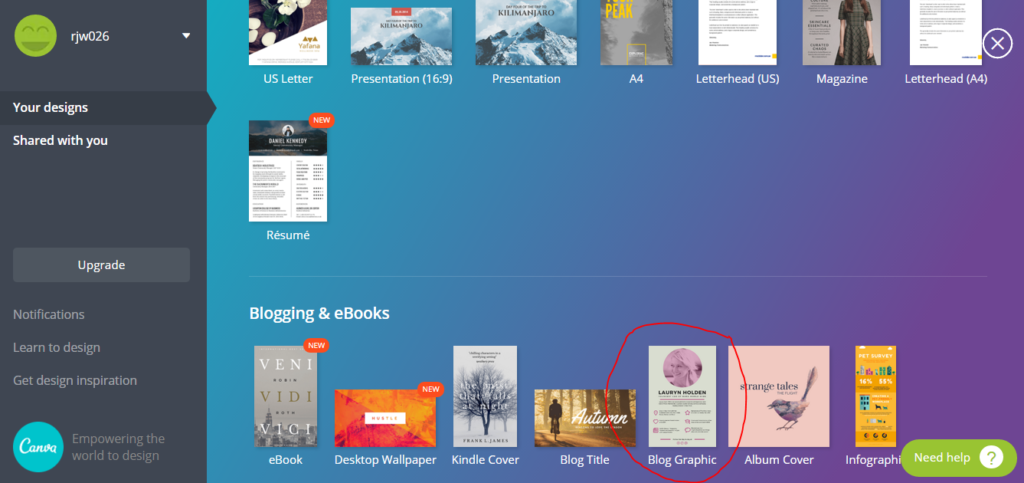
Go to Canva’s website and choose a template, or create a custom size graphic. For this tutorial, I chose the ‘blog graphic’ template.
STEP 2
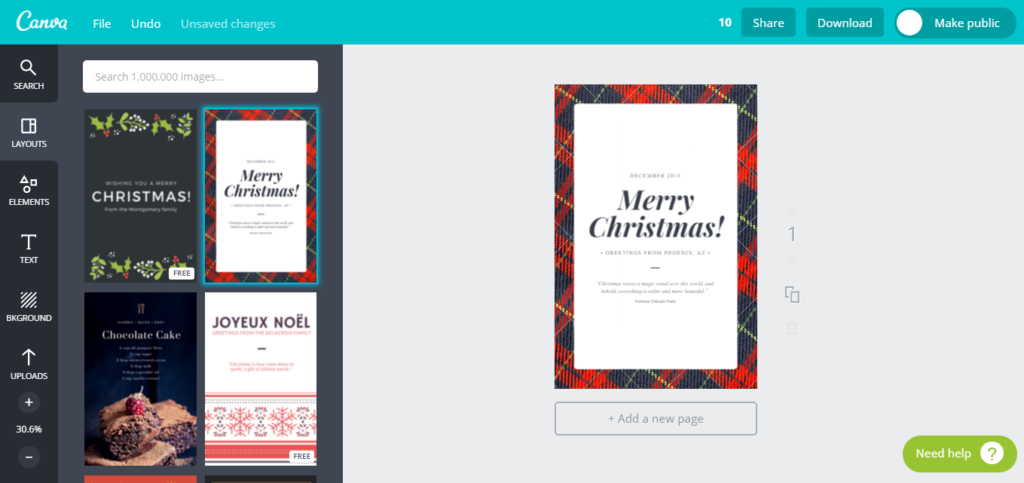
Start a design from scratch, or choose a template from the left. Remember that all elements can be changed in a template, so while the template I have chosen below is Christmas themed, it can be changed to whatever you want!
You can zoom and and out by using the + and – buttons on the bottom of the left menu.
If you make a mistake, press the ‘undo’ button on the top left, or press CTRL and Z on your keyboard. Just ignore the ‘add new page’ button.
Make sure you save your design frequently just in case something happens.
STEP 3
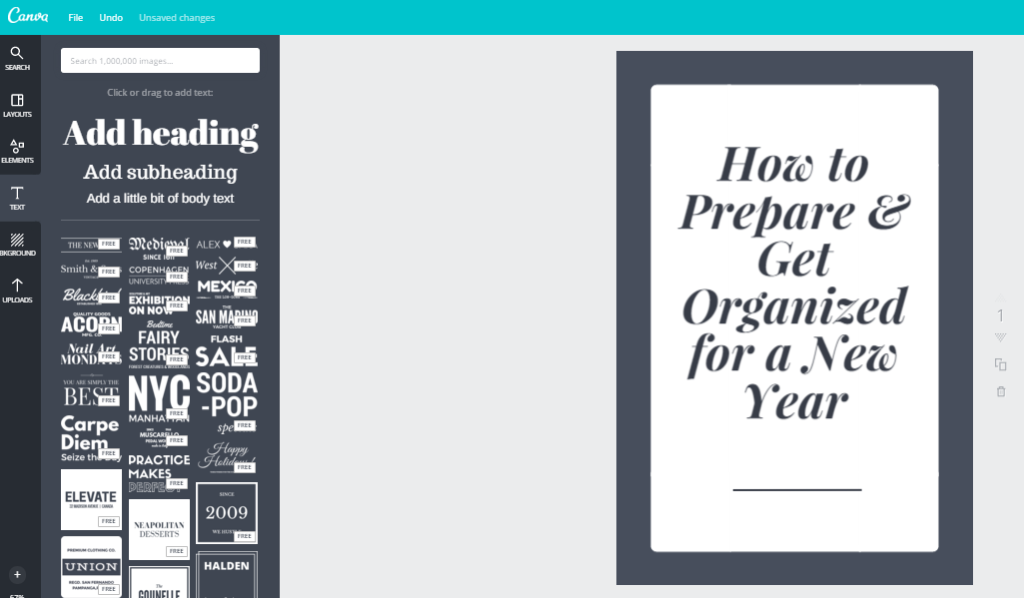
Making progress: the blog preview image I am creating is not for Christmas, so I’ve deleted the background. I’ve also changed the text to the blog post title, deleted text I don’t need and extended the line element.
STEP 4
Added my blog name and url (web link address) to the bottom (using a smaller font size). For the blog post title, I used font size 68, and for my blog URL I used font size 16. I have also changed the blog post title to suit the font that matches my blog (it’s called ‘Lato’ if you choose the same blog theme – Daily Dish Pro by StudioPress for your blog – and it can be downloaded for free from Font Squirrel). You should use the font you chose when you created your blog style guide. You will be able to choose any font from those you have downloaded onto your computer.

To easily and quickly change the font style, click in the text box and press CTRL and then A on your keyboard. This will highlight all text in the text box in light blue – you can then change the font style and it will apply this to all text in the text box.
I chose black for my text color, but you can change this by clicking on the black dot (in the bottom right of the image below – it will display a color wheel until you choose a text color).
I have found the easiest way to make sure the text is centred in the image, is to drag the dotted edges of the text box to the edge of the white space/border.
You can add new text boxes by clicking the ‘T Text’ button from the left menu (highlighted in a lighter grey than the other elements in the menu in the screenshot below), then clicking and dragging one of the sample ‘add heading/add subheading’ etc. elements onto your image. If you are stuck on font pairings, Canva gives you some helpful samples as well.
To move a text box, hover your mouse over one of the corners until 4 arrows going in different directions appear, then click and drag to reposition. You can delete unwanted text boxes (and any element) by clicking the trash can button.
I do not add both my blog URL and my store URL to the image (as my store is hosted separately using an ecommerce provider and is separate to my blog), as this might confuse people about which URL to type to read the blog post. I do, however, add both to product preview images if I am creating a pinnable image for a product, and I sell the product via both my Etsy shop and hosted online shop.
For blog post titles, I use font size 68 (but it can be smaller for longer titles).
For my blog URL I use font size 16.
I have also changed the text color to black to suit my branding (black text and rainbow background). I recommend using black or dark grey for text as it is easier to read. You can make the text your branding color, but choose your boldest color/s (i.e. avoid pastels such as pale pink which are head to read). If the font is too hard for people to quickly read, THEY WON’T READ IT. If you pin it to Pinterest, they will keep scrolling.
If you want to incorporate your branding colors, the best ways to do this would be to change the color of the divider line, or add the colors via the background
STEP 5
Add some color to the background. Here you might want to use your blog color for the background. Mine is rainbow so I have uploaded the rainbow pattern I created (in Photoshop) that I use for all my branding. You could just make the background one color, it doesn’t have to be a pattern like mine is. If your brand consists of 2 colors, you could make one the text color and the other the background. Alternatively, use black or grey text and then the background 50% one color and the other 50% the other color etc. There are so many variations you could do – I recommend trying a few different designs, seeing which one you like best then STICK TO ONE DESIGN so people can look at an image and KNOW that it is a post from YOUR blog. Make sure you re-save each sample template you create. Go to file up the top left then select ‘make a copy.’
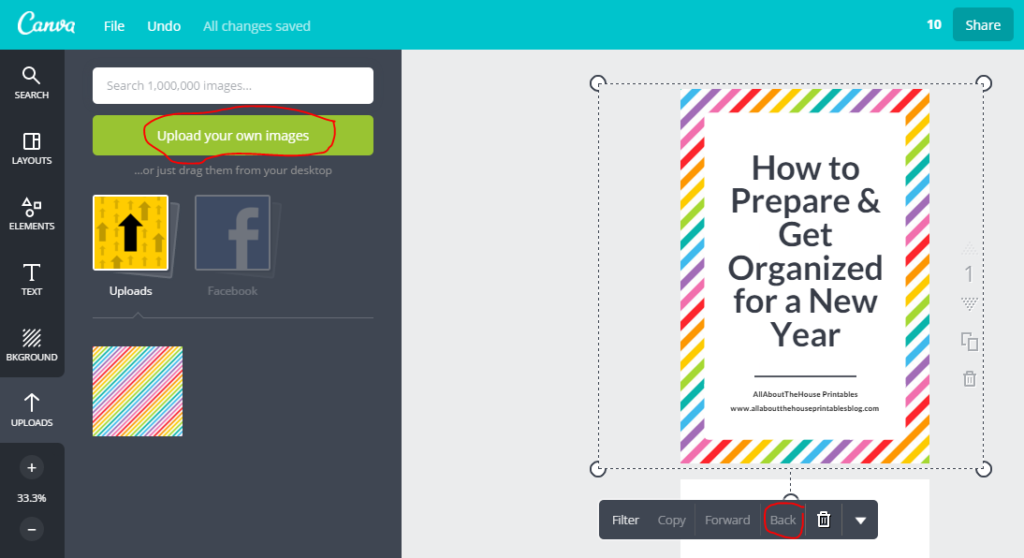
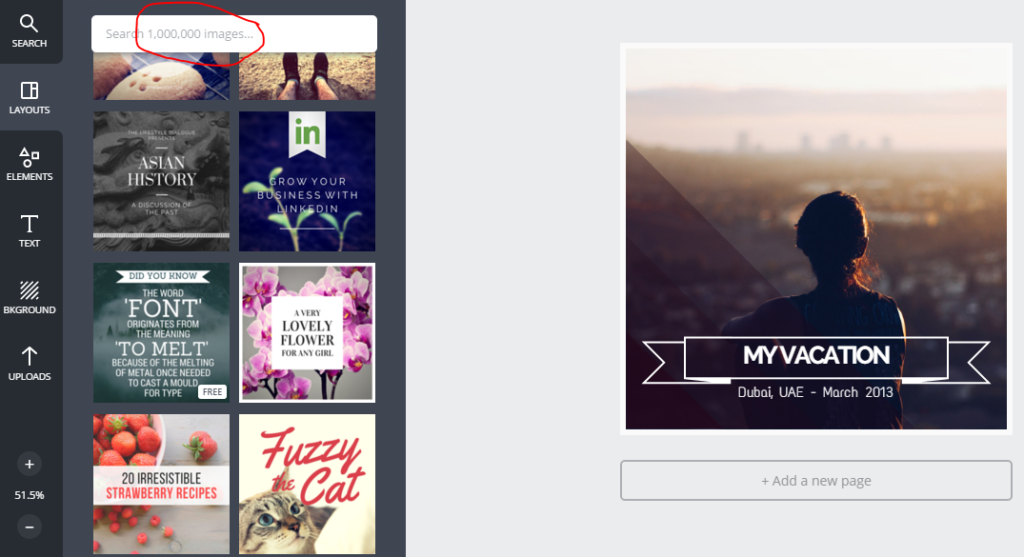
If you upload an image, press the ‘back’ button to push it behind the text and/or other elements on your image (circled in red in the image on the next page)
STEP 6
I chose to add a thin black border around the white background. To do this, I clicked on the white rectangle, chose copy, changed the color to black, increased the size (by clicking and dragging one of the corners and holding down shift to maintain the rectangles proportions) then clicked ‘back’ to send it behind the white rectangle.
Then I made sure to centre it in the middle of the image. A dotted line will appear in the centre when you have it aligned correctly.

Make any extra tweaks to your design until you are completely happy with it.
STEP 7
Save the image you have created. Make sure you save the template so you can come back to it for future blog posts
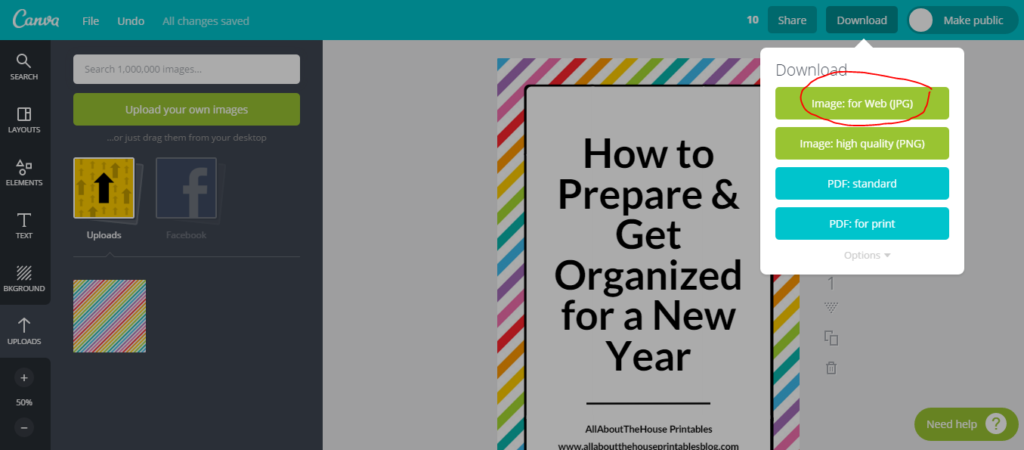
Download the image as a JPG file (image file).
Then save the file to your computer (I recommend creating a new folder and tilting it ‘blog post pictures’ and the year).
Rename the image. Make sure you include keywords (which should be in your blog title anyway).
STEP 8
Upload the jpg file to the blog post. Make sure you copy the title (which is the name of the image and which will automatically appear) to the ‘alt text’ box, as this is the text that will appear in the description section when you pin the image to Pinterest.
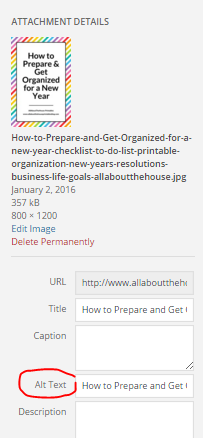
And set the image as the featured image for the blog post (you can find this under the tags section in the sidebar when you are drafting a blog post in WordPress).
STEP 9
Resize the image. Click in one of the corners then drag inwards to shrink. Hold down shift while you do this so the image maintains its proportons.
The blog image size template in Canva is 800 pixels wide x 1200 pixels high but I reduced the size of it down to 450 wide x 749 high after adding to the blog post so it would fit a reader’s screen and they would see it in its entirety (without having to scroll) when they click on the blog post. Like this:
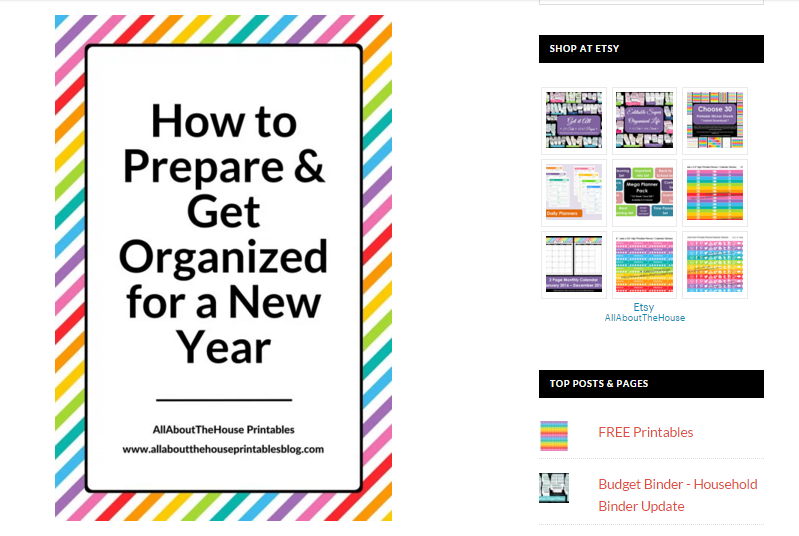
I always recommend starting with a larger image size than you intend it to end up being as images retain their quality when you shrink them, but if you change your mind and decide you want the image to be larger, it will lose quality with enlargement.
STEP 10 (OPTIONAL)
Create a new image for Instagram, a Facebook cover photo or any other social media graphics you need! If you sign up for Canva’s paid plan, they have a one-click button that will automatically resize your graphic for you!
QUICK TIPS FOR USING CANVA
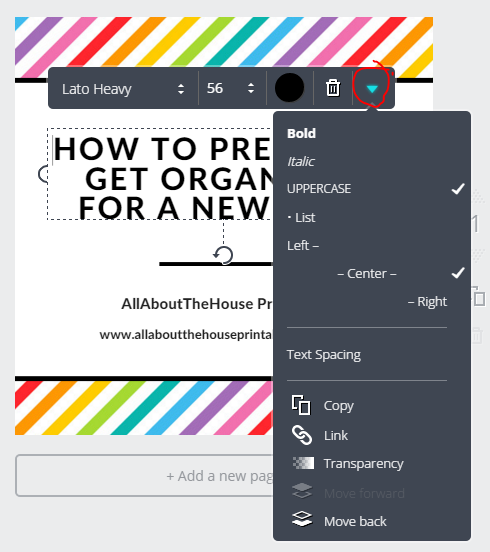
Changing text
If you click the downward pointing arrow, it will bring up the text menu where you can change the font style – bold, italics etc.
Changing opacity
If, for example, you didn’t want white space like in the samples above, you could change the opacity (to be more transparent) to show more of the background color. If you wanted to use 2 shades of one color. You could make the background the dark shade, and make the text transparent so it doesn’t appear white but a lighter shade of the background color instead. Just click the downward pointing arrow after clicking the element you want to change, then drag the transparency slider closer to the left (farther away from 100 which would be a solid color).

To reposition an element on the image
Click on the element and use the arrows on your keyboard to move it. Or hover over one of corners until 4 arrows (each pointing in a different direction) then click and drag to move it.
I highly recommend (not an affiliate by the way) Canva if you do not have Photoshop or need some inspiration when creating images. You can use Canva to create your logo, Etsy shop banner (if you have one), social media images, your media kit if you chose to create one and dozens of other marketing materials with their pre-made templates or by creating a custom design.
When you create a template, ones suiting the time of year/upcoming events will appear at the top of the pre-made templates for your convenience. Apparently they have 1,000,000 images to choose from – so you are sure to find a pre-made template (or an image to create your own) to suit any type of blog niche.
Their pre-made templates are usually available in all pre-formatted sizes. So, for example, you can use the same template if you want to create a Facebook cover photo, as one you create for Instagram.
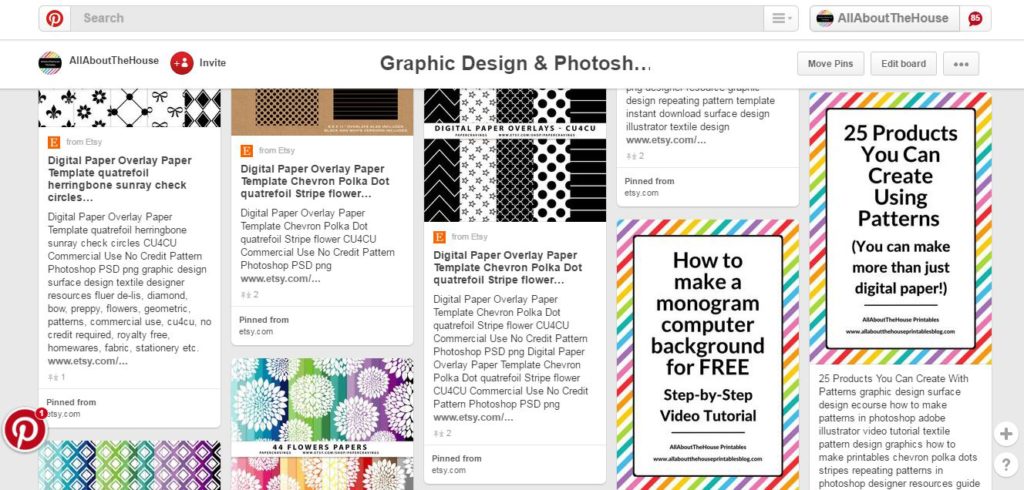
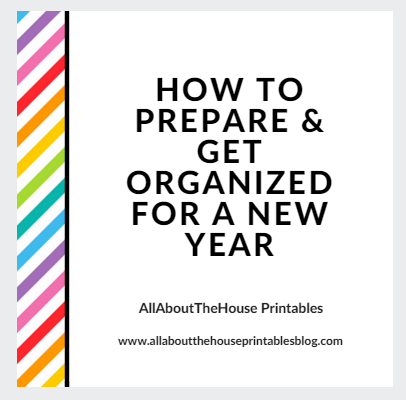
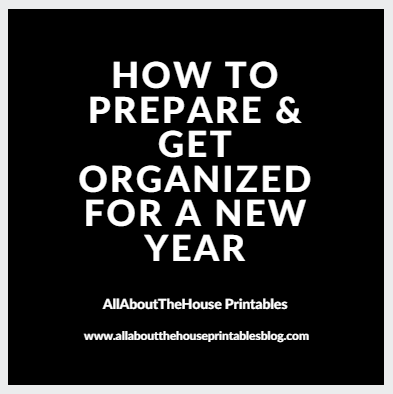
Some Blog Image Layout Ideas
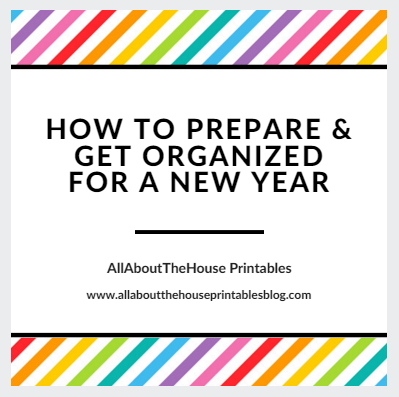
On a sidenote, if you want to read the blog post I created these images for: how to prepare and get organised for a new year, here is the link (it also includes a free wall calendar/planner you can download):
Another option is to use a photo (either upload one you have taken or use a stock photo taken by someone else) that reflects the content of the blog post, rather than a pattern or solid color that reflects your branding, and then place text over the top like this:
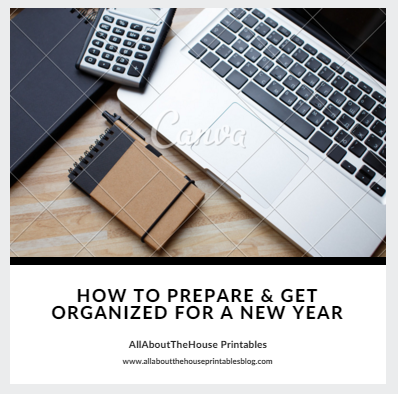
The trick when using these, is to keep the font consistent. You should also try and keep the placement of the text the same e.g. if you put your logo or domain name in the bottom right then try and do this for each photo.
If you find an image that you like, but it doesn’t fill the entire image dimensions (the example below uses Instagram’s image dimensions 1080px x 1080px), or if the image doesn’t have room to add text over the top where it can easily be visible (like the example above), then you could add a bottom section with your blog post title, blog name and URL/domain name like the example below:
Note that if you use Canva’s stock images they sometimes charge $1 to use them (if you hover over the image it will tell you). You won’t be charged until you download the image, so go ahead and experiment with a bunch of stock photos to find the one that’s the most suitable. The sample image above uses one of Canva’s paid stock photos, the Canva watermark will disappear after you pay for the stock image.
If you prefer PicMonkey (or want to try it), it has much the same tools and functionality as Canva but without the pre-made templates.
It can take more time than you think to find the right stock photo to suit the theme or topic of the blog post. As I have an online business to run in addition to my blog, my time is very limited so I use a template like the one in the tutorial, then I just need to update the blog post title and the image is ready to add to my blog. I do think that stock images can make your blog less ‘boring’ and more professional though – definitely a matter of personal preference!
If you’d like access to more FREE Graphic Design Video Tutorials,see here.
Pros of Using Canva:
- If you want to use stock photos in your images, you can buy them conveniently through Canva for just $1 (payable when you download your completed design)
- If you use Canva’s paid pricing plan you can make the image once then automatically re-size for differenet social media platforms with the simple click of a button (this is one of the reasons I chose to use Canva to make my blog images, even though I love Photoshop)
- You can create an unlimited number of images
- Quick and easy to use
Cons of Using Canva:
- Requires an internet connection
- I sometimes get a random error message about the font I use ‘not being available’ which can be really annoying when I’ve used that font numerous times on other projects in Canva!
- If you use a paid font you may not be able to use it unless you have their paid pricing plan
- Aligning things in Canva can be a bit of a pain – you need to click and drag – it’s not just a one click button like in Photoshop
- If you have a lot of projects/templates that you’ve created in Canva, they don’t have any way to sort or organize them into folders, they simply show all of your projects in date order with those you worked on most recently appearing at the start
Should you use stock photos in your blog images?
That’s entirely up to you. You’ll notice that I don’t. There are a few reasons for this:
- I can be a bit indecisive. The time it would take me to find a pretty stock image that suited the theme/topic of the blog post, re-sized the font and positioning of the font on the image to suit the objects in that stock image (e.g. the text may need to be placed on the left, or the right, the top left, bottom right etc. depending on the placement of the other items in the photo), would be too time consuming – I’d rather be writing more blog posts or creating more products for my shop
- If you use stock images you need to check the terms of use i.e. are you allowed to use them for your intended purpose and if so, is credit required?
- I have lots of graphics and files on my computer already – to build up a ‘catalogue’ of go-to stock images would not only take time but also a lot of space on my laptop. The more files you have on your computer, the slower and more inefficient it becomes
- It’s hard to distinguish yourself if everyone is using the same images for their blog, especially if you’re in the same niche
- If you do want to use stock images, Shay Cochrane sends out free stock photos to her newsletter subscribers every month (I am not affiliated in any way, she just has pretty stock images that are also free!). Etsy and Creative Market are also good places to find paid stock images
Leave a Reply