We’re all short on time. Between my Etsy shop and working a full time day job it doesn’t leave much time for blogging. If you follow my blog you’ll notice that I try and post 5 days a week. So how do I produce a lot of content quickly?
-
Write what you know
I write more about planners and organizing as that is my ‘expertise’. I love it, it’s my favorite thing to do and it’s stuff I do anyway (such as my 52 planners in 52 weeks challenge, which I wasn’t even going to blog about but then I thought, may as well!). I can write a lot of planner related posts in a short amount of time as I’m drawing on my own knowledge. I don’t need to do research or check my facts or spend time taking screenshots like I did with this post on how to set up your email list using ConvertKit. There’s no research involved when you’re using your own experience. Writing what you know also helps keep your blog unique as no one has the exact same experience or knowledge as you!
Related Post: How to start a blog (step by step tutorial)
-
Use a template & start with the blog post title
I brainstormed blog post title starters such as:
- 10 ways to _____
- 10 tips for ______
- How to increase ______
- What to do if ___
- Where to find ___
- Best way to _____
- Etc
I ended up coming up with 200 of them and curated them into an ebook: 200 Blog Post Titles. So if I’m stuck for blog post ideas I consult the list and usually end up with heaps of ideas and then the hardest part is choosing which one! Another resource I created for myself (and which you can use too!) is my ebook: 1200 blog post ideas.
You can download it by clicking the image below (you’ll also get access to the free printables library) 🙂 If you’re an existing subscriber, you can download the free printable here (the password to login was sent in the initial confrimation email when you subscribed)
When I’m writing a post and need to add links, I use the browse all posts page on my site and can quickly copy and paste the post title into the post I’m currently drafted (as it already has the URL link to that post embedded in the text).
I was originally keeping track of these in an excel document, but it meant I still had to type out the post title, find the correct link in the excel file, copy and paste the link to hyperlink which ended up taking a bit of time. By having a go to page on my blog I can type CTRL and F and then search the post I’m looking for and it’s a quick copy and paste.
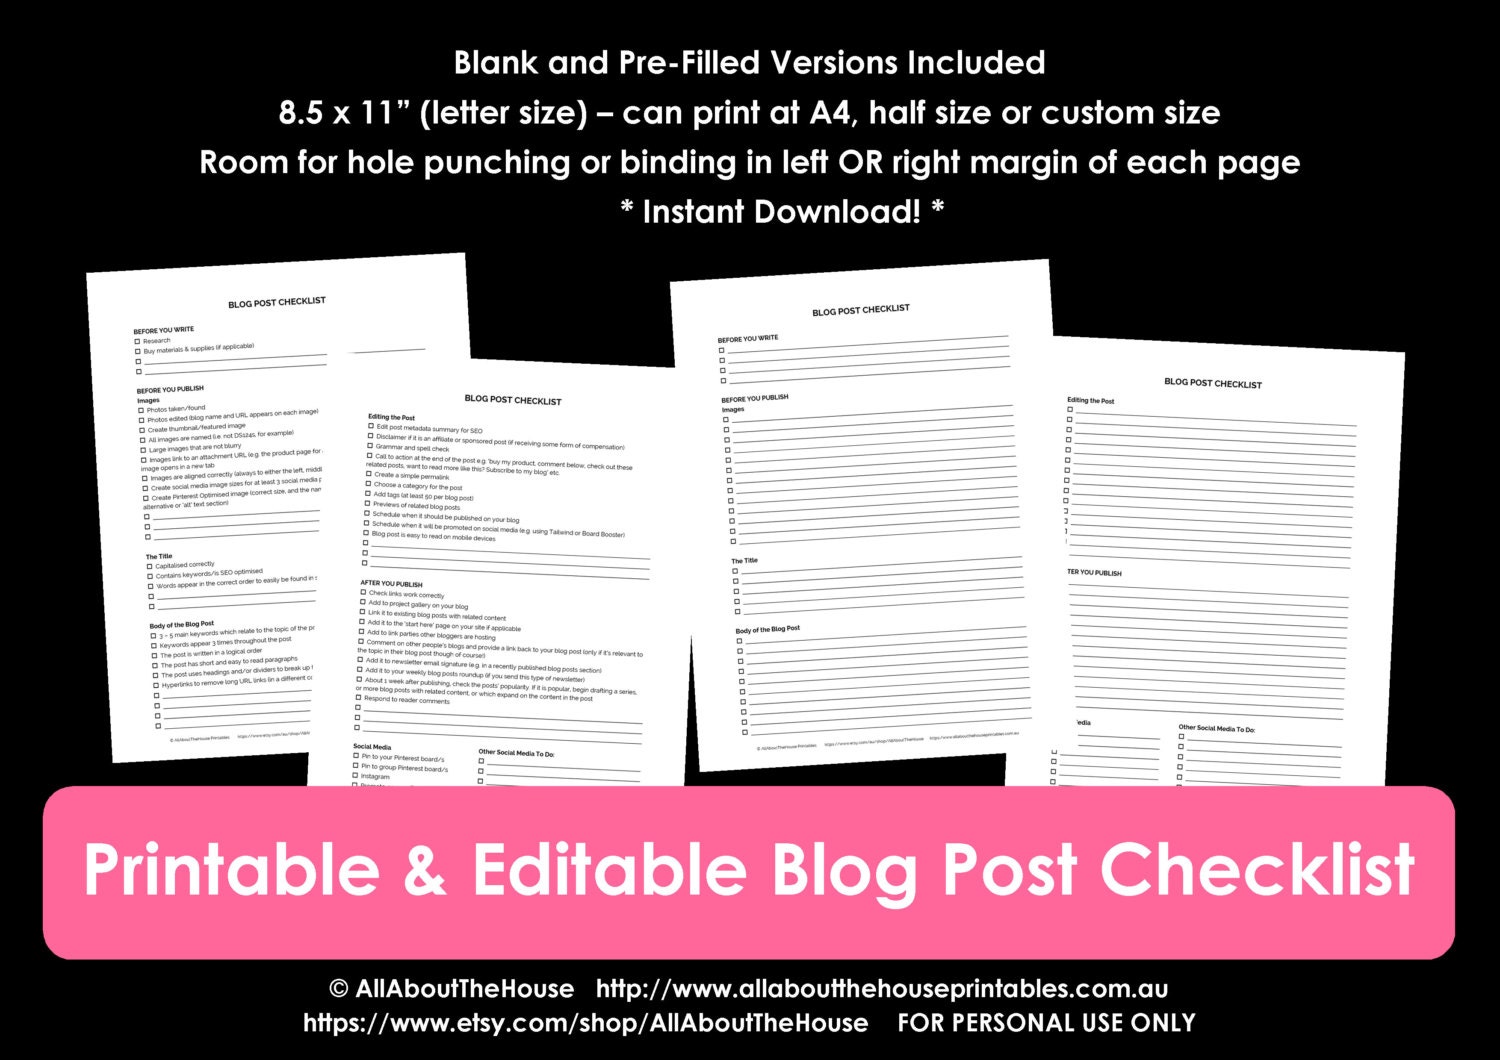
I do the same thing with my subscriber opt in images (I shared a tutorial on how I make them in this post), such as the one for the free printable blog post checklist (above). If I write another post about blogging I can simply copy and paste the image making it very quickly to finalise the post (as I tend to write a draft but not polish/finalise it until the night I go to post it).
-
Outline
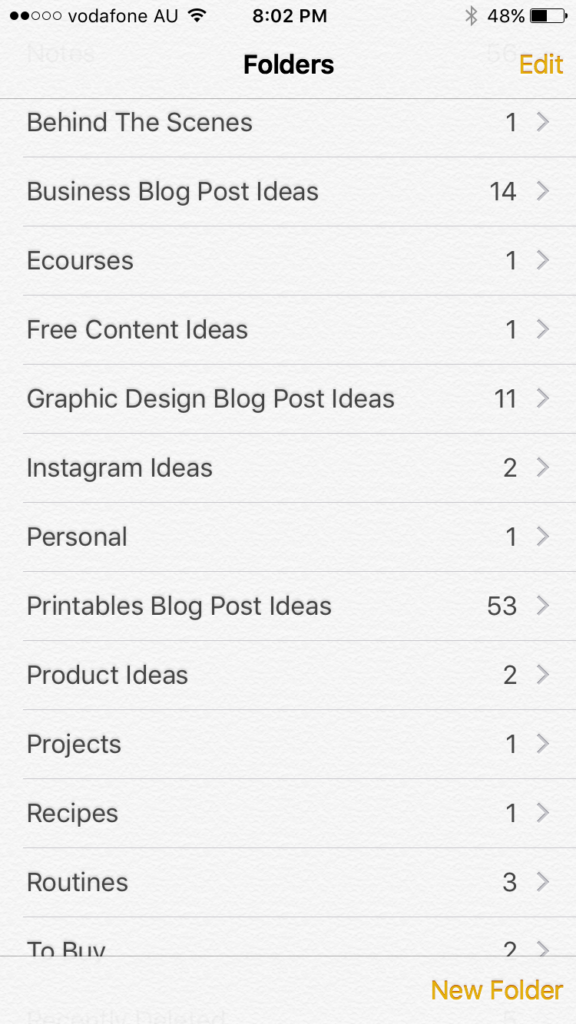
When an idea comes to me I type it out then and there. I use my iPhone to keep track of blog post ideas rather than a paper notebook. I used to use notebooks but I ended up with tons of them filled with messy scribbles that I could never make sense of later and which I didn’t really refer back to when I needed an idea for a post. I then switched to a more organized system using pen and paper in the form of my printable blog post planner. I still use that for blog goal setting, annual planning etc. But given blog posts need to be typed up to publish them on the blog it made sense to skip the extra step of hand-writing and go digital when it comes to the writing part of blogging.
I shared more about how I organize them blog posts using my iPhone in this post. The reason I use an iPhone is so I can jot down an idea and then outline a couple of notes in the one place, email it to myself and then copy and paste it straight into WordPress to finish writing the post. Using my iPhone is also convenient and portable as I outline blog posts on my commute to and from my day job.
I use a Word document to to draft my posts (that’s what I’m using to draft this post). Then I can just copy and paste. My internet connection can sometimes drop out and I find it easier to proof read and edit in Word rather than in WordPress. I’ll be sharing a post on how I organize and draft posts using Word. Make sure you’ve subscribed if you want to be notified when that post is published.
-
Schedule ahead of time
At the start of the year I did a rough outline of posts I wanted to publish each month (especially seasonal content). At the start of the month I swap things around and switch out posts and add new if it’s a topic I really think I need to do a post on asap, For example, I wrote a post (and did a video) about how to get rid of a white border when printing printables as I kept getting asked so many questions on how to do this).
Then at the start of the week (on a Sunday), I plan what posts I’m going to publish for the week. As a starting point I look at those I’ve already drafted. I went a little crazy and wrote 200,000 words of blog posts in January so most of the work has been done when it comes to writing posts (or at least doing detailed outlines I can expand on later), and now it’s more a matter of polishing up all of those outlines, adding pictures and links.
-
What are people asking you about? Consult your FAQ’S
If you have a frequently asked questions page on your blog or your shop, look at your answers to people’s frequently asked questions. Can you expand on any of those? Are people asking for a tutorial on how to do xyz or are they asking what accessories pair well with the dresses you sell? Expand those answers into a post.
Some of the posts I’ve written such as how to resize printables were super quick and easy to write. I simply copied and pasted the email script I was sending customers all the time when they kept asking, recorded a 10 minute tutorial and that’s it!
-
Batch write posts
Usually when I’m writing a post I‘ll think of a ‘spin off’ idea – i.e. another post idea that is closely related. Continuing on with the printing tips topic, I’ve done various posts the each pinpoint a specific question:
- How to resize printables to print at MAMBI Happy Planner size, Erin Condren size or other custom size
- How to stop your printer from adding a white border when printing printables
- Which is Cheaper: DIY Printable Planners or Pre-Printed & Assembled Planners?
- 7 Ways to make colors POP when printing using an Inkjet printer
- Don’t own a printer? Here are 5 companies that will print and ship printables to your door
- How to add text to an editable PDF etc.
I originally had all of these in one post but I’ve found people, much like when they’re browsing through my shop, just want one product listing or one post that addresses their exact needs or question. They don’t want to have to sift through piles of information to get an answer they want it all laid out in front of them so they can solve their problem quickly. Having more posts on your blog or more listings in your shop also helps people find you easier. People tend to click on a post that has a title that addresses their exact needs
To capture spin off post ideas, I immediately jot down as many ideas that I have for that post topic. So sometimes I’ll end up writing (or at least outlining in detail), up to 4 posts in an hour (I type fast which also helps, if not you could use dictation software such as dragon dictate).
Related Post: 101 Blog Post Ideas (for any type of blogger)
-
Not every post needs to be a novel length
On average I write 1,000 – 1,500 words per post – if it’s anymore words then that then I trend to split it into a series of multiple posts. Most people don’t want to read a super long post that’s 2000+ words and they’ll most likely just end up skim reading the post anyway – a depressing through if it’s taken you a couple of hours to write!
Make sure you mix it up. I don’t do 3 posts in a row about the same thing. For example, 3 posts about planner pens, or 3 posts that answer FAQ’s or 3 posts about the same topic all in a row. This may start to bore some of my readers so instead I mix it up with my weekly 52 planners in 52 weeks post, usually something that is planner related (in general, not to any one specific planner), and then a review or roundup or tutorial that is planner related, then a post about blogging (such as this one), and another about running an Etsy shop. I try to stick to a consistent posting schedule so people know what to expect.
For example, Monday’s and Tuesdays are usually planner related posts, Wednesday is usually a graphic design tutorial such as a Photoshop tutorial. Thursday is another planner related post and Friday is a blogging post, or a post related to running an Etsy business.
-
Repurpose content
If you’re running short on time and really need to post something that day, a quick way to write a post is to re-purpose content, such as by doing a roundup of all of those posts you’ve written about the same topic. For example, I’ve done a few posts about color coding so eventually when I’ve written about 5 to 7 posts about color coding, I’ll do a roundup post. In that post I’ll write a little bit about each of the ways to color code, then add a link to the full post so they can find out more detail if they’re interested.
These types of posts are great for increasing pageviews as instead of looking at 1 or 2 posts and then leaving your blog, they’re clicking on all of those links to the other posts so they’re staying on your site longer. Within every post I also add links to 2 or 3 related posts which also helps increase pageviews. The more posts people read on your blog, the more likely they are to subscribe and become a long-term reader.
Don’t be worried that readers will be bored by roundup posts, if it includes posts you published 3 + months ago (or less if you post a couple of times a week), then they probably won’t even notice. If you’re worried you could always add 1 or 2 new ideas to the roundup post to keep it fresh.
Related Post: How to keep track of blog post ideas on your phone (no paid app required)
-
Eliminate distractions
When I blog or design anything for my shop, I’m in a ‘bubble’ I close Facebook, Instagram and other social media tabs, turn my phone face down and put it on silent so I don’t get distracted. Then I open up Word and type, and keep typing until I run out of ideas or run out of time and have to go do something else. Another tool you could use is something like write or die and rescue time.
-
Make use of Pinterest
Pinterest is a wealth of ideas for blogging. If you need an idea for a topic a quick Pinterest search will bring up plenty. If you see a topic you want to write a post about, don’t click on that image and read the other bloggers’ post, instead take that idea and use it to come up with something new, or put your own spin on it. For example, no 2 bloggers’ or online business owners’ favorite resources page is likely to have the exact same list of tools & resources.
-
Ditch perfectionism
I’m a perfectionist but with my limited time I’ve got to let some things go. Writing in dot points and keeping it brief also helps speed up the blogging process.
I write first and edit second. If you draft your posts in Word like I do, your screen will end up with a lot of red lines underneath the text but that’s ok – that’s what autocorrect is for!
If you’re on a roll typing out a post, when you stop to edit you’re stopping your creative train of thought. Instead, I usually only edit when I’m about to publish the post.
I hope you found these tips helpful! Don’t forget to download the blog post checklist.
Related Posts:
- How to start a blog (step by step tutorial)
- 7 Tips for Creating Blog Post Titles
- 101 Blog Post Ideas (for any type of blogger)
- How to keep track of blog post ideas on your phone (no paid app required)
- How to set up ConvertKit and how to make a subscriber opt in image video tutorial
Leave a Reply