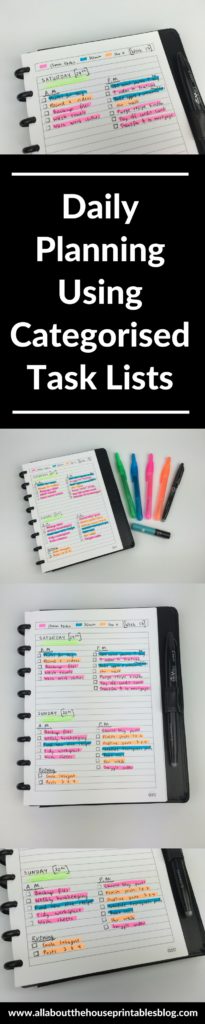
For the weekend of week 17 of the 52 planners in 52 weeks challenge I opted to do daily planning in the form of to do lists.
If you’re a regular reader of my blog, you’ll know I almost always color code my planner! I opted to try something a little different and color coded by time, rather than by category as I usually do.
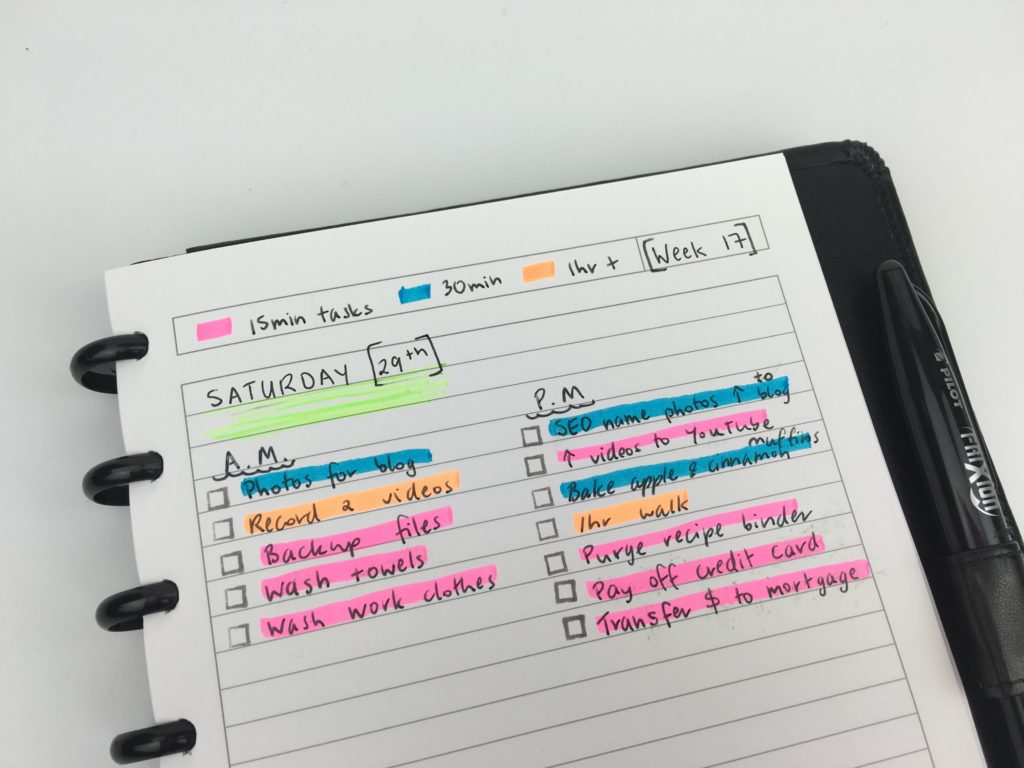
The Layout
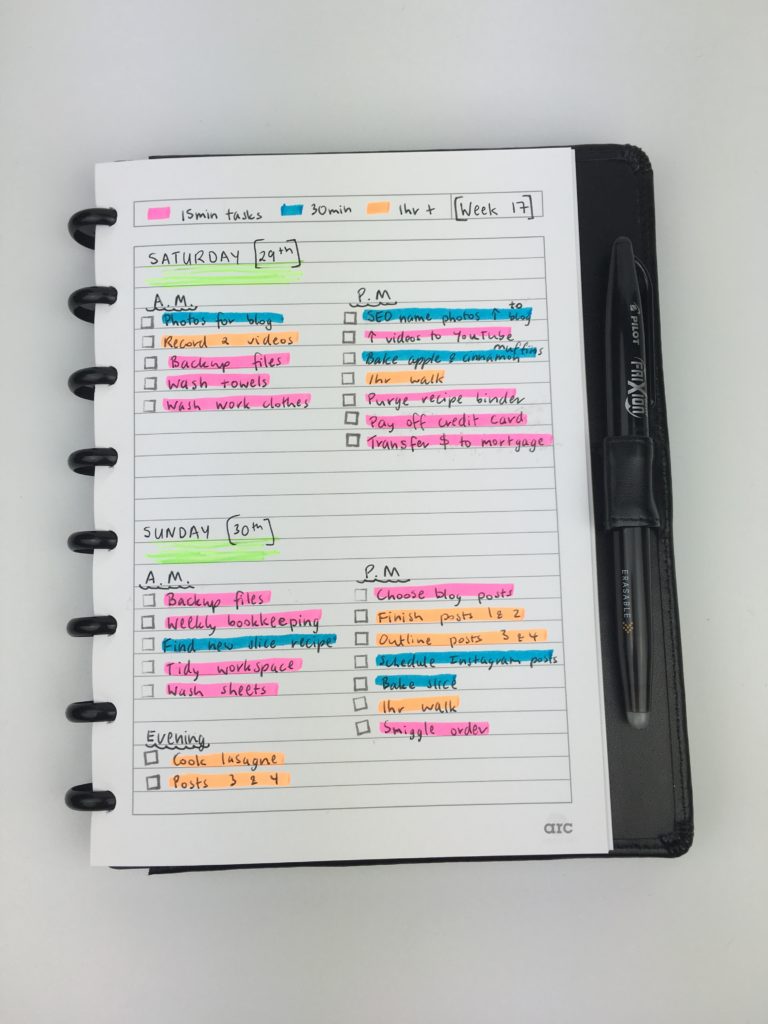
I used my A5 Arc Notebook and split the page into half horizontally – you could also spit it vertically.
But if you’re using a smaller planner size than A5, I wouldn’t recommend splitting the page vertically because the columns end up being too narrow so a short task ends up taking up a lot of room.
Related: Ultimate planner page size guide (with printable reference cheat sheet)
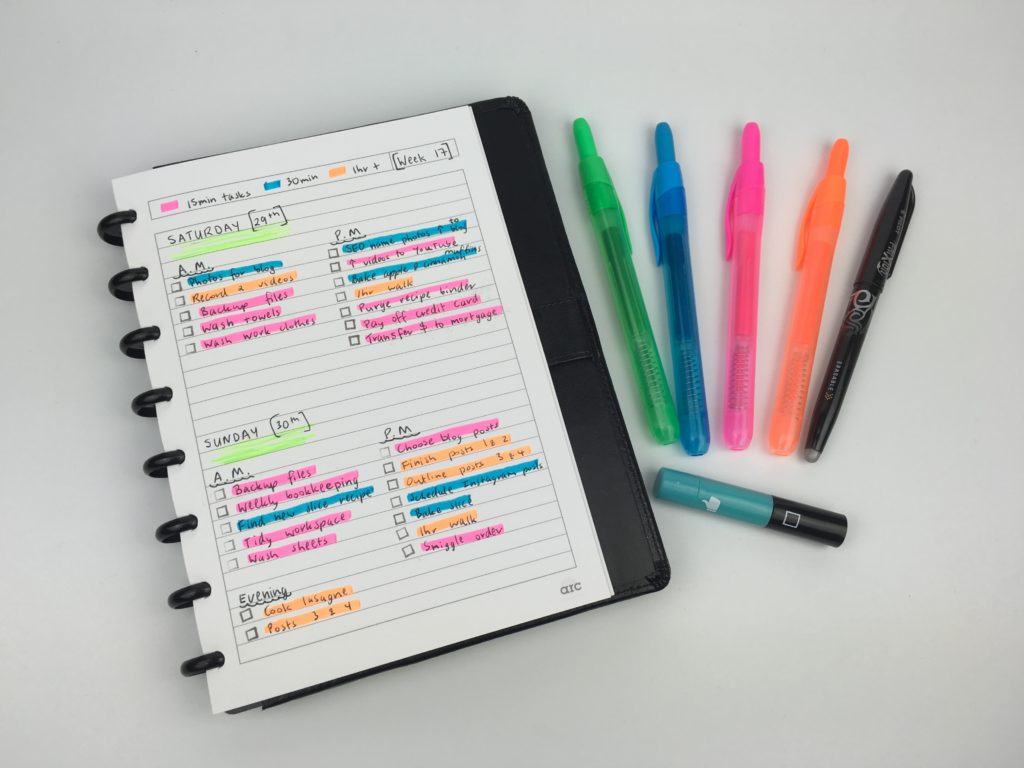
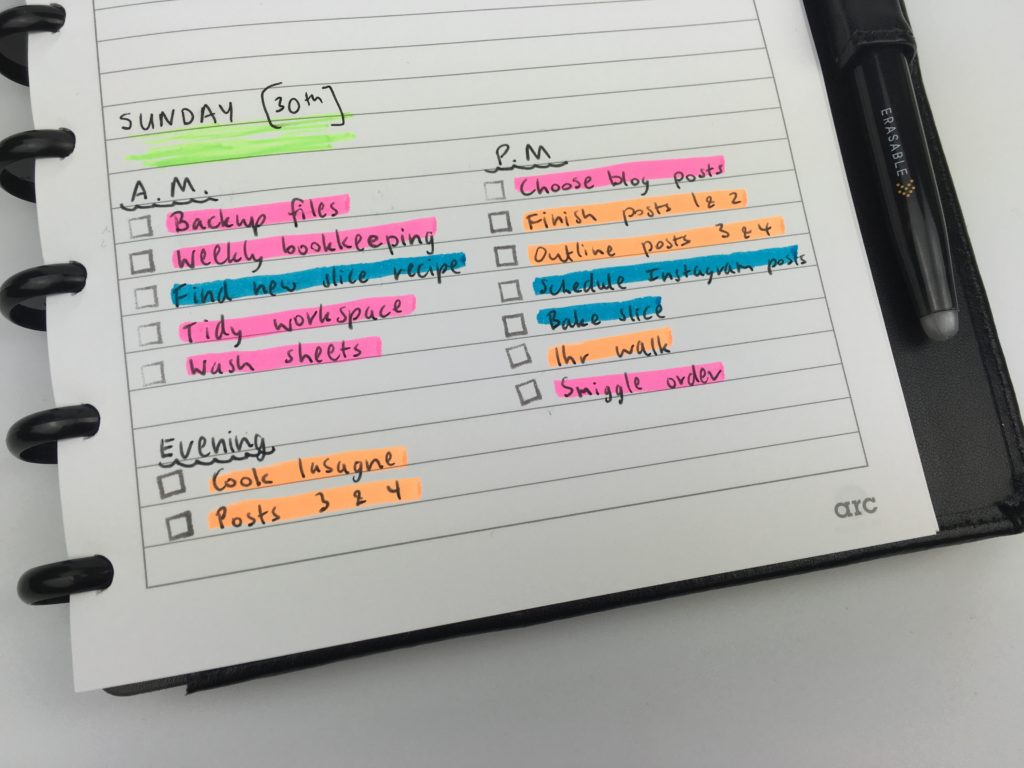
I was originally only going to split tasks into AM and PM lists, but then I wanted to break it down further and add a bit of color, so I color coded the tasks into 3 timeslots and used a different color for each:
- 15 minute tasks
- 30 minute tasks
- 1 hour tasks
Planning this way helps maintain a balance and see where you’re over-scheduling myself.
I considered using 4 colors and doing 15 minute increments (so adding an extra one for 45 minute tasks), but decided to keep it simple and stick to 3 colors. Most of the tasks that could be 45 minute tasks usually end up being an hour and it gives a bit of a buffer between tasks when scheduling to over-estimate how much time you think a task will take.
If you’re highlighters are running out of ink or you don’t want your page to look that colorful, another option is to highlight over the task checkbox, rather than the task. Like this:
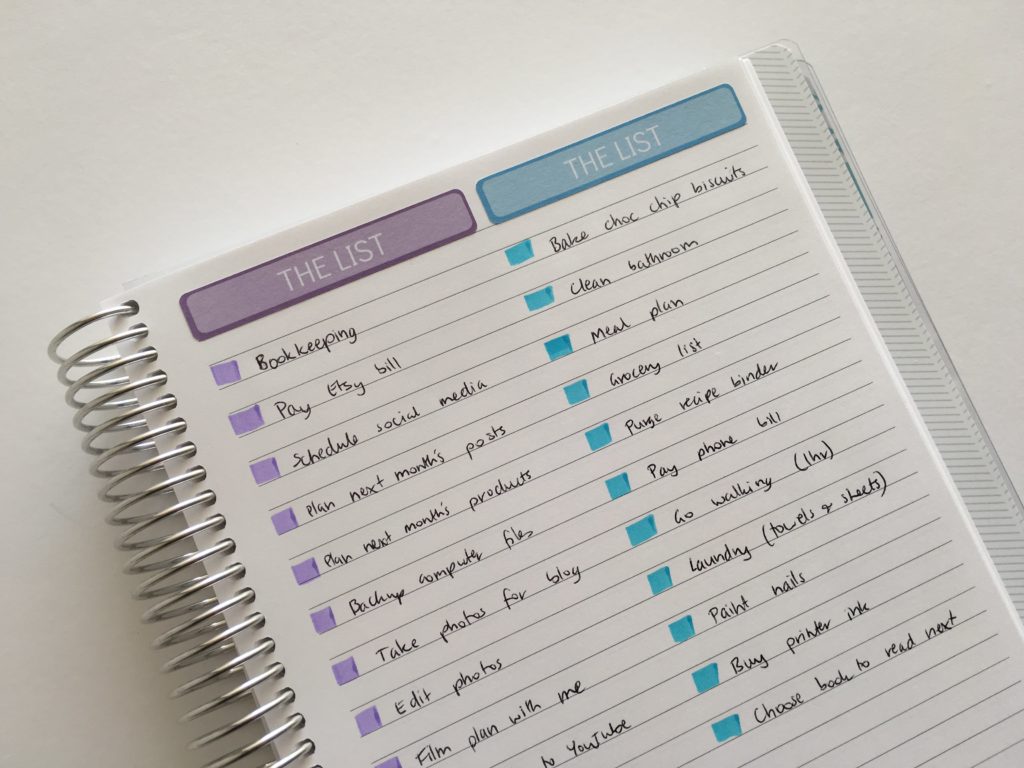
‘The List’ stickers are from my sisters’ planner supplies shop.
Notebook Used:
The Arc notebook in A5 size. Read more about why I prefer it to binders here: Planner Organization: Why I use the Arc Planner instead of binders
I don’t normally use A5 page size for planning as I usually find it just a bit too small but for this occasion it was just the right size!
Pens used:
I used my favorite pens: the Pilot Frixion Erasable. I rubbed these out a couple of times on the Arc brand paper. Since it’s a thicker paper than most notebooks it didn’t erase as well as it usually does 🙁
Related: My all time favorite planner pens: Pilot Frixion Erasable Pens Review
Highlighters Used:
Retractable highlighters I found at Woolworths (that were only a couple of dollars!) 🙂
Stamp used
The self-inking checklist stamp is from MAMBI. My sister sells it in her planner supplies shop.
I’ve color coded by time before and liked it (especially for cleaning tasks). I’ve gotten in the habit of color coding by category but think I’ll have to try color coding by time again!
Pros of creating a to do list colored coded by time:
- Simple and quick to setup
- No fancy notebook required – you can do this in any notebook or even on a scrap piece of paper (just remember where you put it!)
- Color coding by time helps to maintain a balance and see where you’re over-scheduling yourself
Cons of creating a to do list color coded by time
- The A5 page size was only just enough planning space – if you have a lot of tasks you might need to use 1 page per day (which can get annoying flicking back and forth when planning for the week ahead).
- Rather than splitting out tasks in detail e.g. the title of the post I was working on or the topic of the videos, I only had room to write ‘post 1’ and ‘post 2’. It was ok but I wouldn’t want to do this every time I plan – I find it easier to keep track of things when it’s broken down in more detail and for that I’d need a bigger page size
- I didn’t have any bills due, birthdays, events, or any big plans over the 2 days I used this system, but if I did, there wouldn’t be enough room to plan both days using one A5 page. While you could plan your day using 1 day per page, it would probably only fill 3/4 of the page – I find this is an invitation to over-schedule (although I’m slowly learning that a bit of white space on the page is ok!)
Catch up on past weeks of the challenge:
- Week 9: Customising the Erin Condren hourly planner for task based planning
- Week 10: Minimalist 1 page planning using washi tape
- Week 11: How to plan your week using Trello
- Week 12: Planning using the Plum Paper Horizontal lined with notes
- Week 13: Using a Kmart lists book to plan your week (planning by task, rather than by day)
- Week 14: Using a simple, 1 page weekly planner with only 3 sections
Related Posts:
- FREE Printable To Do Checklist Planner Insert (For Erin Condren or Any Planner)
- Overwhelmed by the planner community? Read this post
- 130+ functional ideas to use blank notes pages of your planner or an empty notebook
- 50 Category Ideas for Color Coding Your Planner
- Planner pen testing in the Erin Condren Life Planner, Plum Paper, Happy Planner by MAMBI and Limelife Planner
Liked this post? Pin it!
What a great idea. I could do this within my current weekly planner. I used to color code for family members so I knew who had to be where when but hadn’t thought about is for time and task management now it’s just me.