With so many things to keep track of these days, your planner may be getting so fat it can’t close anymore. To avoid it exploding breaking or things falling out, you may want to take some things out of your planner and create a household binder.
What to keep in your planner versus a household binder?
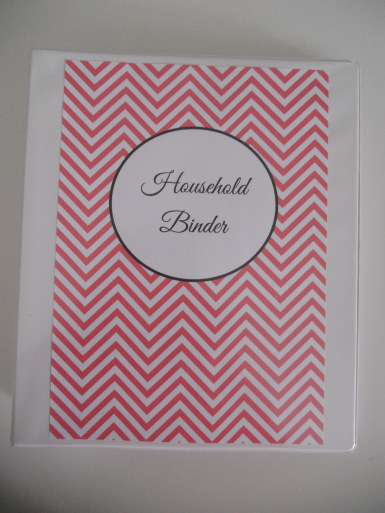
Household Binder
Household binders (also referred to as homekeeping notebooks or a home binder), are ideal for things you don’t refer to frequently including:
- Seasonal cleaning checklists
- Contacts you don’t need to keep in your phone such as insurance companies
- Important documents such as insurances, photocopies of passports
- Taxes & Budgeting including copies of bills
- Recipes
What you keep in your household binder will likely change over time, but having a binder dedicated to all this reference material (with lots of tabs in the binder so you can find things quickly and easily!) will be a good starting point.
I was keeping my taxes & budgeting in my household binder but it became too fat so now I keep a separate binder. If you need to keep track of your children’s documents you may prefer to keep separate binders for each person with birth certificates, tax returns etc., as well as a main binder for the household.
Basically, I use my household binder as reference notebook – it should be used for filing things.
I did an entire series on my household binder setup here.
Planner
Your planner should be used for things you refer to daily or weekly. And nothing else. There’s a reason planners don’t have many notes pages!
Some of the pages you could add to your planner:
- Extra notes pages
- Habit tracker (download a free printable habit tracker here!)
- Password log
- Birthday’s list
- Spending log
- Journalling pages
- Wish list
- Books to read
- Movies to watch
- Packing checklists
- Exercise tracker
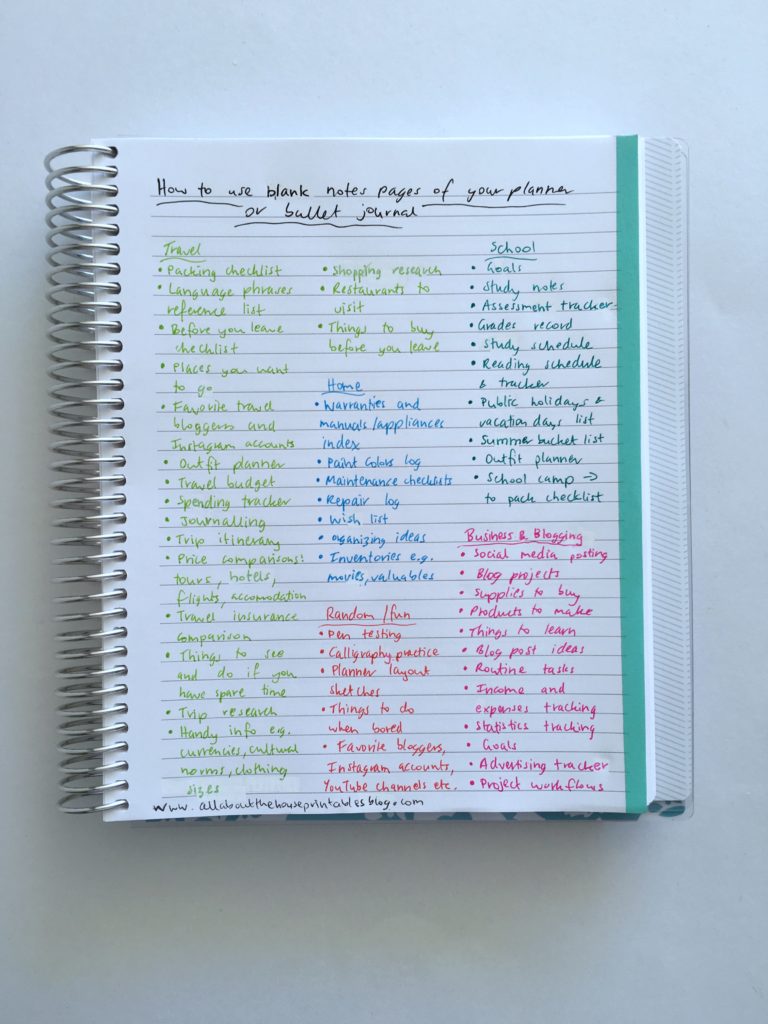
I did a massive roundup with 130 + ideas for add on pages / using the blank pages of a notebook in this post.
If you do add extra pages, I recommend also adding tabs, a strip of washi to those pages, or some sort of signifier (such as folding down the page or drawing an asterisk in one of the corners of the page).
Related: 130+ functional ideas to use blank notes pages of your planner or an empty notebook
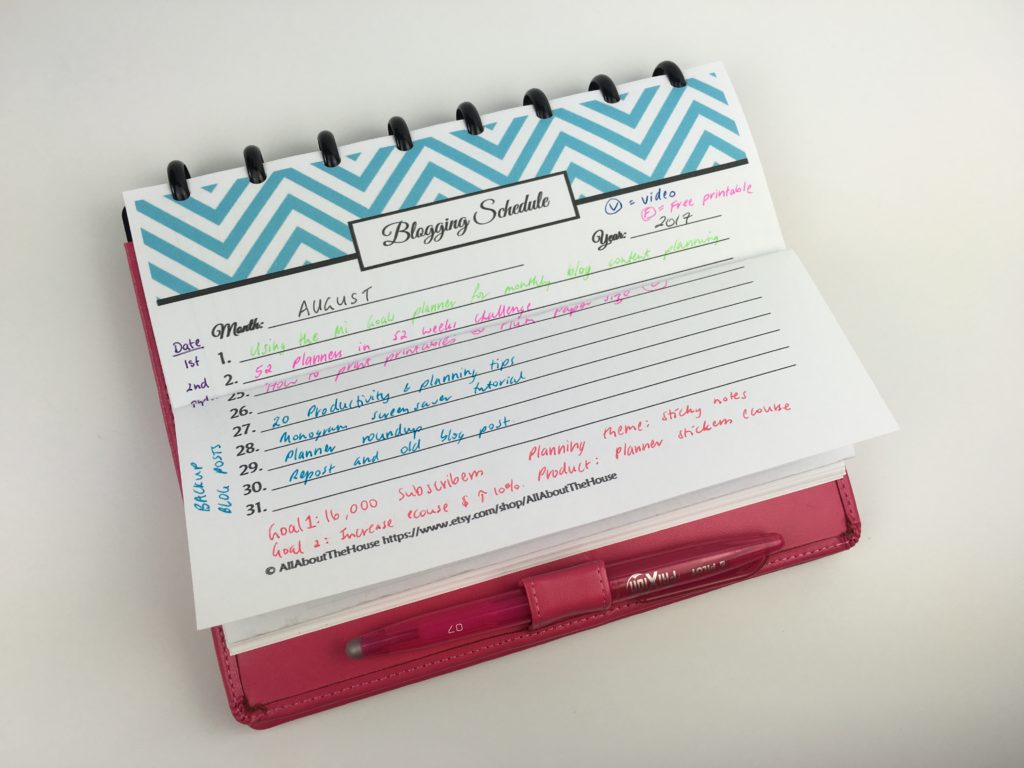
These are the add on pages I keep in my planner:
(I’m using the Arc planner to store these as I use a different planner each week for the 52 planners in 52 weeks challenge):
- Quick clean ups
- Quick tasks – 15 minutes, 30 minute tasks for the blog & my Etsy shop – you could use the same printable for a ‘things to do when bored’ list or if you have a few spare minutes
- Seasonal cleaning checklist
- Travel planning pages from my travel planner that I’m using for my Melbourne and Europe trips next year 🙂
- Pen testing – I’m a massive pen addict and like to do swatches and test out new pens but this isn’t something I want cluttering up my planner – I like to keep these all together in my Arc notebook for reference
- Blank list pages – I like to have lists with a blank title at the top so I can convert it into whatever I need without having to print specific list – my favorite printable is the anything list from my list makers kit!
- Project planning pages
- Habit tracker – I’ve taken to doing this monthly to save space in weekly planning spreads
- Wish list
- Books to read
- Monthly planning / goal setting pages

You could hand-write these pages out (like bullet journaling) but I prefer to use a printable as the pages can get a bit scuffed over time, plus I can just print a fresh page when I need it without having to draw up the entire page again.
If you find yourself accessing the pages regularly and it’s frustrating not having it on hand with your planner when you’re out and about, then that’s a good indication you should add it to your planner. There’s no ‘right’ and ‘wrong’ way to set up your planner so do what works best for you!
If you need to save space, printables can be printed ‘2 per page’ then cut in half, or I fold the page to fit.
Related: Printing Tips
One thing that can be planned in either a planner or a household binder is meal planning. Usually I prefer to keep this in the weekly spread as I tend not to use a monthly calendar or if I do, only for events & social stuff – I like to keep the weekly spreads very task focused.
How to add pages to your planner
If you’ve purchased a spiral bound planner it’s fairly easy to add pages using a hole punch. However, twin wire binding can be more difficult and I wouldn’t recommend it. There aren’t any pre-sized punches that align with that type of binding. The best type of planner for adding pages are discbound planners such as Arc and the MAMBI Happy Planner.
If you want to add pages to your planner there are a couple of ways to go about it:
1. Print the pages at the same size as the planner, cut and glue over the top of a notes page or a week that you’ve already used and don’t need to refer to again. You can print any printable at any size you like – a step by step tutorial is in this post
2. Laminate the page if it’s one you’re going to be using frequently – tutorial on how to add pages in this post (same process as adding a DIY cover)
3. If you like hand-writing and doing fancy spreads like bullet journalling (I wish I was talented enough to draw!) then use a clear cover over the top and a whiteboard marker then wipe clean when finished without having to draw the entire spread again. This idea is also great for checklists!
Tip: Reinforce the page by adding a strip of washi tape before punching – also add a nice pop of color!
Related: How to make a DIY Erin Condren Planner Cover for less than $2 (plus free printable cover)
If you want to learn how to resize printables – see this post.
Found this post helpful? Pin it!
Leave a Reply